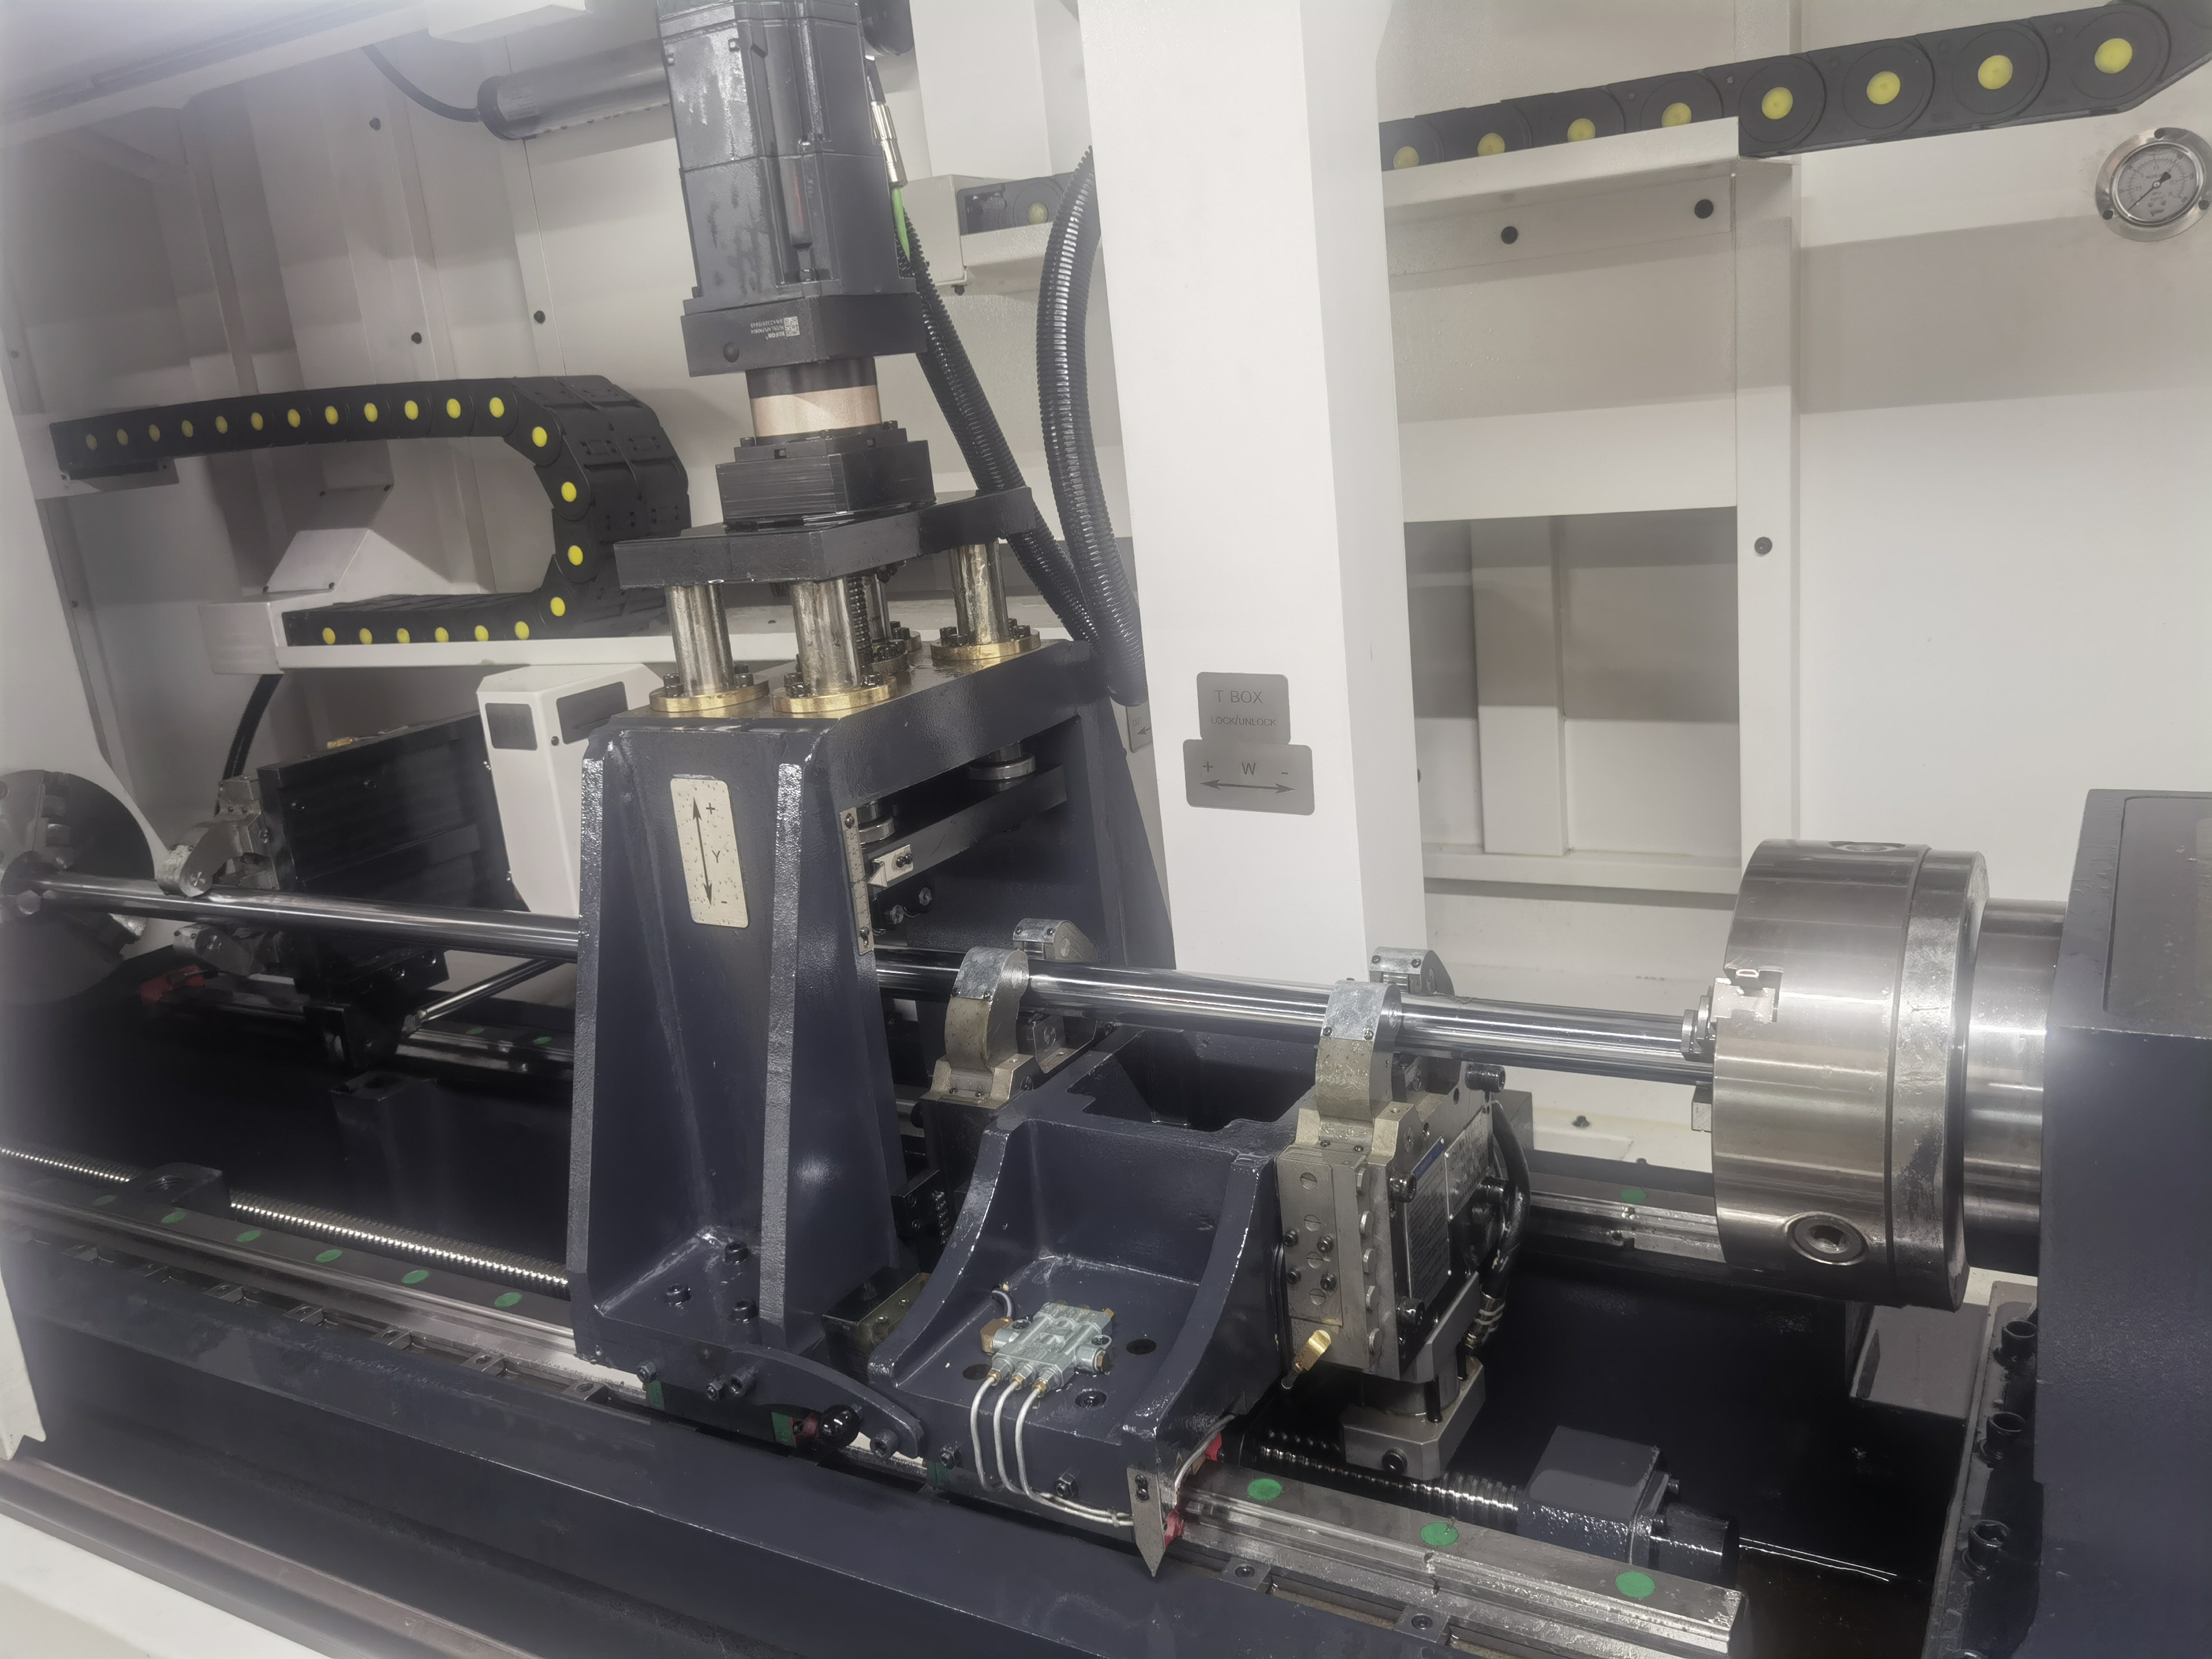
Why Straightness Matters in Drill Collars
Drill collars are thick-walled tubes used in oil and gas drilling strings. They need a through-bore for drilling fluid circulation. The bores are typically 50-100mm in diameter through 6-10 meters of length. The straightness requirement is about 0.5mm per meter maximum. I have seen what happens when a drill collar exceeds this spec — the eccentric mass causes vibration in the drilling string that accelerates tool joint wear and can lead to down-hole tool failure.
I use BTA drilling with proper workpiece support to achieve this straightness. Steady rests go at 1.5-meter intervals along the collar. The material is 4145H alloy steel, which is a modified AISI 4140 with tighter hardenability control. This material is tough — typically 28-35 HRC in the quenched and tempered condition — and it produces stringy chips that require careful parameter selection.
The straightness requirement is not arbitrary. I have worked with drilling engineers who explained that a collar with 1mm of bow over 10 meters creates enough imbalance at 120 RPM to cause measurable BHA vibration. At higher RPMs common in modern directional drilling, the problem gets worse. Maintaining straightness within spec is about preventing down-hole vibration that reduces rate of penetration and damages the borehole. I have seen MWD tools fail prematurely because the vibration from a out-of-straight collar shook the electronics loose.
BTA Parameters for 4145H Drill Collars
I run BTA parameters at 60-80 m/min cutting speed with 0.10-0.18 mm/rev feed. Coolant pressure at 300-500 psi. The main challenge is the length. A 10-meter collar needs careful setup to prevent sag. I have developed a parameter table based on the specific diameter and length combinations I encounter most often:
| Bore Diameter (mm) | Collar Length (m) | Speed (m/min) | Feed (mm/rev) | Coolant Pressure (psi) | Steady Rest Spacing (m) |
|---|---|---|---|---|---|
| 50 | 6 | 75-85 | 0.12-0.18 | 350-450 | 1.5 |
| 65 | 8 | 70-80 | 0.12-0.16 | 350-450 | 1.5 |
| 75 | 9 | 65-75 | 0.10-0.15 | 300-400 | 1.5 |
| 90 | 10 | 60-70 | 0.10-0.14 | 300-400 | 1.5 |
| 100 | 10 | 55-65 | 0.10-0.14 | 250-350 | 1.5 |
I have found that going above 0.18 mm/rev on any diameter causes the chip to thicken and pack in the flute, leading to coolant pressure spikes. A pressure spike over 600 psi on my machine triggers an alarm and retracts the tool. That lost time adds up fast on a 10-meter bore that takes 20-25 minutes per pass. I also reduce the feed by 10% for the first 500mm of each new collar to allow the BTA head to establish a stable cutting condition before ramping to full feed.
Workpiece Support and Alignment
Steady rests go at 1.5-meter intervals along the collar. I have tested 2-meter spacing and found that the collar sag between supports exceeds 0.1mm, which causes the BTA head to cut a slightly curved path. At 1.5-meter spacing, the sag is under 0.05mm and the bore straightness consistently measures within 0.3mm per meter. The steady rest rollers need to be adjusted individually for each collar diameter. I set the roller pressure to just snug — not tight enough to deform the collar but firm enough to prevent vibration.
I check the headstock alignment and the tailstock center height before every drill collar job. The two centers must be within 0.02mm of each other vertically and horizontally. I use a precision level and a test bar to verify this. If the headstock is off by even 0.05mm, the BTA head will cut a taper over the length of the collar. I have measured a 0.08mm taper over 10 meters from a 0.03mm headstock misalignment.
Here is the alignment check procedure I use:
| Check Point | Tool | Acceptable Limit | Frequency |
|---|---|---|---|
| Headstock spindle runout | Dial indicator | < 0.01mm TIR | Before each job |
| Tailstock center height | Precision level + test bar | +/- 0.02mm | Before each job |
| Steady rest roller alignment | Dial indicator | < 0.03mm | Weekly |
| Guide bush concentricity | Test bar + indicator | < 0.015mm | Before each job |
| Coolant pressure at tool | Pressure transducer | +/- 10% of setpoint | Each part |
I keep a log of these checks. When a part goes out of straightness, I can look back at the alignment log and find the root cause. In one case, I traced a straightness issue to a steady rest roller that had developed a flat spot from wear. The log showed the alignment was fine at the start of the job, so I knew the problem developed during the run.
Material Handling for Long Collars
Handling a 10-meter drill collar is a challenge in itself. I use a gantry crane with spreader bars rated for the collar weight — a 10-meter 4145H collar can weigh over 1000 kg depending on the wall thickness. The collar is lifted into the machine between the steady rests, and I support it at both ends with the headstock chuck and the tailstock center.
The collar must be rotated slowly during setup to check for runout at the steady rest positions. A collar that is bent by more than 1mm before drilling needs to be straightened first. I have rejected raw collars from suppliers that showed over 2mm of bend. Drilling a pre-bent collar produces a bore that follows the bend, and the finished collar will have excessive straightness deviation even if the drill path is centered.
I also check the ID of the raw collar before drilling. Some drill collar forgings are delivered with a small pilot hole from the forging process. If the pilot hole is not centered, the BTA head will follow the pilot and produce an off-center bore. I bore out the pilot hole to center it before running the full BTA pass if the eccentricity exceeds 1mm.
Finish Boring and Straightness Correction
After BTA drilling, I finish-bore to the final diameter. The finish pass removes about 0.5mm of material and corrects any minor straightness issues from the BTA pass. I check wall thickness at both ends before drilling the full length. A wall thickness variation of more than 2mm between ends tells me the rough forging is not concentric, and the BTA head may drift toward the thinner wall during drilling.
The finish boring tool is a single-point boring bar with indexable carbide inserts. I run it at 80-100 m/min with 0.08-0.12 mm/rev feed. The finish pass follows the same path as the BTA pass, so the hole centerline does not change. I have tested this by measuring bore position before and after the finish pass — the centerline shifts by less than 0.02mm.
For collars that still show excess straightness deviation after finish boring, I have a straightening press. The press applies a controlled bend in the opposite direction of the deviation. I have straightened collars with up to 2mm of bow back to within 0.3mm per meter. The press is a last resort, though. It adds a manual operation and creates residual stress in the collar. I prefer to get the straightness right in the BTA pass.
Inspection and Quality Documentation
A drill collar that goes out of straightness by more than 1mm over its length can cause vibration in the drilling string. The straightness check is done with a test bar and dial indicators at multiple points along the bore. I use five measurement points on a 10-meter collar — at 0, 2.5, 5, 7.5, and 10 meters. The indicator reading at each point must be within 0.5mm of the readings at adjacent points.
I also verify the bore diameter at three points along the length — both ends and the middle. The diameter variation must be within 0.1mm for the full length. I use a three-point bore gauge calibrated to a ring standard. If the middle of the bore is smaller than the ends, the BTA head was deflecting during the pass and I need to check the steady rest alignment.
The final inspection report includes bore diameter at three positions, straightness deviation at five positions, surface finish, wall thickness at both ends, and a visual inspection of the bore surface. I send this report with every drill collar shipment. The oil and gas customers expect this documentation, and I have had customers reject collars that shipped without complete inspection records.
I also keep a set of master collars for machine qualification. These are precision-ground test bars that I run through the entire BTA drilling cycle once per month. The master collar checks the machine’s ability to produce a straight bore independent of material variables. If the master collar comes out with straightness deviation over 0.3mm per meter, I know the machine needs maintenance before I can run production collars.
Key Takeaways
- Steady rest spacing of 1.5 meters is required for consistent straightness on 6-10 meter drill collars. Wider spacing causes sag and bore curvature.
- BTA feed rates above 0.18 mm/rev cause chip packing and coolant pressure spikes on 4145H material.
- Check headstock and tailstock alignment before every job. A 0.05mm misalignment causes measurable taper over 10 meters.
- The finish boring pass corrects minor straightness issues from BTA drilling, but the centerline does not change — get it right in the BTA pass.
- Keep an alignment check log so you can trace straightness problems to their root cause.
- Use five measurement points for straightness inspection on 10-meter collars.
- Provide full inspection documentation with every shipment. Oil and gas customers will reject collars without complete records.
- Check raw collar straightness before drilling. A pre-bent collar produces a bent bore regardless of drill alignment.
- Bore out eccentric pilot holes in raw forgings before running the full BTA pass.
- Use a gantry crane with proper spreader bars for handling long, heavy collars during setup.
- Run monthly master collar qualification checks to verify machine capability independent of material variables.