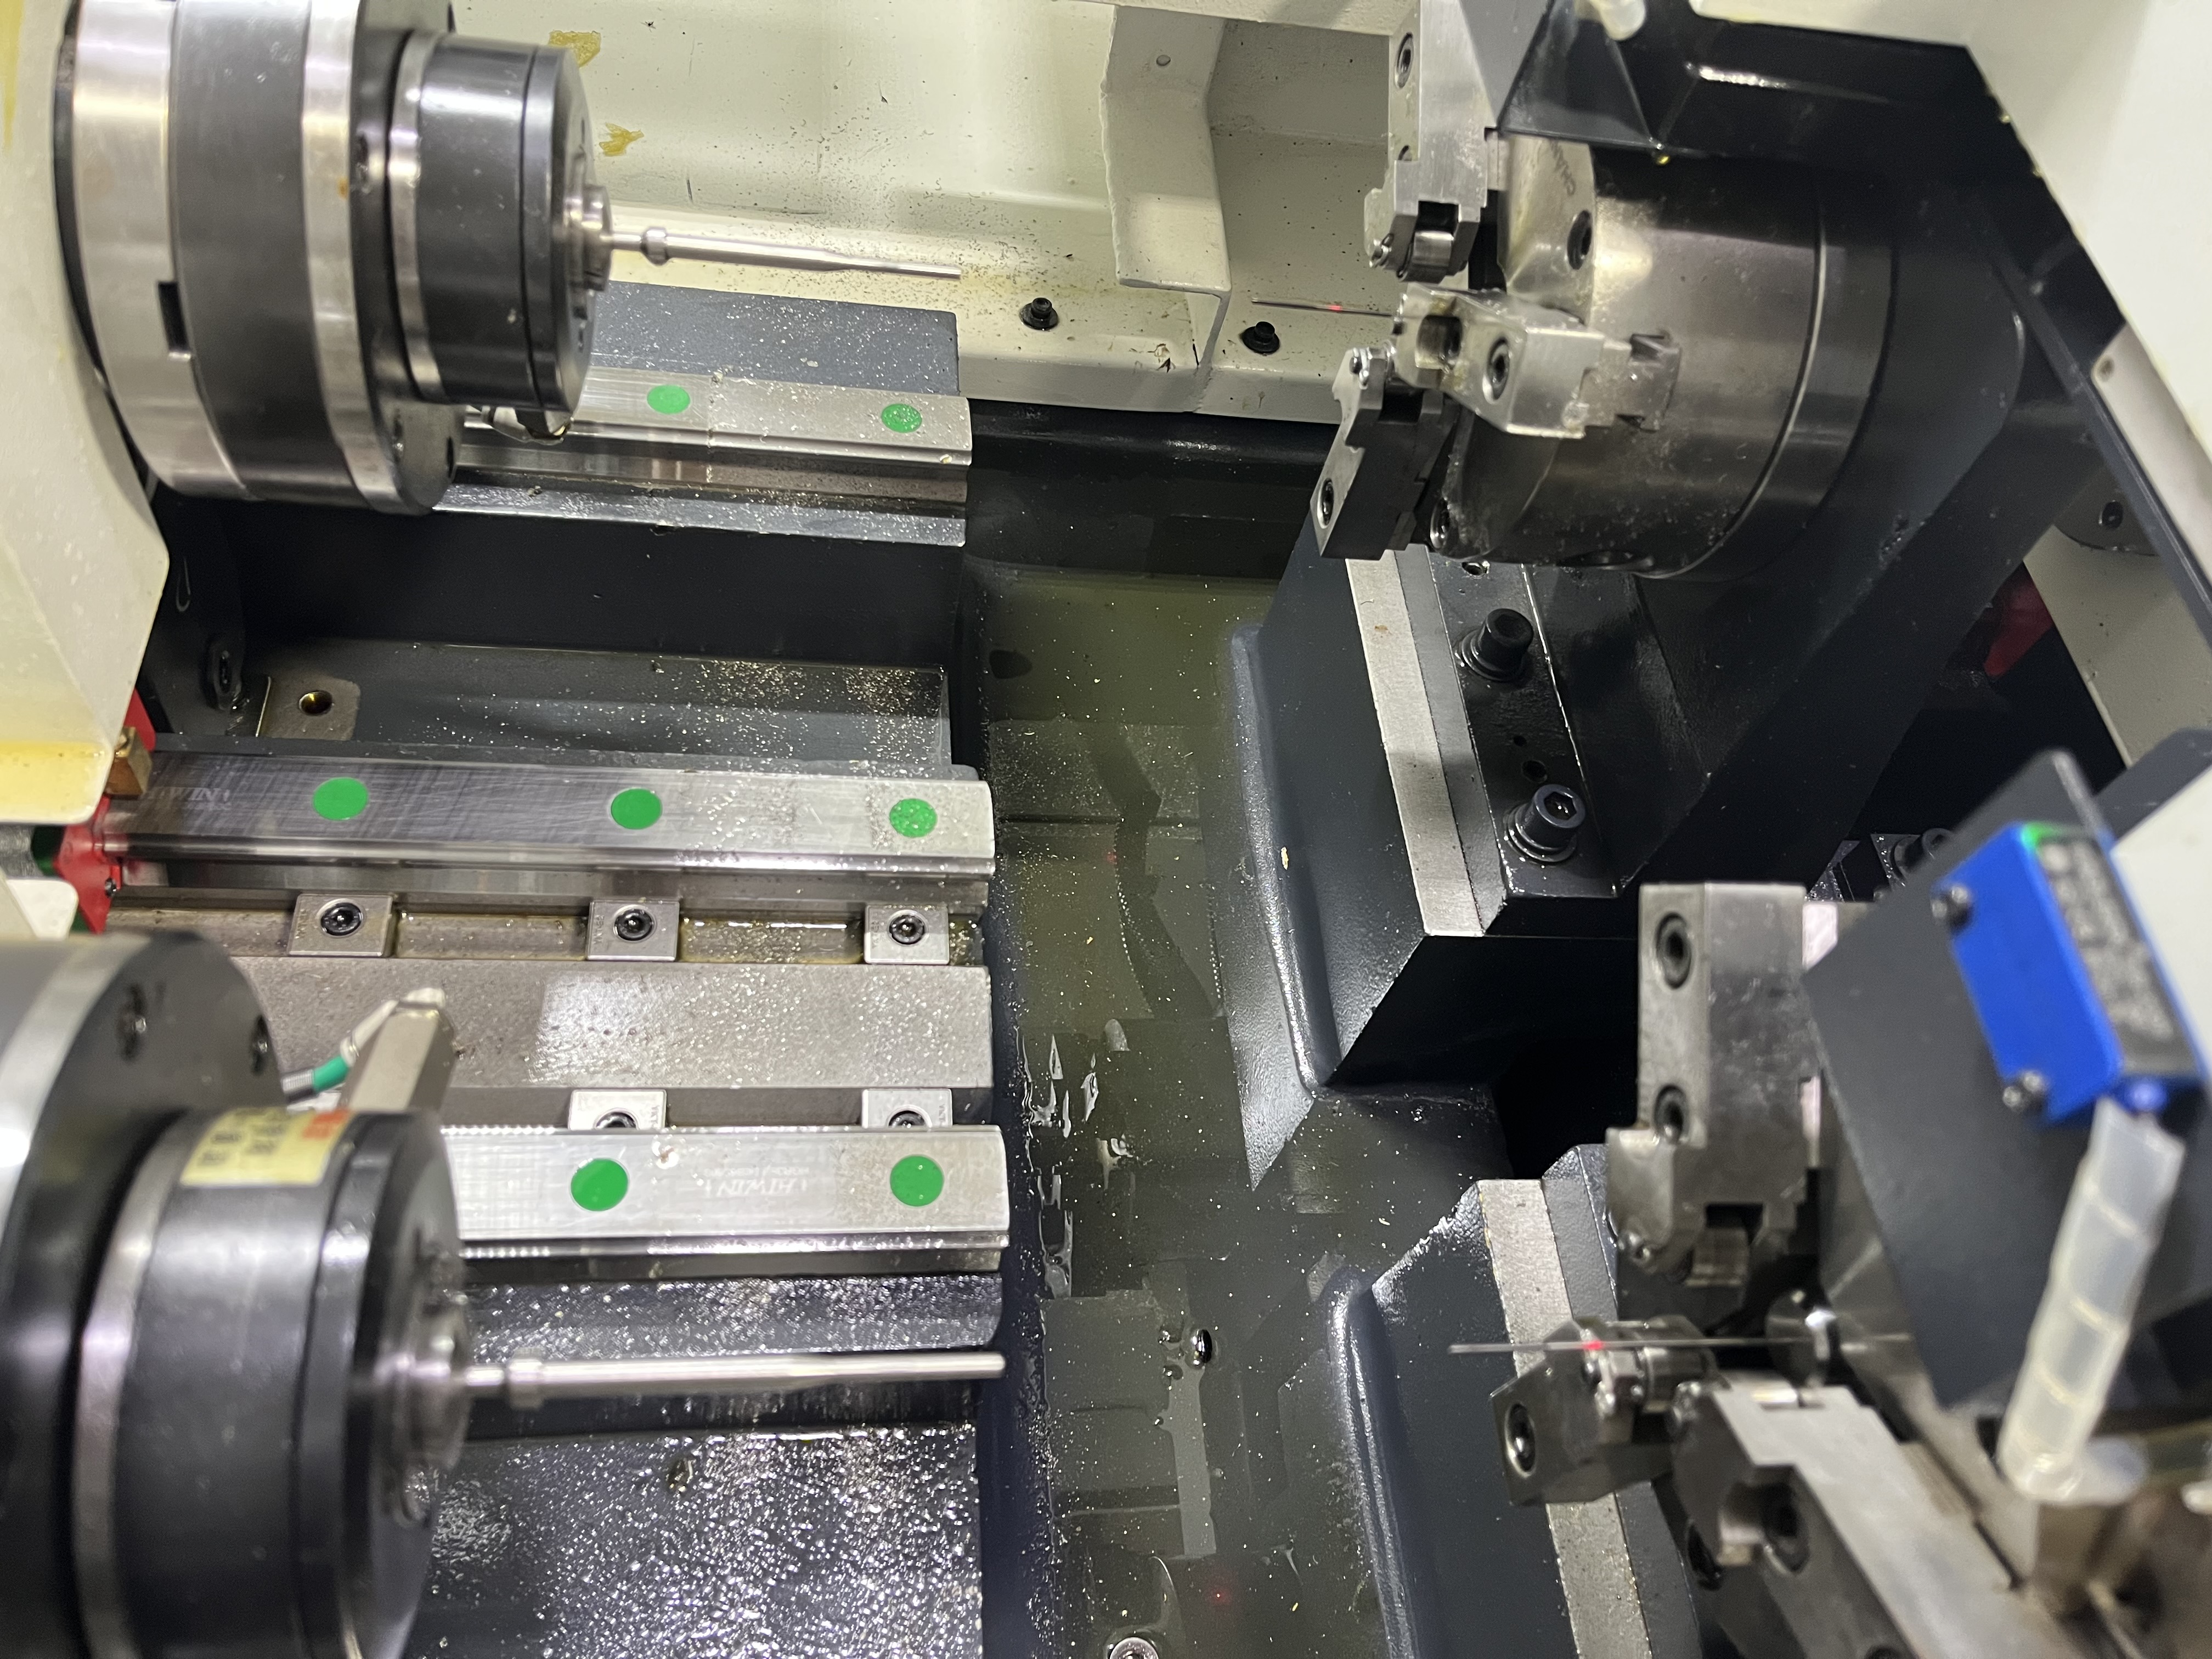
Thin wall tubing is some of the most frustrating material to deep hole drill. The wall has almost no rigidity, so the cutting forces that would be negligible on a solid bar become critical. I have seen tubes collapse, chatter, ovalize, and ring like a bell when the drill contacts them.
The key is understanding that you are not drilling a hole in a tube – you are drilling a hole through a structure that happens to be shaped like a tube. The structural integrity of the tube has to be maintained during the drilling process.
When I talk about thin wall tubing, I mean tubes where the wall thickness is less than 10% of the outer diameter. So a 100mm OD tube with 8mm wall is thin wall. A 50mm OD tube with 2mm wall is extremely thin wall.
Support Methods
The most important decision on a thin wall tube job is how to support the tube. I use four methods depending on the wall thickness and the application:
| Support Method | Wall Thickness (% of OD) | Application | Effectiveness |
|---|---|---|---|
| External steady rests only | 8-10% | Thicker tubes, short bores | Fair |
| Internal mandrel | 5-8% | Medium wall tubes | Good |
| Sand or low-melt alloy fill | 3-5% | Thin wall, moderate loads | Very good |
| Plug support at drill point | Under 3% | Extreme thin wall | Excellent |
Internal Mandrel
A mandrel is a steel rod that fits inside the tube, supporting the wall from the inside. The mandrel diameter is typically 0.1-0.2mm smaller than the tube ID so it slides in easily but provides support.
I have a set of mandrels in standard sizes from 20mm to 300mm. For odd tube IDs, I use a split mandrel with expanding segments or a rubber bladder mandrel that expands with hydraulic pressure.
The mandrel must extend past the drill point by at least 50mm. If the mandrel ends before the drill point, the unsupported section will deflect.
Sand or Low-Melt Alloy Fill
For extreme thin wall tubes with less than 3mm wall thickness, I fill the tube with sand or a low-melt alloy (Cerrobend or similar). The fill material distributes the cutting force over the entire tube length.
Sand is cheap and easy. I pack the tube with dry, fine sand and cap the ends. After drilling, I dump the sand out. The downside is that sand can get into the coolant system if the seal at the drill entry is not tight.
Low-melt alloy (melting point 70-90 degrees Celsius) provides better support than sand but is more expensive. I melt the alloy, pour it into the tube, let it solidify, drill through it, then melt it out after drilling. The alloy can be reused.
Drilling Parameters for Thin Wall Tubes
I reduce cutting parameters by 20-50% compared to solid material. The exact reduction depends on the wall thickness.
Parameter Reduction Factors
| Wall Thickness | Speed Reduction | Feed Reduction | Coolant Pressure |
|---|---|---|---|
| > 10% of OD | 0% (standard) | 0% (standard) | Standard |
| 8-10% of OD | 10-15% | 10-15% | Standard |
| 5-8% of OD | 15-25% | 20-30% | 500-800 psi |
| 3-5% of OD | 25-35% | 30-40% | 300-600 psi |
| < 3% of OD | 35-50% | 40-50% | 200-400 psi |
Specific Material Parameters
| Material | Wall Thickness | Speed | Feed | Support |
|---|---|---|---|---|
| 316L stainless | 3mm (50mm OD) | 45-60 m/min | 0.03-0.05 mm/rev | Mandrel |
| 6061 aluminum | 2mm (40mm OD) | 80-110 m/min | 0.04-0.08 mm/rev | Mandrel |
| 1045 steel | 5mm (80mm OD) | 65-85 m/min | 0.05-0.08 mm/rev | Mandrel |
| 4140 (annealed) | 6mm (100mm OD) | 60-80 m/min | 0.06-0.10 mm/rev | Mandrel |
| 304 stainless | 2mm (30mm OD) | 40-55 m/min | 0.02-0.04 mm/rev | Sand fill |
Vibrating and Chatter
Thin wall tubes resonate when the drill contacts them. The tube rings at its natural frequency, which depends on the length, diameter, and wall thickness. The chatter marks the tube and can ruin the surface finish.
I have found three ways to stop chatter:
Increase feed at entry – run 50% higher feed for the first 5mm of engagement. This pushes through the resonance zone before the vibration builds up.
Use polymer or nylon steady rest rollers – steel rollers transmit vibration into the tube. Polymer rollers damp it.
Fill voids with damping material – if the tube is empty, wrap it with rubber sheeting or use a heavy grease between the tube and the steady rests.
Tube Collapse
Tube collapse happens when the radial cutting force exceeds the wall’s buckling strength. The tube flattens at the drill point and the bore comes out oval.
The warning signs are:
- The tube OD shows a flat spot at the drill entry point
- The bore wall thickness varies by more than 10% around the circumference
- The drill makes a screeching sound instead of a steady cutting noise
If I see any of these signs, I stop immediately and add more support – usually by switching from steady rests only to a mandrel.
Measuring Results
After drilling a thin wall tube, I check:
- OD roundness – measure with a micrometer at the drill entry point
- Bore wall thickness – ultrasonic measurement around the circumference
- Straightness – roll the tube on a surface plate and check with feeler gauges
- Surface finish – profilometer reading inside the bore
If the OD ovality is more than 0.05mm, I add more support. If the straightness is out by more than 0.1mm/m, I adjust the steady rest pressure.
Key Takeaways
- Wall thickness under 10% of OD requires additional support – steady rests alone are not enough
- Internal mandrels work for 5-8% wall thickness; sand or low-melt alloy fill for under 3%
- Reduce cutting parameters by 20-50% depending on wall thickness
- Increase feed at entry to suppress chatter
- Check OD roundness after drilling – ovalization means insufficient support
For related articles, see stainless thin wall techniques and repair and rework.