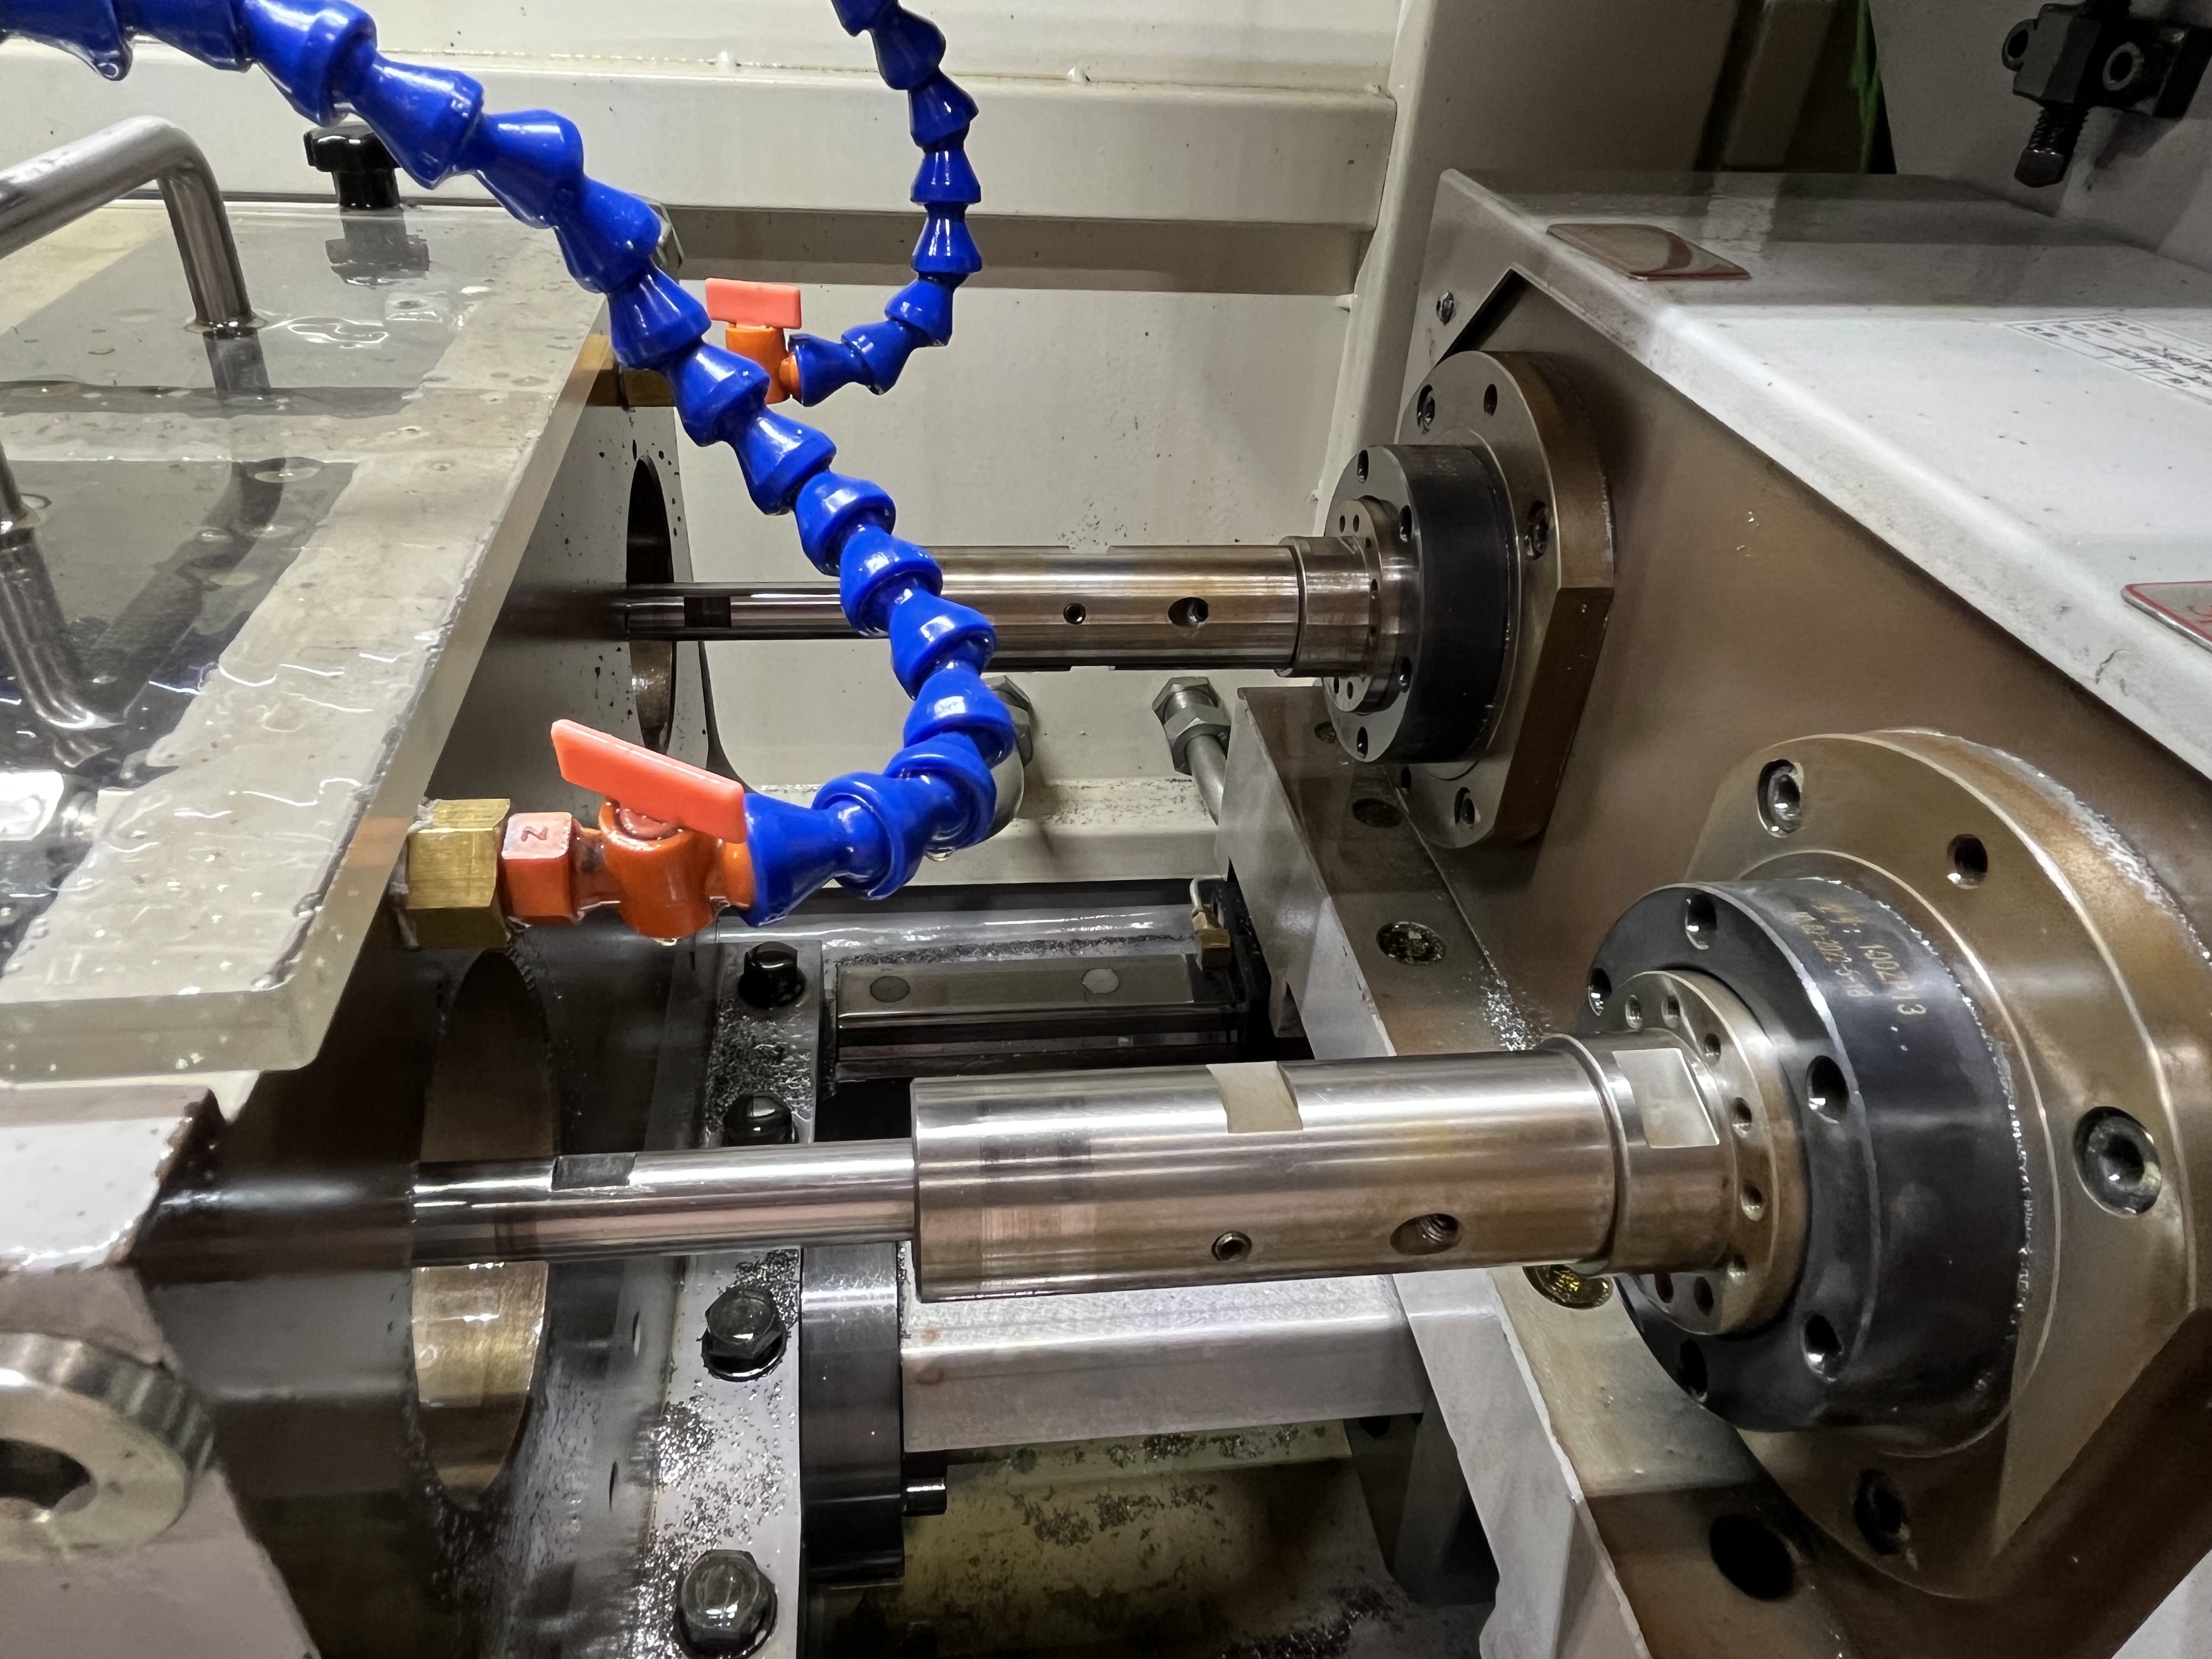
When a bore is out of position or oversized, welding and re-drilling can sometimes save the part. The process involves welding the damaged bore closed, then re-drilling to the correct position and size. I have used this technique on hydraulic cylinders, valve bodies, and large mechanical components. It is not a perfect solution but it beats scrapping a high-value part.
The decision to weld-repair a bore comes down to economics and geometry. I evaluate the part against three criteria: the base material must be weldable, the wall thickness after repair must be adequate, and the repair cost must be less than half the replacement cost. If any of these conditions is not met, I recommend scrapping the part and starting fresh.
The Weld Repair Procedure
The weld repair needs to be done with compatible filler material. I use a filler that matches the base material composition. For 42CrMo4 steel, I use an 80Ni-20Cr filler or a matching low-hydrogen electrode. For stainless steels, I match the grade exactly – 316L filler for 316L base material, 304L for 304L. Using the wrong filler creates a weld zone with different hardness and thermal expansion properties, which causes problems during re-drilling.
Before welding, I machine the damaged bore to a clean, uniform surface. This removes any cracks, scoring, or ovality from the original bore. I bore it out at least 1mm deeper than the deepest damage. For an oversized bore, I bore it round and concentric to the original centerline. The bore for welding typically ends up 2-5mm larger than the original diameter, depending on the damage depth.
The welding itself is done in layers. I do not fill the entire bore in one pass. Instead, I build up the weld in 3-5mm thick layers, letting each layer cool between passes. This reduces the heat input and minimizes the heat-affected zone. For large bores over 50mm diameter, I use a submerged arc process for the filler passes. For smaller bores, TIG or MIG welding works fine.
After welding, I inspect the weld for porosity, cracks, and inclusion. Any defects in the weld zone will show up during re-drilling and can cause tool failure or a rejected bore. I use dye penetrant inspection on the weld surface before moving to the next step.
Pre-Weld Preparation and Machining
The preparation work before welding determines the quality of the final repair. I spend as much time on preparation as on the welding itself. The bore needs to be cleaned of all oil, grease, and coolant residue before welding. Contaminants in the weld zone cause porosity and hydrogen cracking.
I use a solvent wash followed by an acetone wipe on the bore surface before welding. For oil-soaked castings, I run a bake-out cycle at 150-200 degrees C for 2 hours to drive trapped oil out of the pores. Without the bake-out, the oil seeps into the weld puddle and creates porosity that is impossible to eliminate.
The bore geometry after machining also matters. I cut a 30-degree bevel on each side of the bore wall to create a V-groove for the weld. The V-groove gives the weld good penetration into the sidewalls. A square-cut bore does not allow the weld to fuse properly with the sidewall material, and the bond line becomes a weak point.
I also drill small vent holes at the bottom of the bore if it is a blind hole. The vent holes let trapped gases escape during welding. Without vent holes, the expanding gases blow back through the weld puddle and create blowholes. This is a detail I learned the hard way after scrapping a valve body repair. I now add vent holes to every blind bore repair automatically.
Post-Weld Stress Relief and Machining
The part is stress-relieved after welding to prevent distortion during re-drilling. The heat from welding creates new residual stresses in the part. If I skip the stress relief and go straight to drilling, the part can warp as soon as the drill removes material from the weld zone.
I use the following stress relief parameters depending on the base material:
| Base Material | Stress Relief Temp | Hold Time | Cooling Method |
|---|---|---|---|
| Carbon steel (42CrMo4) | 550-600 C | 1 hr per 25mm | Furnace cool |
| Stainless steel (304, 316) | 400-450 C | 2 hr per 25mm | Slow air cool |
| Stainless steel (17-4PH) | 480 C | 1 hr | Air cool |
| Ductile iron | 500-550 C | 1 hr per 25mm | Furnace cool |
| Aluminum (6061) | 175-200 C | 2 hr | Air cool |
After stress relief, I machine the entry surface flat and spot face the start point. The weld buildup is usually uneven at the surface, so I face it off with a boring bar or end mill to create a clean, flat entry surface. This step is critical – if the drill enters on a sloped surface, it walks off center before it gets started.
Then I gun drill the bore again at the correct position. For a positional error, I adjust the drill guide bushing to compensate. For an oversized bore, I drill to the original size using the same parameters I would use for the base material. The weld zone is harder than the base material, so I reduce the feed rate by 10-15% through the weld section.
Limitations and Failure Modes
The limitations are wall thickness and part geometry. If the wall thickness is less than 5mm after the repair, the part is not salvageable. The weld zone needs enough surrounding material to contain the stresses. A thin wall after repair is prone to cracking or distortion during re-drilling.
The weld zone is also harder than the base material, which affects tool life. I have measured hardness in the weld zone of carbon steel repairs at 35-42 HRC, compared to 25-30 HRC in the base material. The harder zone wears the drill cutting edge faster. I typically replace the gun drill tip after a weld repair job, even if it looks serviceable. The uneven wear from the hard zone compromises the bore straightness.
Another issue I have encountered is porosity in the weld. Even with good welding practice, small gas pockets can form in the weld buildup. When the drill hits a porosity void, it experiences a sudden change in cutting resistance. This can chip the cutting edge or cause the drill to deflect. I have learned to inspect the weld with ultrasonic testing before drilling if the part is high-value.
I also watch for hydrogen cracking in the weld zone, especially on higher-carbon steels. The preheat and post-weld stress relief cycle need to be followed strictly for materials like 42CrMo4 and 4140. I preheat these materials to 200-300 C before welding and maintain the temperature throughout the welding process.
Success Rate and Economics
I have salvaged high-value parts this way. A large hydraulic cylinder barrel that was drilled 2mm off position cost $3000 to replace. The weld repair cost $600 and the part passed inspection. That is a typical result – the repair costs 20-30% of replacement and the part goes back into service.
The table below summarizes my success rates across different part types:
| Part Type | Repairs Attempted | Successful | Scrapped After Repair | Typical Cost Savings |
|---|---|---|---|---|
| Hydraulic cylinder barrel | 15 | 13 | 2 | $1500-3000 |
| Valve body | 8 | 6 | 2 | $800-2000 |
| Large shaft bore | 5 | 4 | 1 | $2000-5000 |
| Machine tool spindle housing | 3 | 2 | 1 | $4000-8000 |
The successful repairs have all held up in service. I have tracked several hydraulic cylinders that were weld-repaired and re-drilled five years ago. They are still in service with no issues. The key was proper weld procedure, thorough stress relief, and careful drilling parameters.
Welding and re-drilling is a last resort. It is cheaper than scrapping a high-value part but the result is not as good as a virgin bore. I only recommend it when the replacement cost is high and the part geometry allows for a clean repair. The customer needs to sign off on the repair procedure before I start, and the inspection report goes into the part history file.
Key Takeaways
- Weld repair is viable when the wall thickness after repair is at least 5mm and the base material is weldable.
- The weld zone is 10-15 HRC harder than the base material, which requires reduced feed rates and a fresh drill tip.
- Stress relief after welding is mandatory – skipping it guarantees distortion during re-drilling.
- Dye penetrant or ultrasonic inspection catches weld defects before they cause drilling problems.
- The typical repair cost runs 20-30% of replacement cost, making it economical for high-value parts.
- I have had successful repairs that lasted years in service, but the result is never quite as good as a virgin bore.
- Not every salvage attempt succeeds. I scrap about 15% of weld-repaired parts after drilling.
- A documented repair procedure with customer sign-off protects both parties if the repair does not hold.