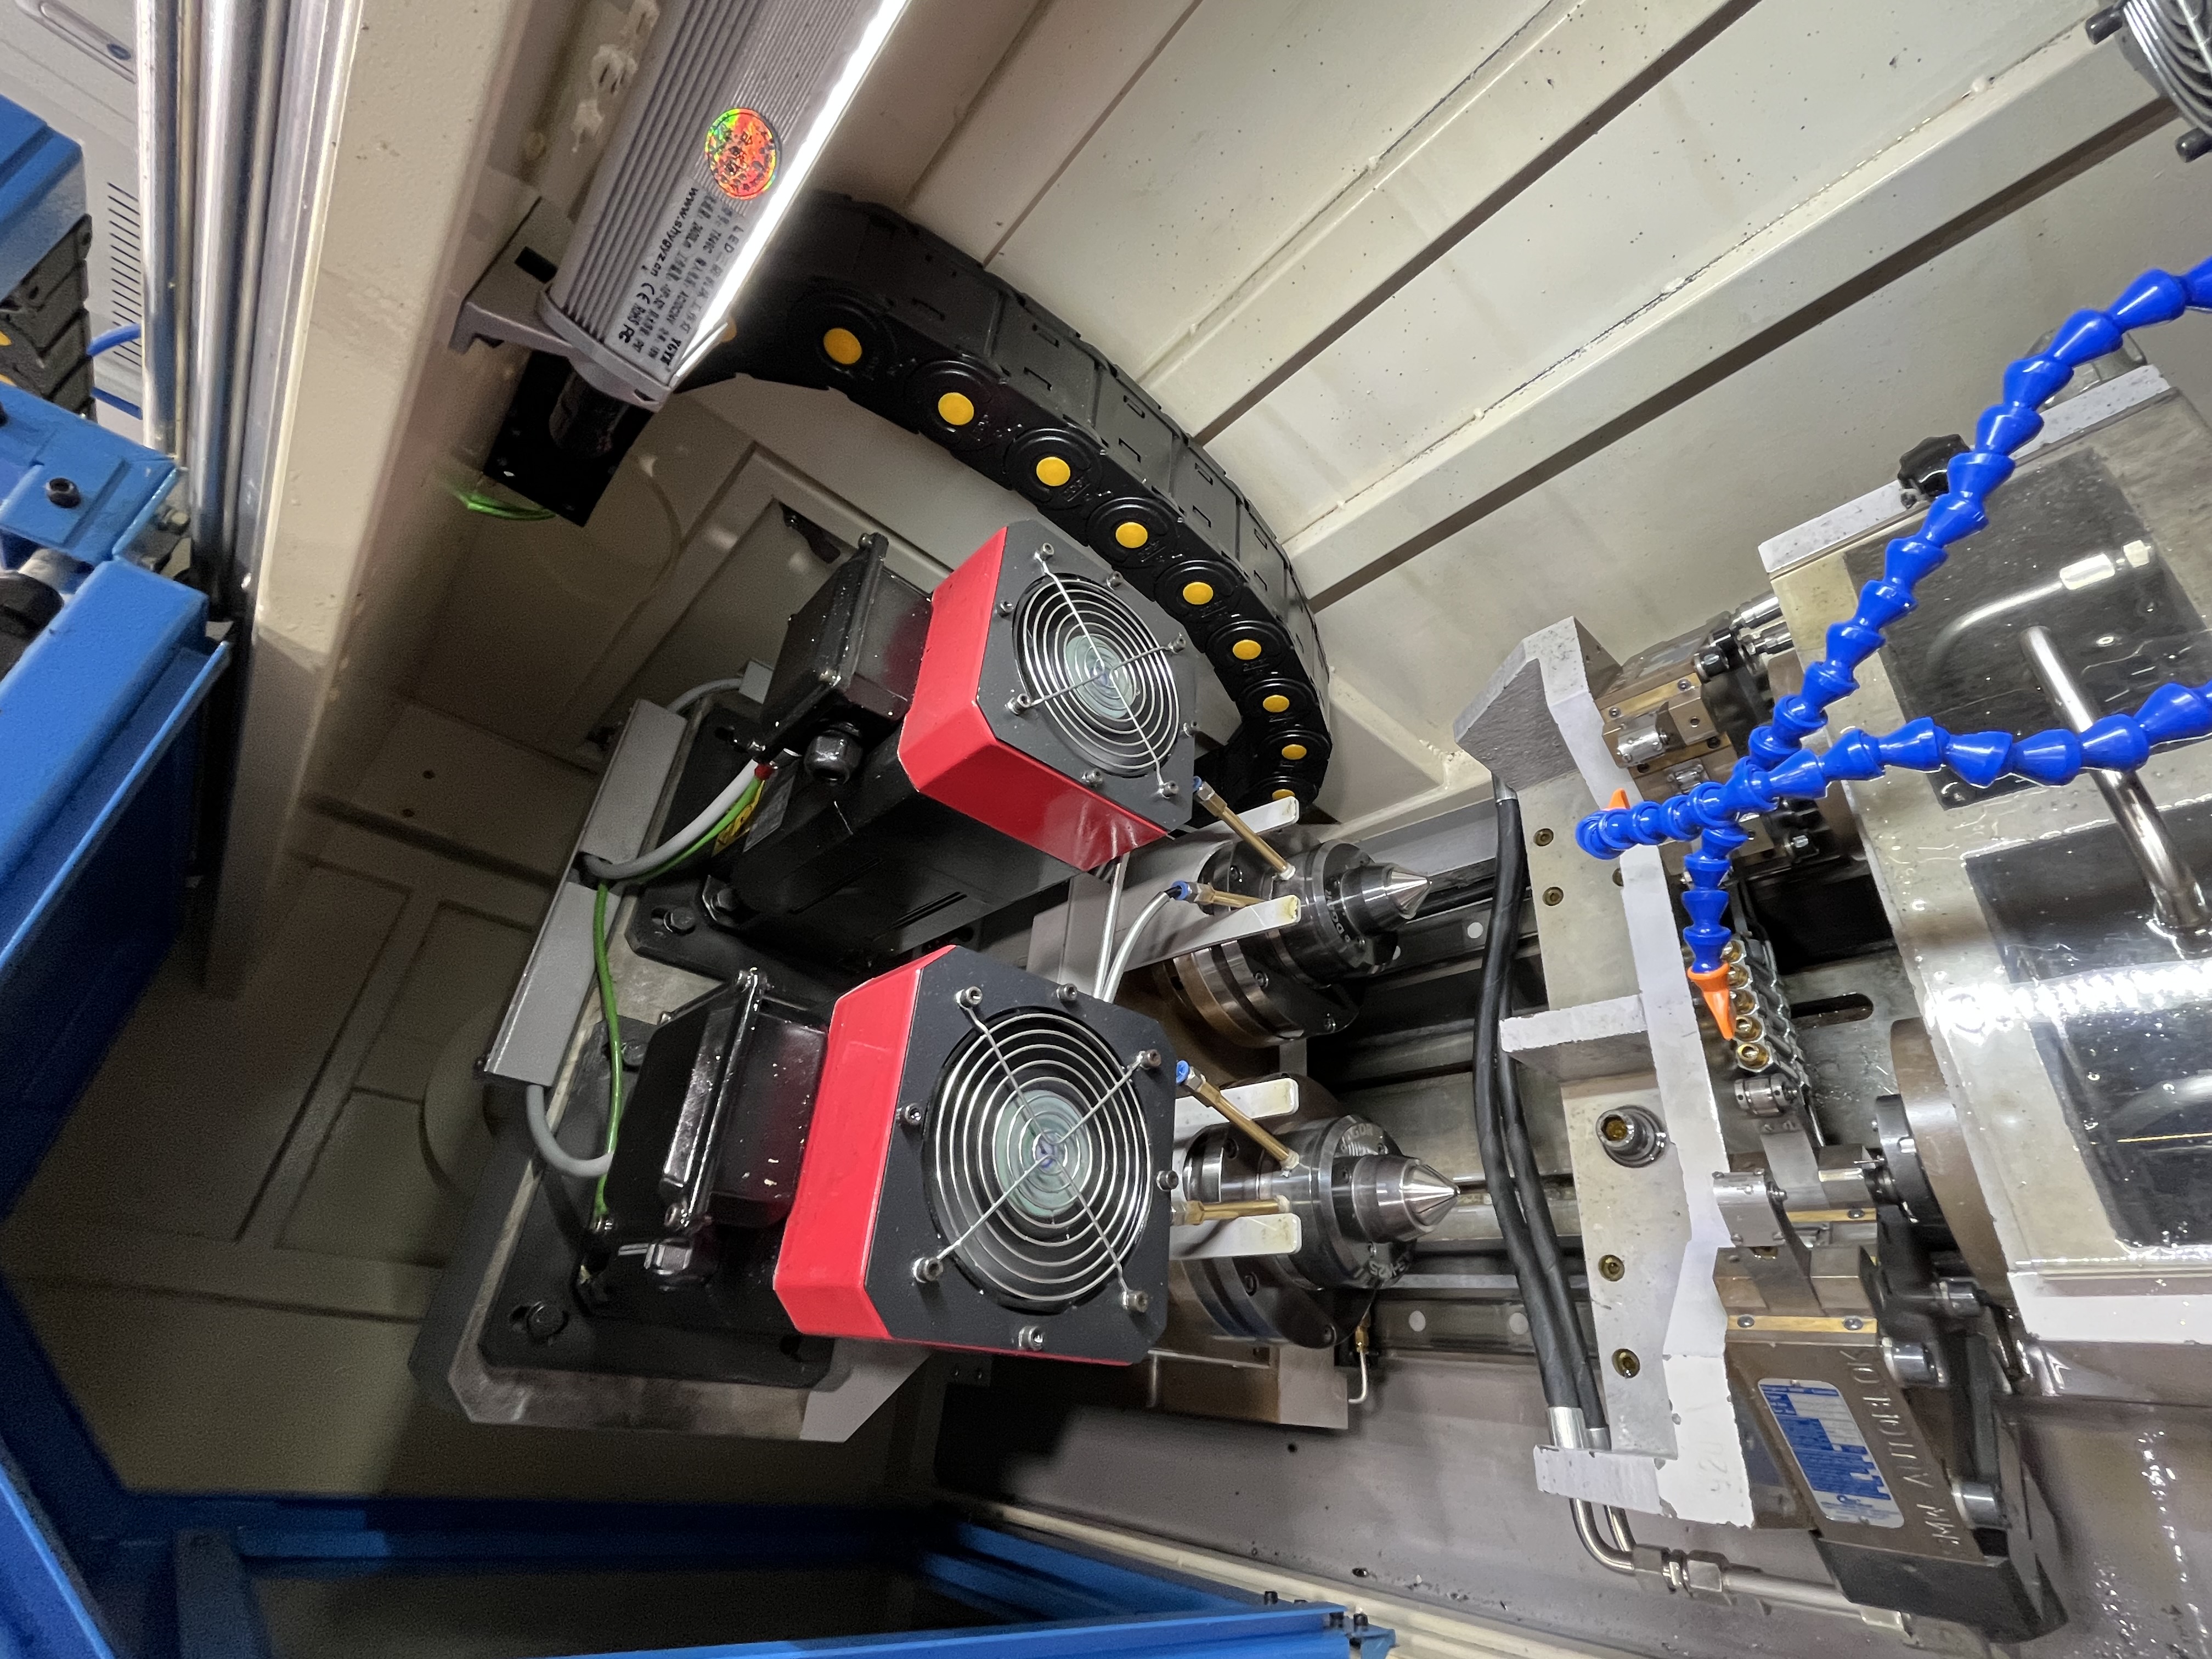
Deep hole drilling puts more demand on coolant than any other machining process. High pressure, high flow, and continuous chip load mean coolant degrades faster. I have found that a systematic dump-clean-recharge (DCR) procedure every 6-12 months doubles coolant life and prevents most contamination problems before they start.
Here is the procedure I use.
When to Do a DCR
I do not wait for a fixed schedule. I watch for these triggers:
| Trigger | Action |
|---|---|
| Coolant smells rancid or sulfurous | DCR immediately |
| Bacteria count exceeds 10^5 CFU/mL on dip slide | DCR within 1 week |
| Tramp oil layer over 5mm thick | DCR after skimming attempt |
| Fines accumulation over 25mm in tank bottom | DCR at next opportunity |
| pH has dropped more than 0.5 from baseline | DCR within 2 weeks |
| 12 months since last DCR | Schedule DCR |
If coolant smells bad, the bacterial population is already high. Do not try to treat it with biocide alone — the dead biomass will still cause problems. Dump and start fresh.
I cover contamination detection in more detail in Coolant Contamination Guide.
Step 1: Dump the Old Coolant
Before dumping, check local disposal regulations. Coolant is typically classified as industrial waste and cannot go down the drain.
I pump the old coolant into 55-gallon drums and label them for waste collection. For a typical deep hole drilling machine with a 200-gallon tank, this takes about 30 minutes with a transfer pump.
Do not drain the tank through the machine’s coolant pump. The sediment in the bottom will clog the pump suction and the abrasive fines will damage the pump. Use a separate transfer pump with a suction strainer.
Step 2: Manual Cleaning
This is the most critical step. Simply draining and refilling does not remove the bacterial biofilm, fungal mats, and compacted fines that accumulate on tank surfaces.
I do the following in order:
- Remove all access covers. Ventilate the area — coolant fumes can be concentrated in enclosed tanks.
- Scrape the tank bottom. Use a plastic scraper (not metal — metal can damage tank coatings). Remove all compacted sludge and fines. A 200-gallon tank typically yields 5-15 gallons of wet sludge.
- Scrub the walls. Bacterial biofilm forms a slimy layer on tank walls above and below the coolant line. I use a stiff nylon brush and a tank cleaning solution.
- Clean the weir and return chutes. Chips accumulate here and trap coolant that goes stagnant.
- Rinse with fresh water. A pressure washer works well. Collect all rinse water for disposal — it is contaminated.
The fines and sludge from deep hole drilling are particularly abrasive. I wear gloves and eye protection during cleaning. The sludge can contain sharp metal particles small enough to embed in skin.
Step 3: Check and Clean System Components
With the tank empty, I inspect and clean the rest of the coolant system:
| Component | What to Check | Action |
|---|---|---|
| Suction strainer | Clogged with fines | Clean or replace |
| Tank baffles | Slime buildup | Scrub clean |
| Return chute | Chip accumulation | Remove all chips |
| Skimmer (if installed) | Belt condition, wiper blades | Replace if worn |
| Level switch | Scale or debris buildup | Clean sensing surface |
| Tank heater (if installed) | Scale accumulation | Descale or replace |
This is also a good time to replace any seals or gaskets on the tank covers that are worn. A leaking tank cover allows airborne chips to enter the coolant.
Step 4: Recharge with Fresh Coolant
Fill the tank with fresh water first, then add concentrate. Do not add concentrate to an empty tank and then add water — it will not mix properly.
For oil-based coolants used in gun drilling, the procedure is different. Oil does not support bacterial growth the way water-based coolants do, so the cleaning frequency is lower. But the fines accumulation still requires periodic tank cleaning. For oil systems, I filter the oil through a 10-micron cartidge filter during the transfer rather than dumping it.
I cover coolant concentration measurement in Coolant Concentration Control.
Step 5: Verify Before Production
After recharging, I run the system for 30 minutes and verify:
- Concentration is at the target level (±0.5%)
- pH is within range (8.5-9.5 for soluble oils)
- Pressure at the tool tip is at the expected level
- No leaks at tank connections
I document the DCR date and readings in the machine’s maintenance log. This helps me track whether the 6-12 month interval is right for my operating conditions.
How DCR Frequency Changes with Coolant Type
| Coolant Type | Typical DCR Interval | Reason |
|---|---|---|
| Soluble oil (emulsion) | 6-12 months | Bacterial growth, concentration drift |
| Semi-synthetic | 4-8 months | More prone to bacterial issues |
| Full synthetic | 8-12 months | Less bacterial growth but additive depletion |
| Straight oil (gun drilling) | 12-24 months | No bacterial issues, fines accumulation only |
Straight oil systems need less frequent DCR but the cleaning is more involved because oil is more viscous and harder to pump when cold.
Key Takeaways
- Dump-clean-recharge every 6-12 months for water-based coolants, 12-24 months for oil-based.
- Manual cleaning of tank surfaces is the most critical step. Draining and refilling alone does not remove biofilm.
- Use a separate transfer pump, not the machine’s coolant pump, when draining.
- Check suction strainers, baffles, and skimmers during the DCR process.
- Document each DCR and track intervals to optimize frequency for your specific operating conditions.
- Dispose of old coolant through a licensed waste handler. Do not drain into sanitary sewers.