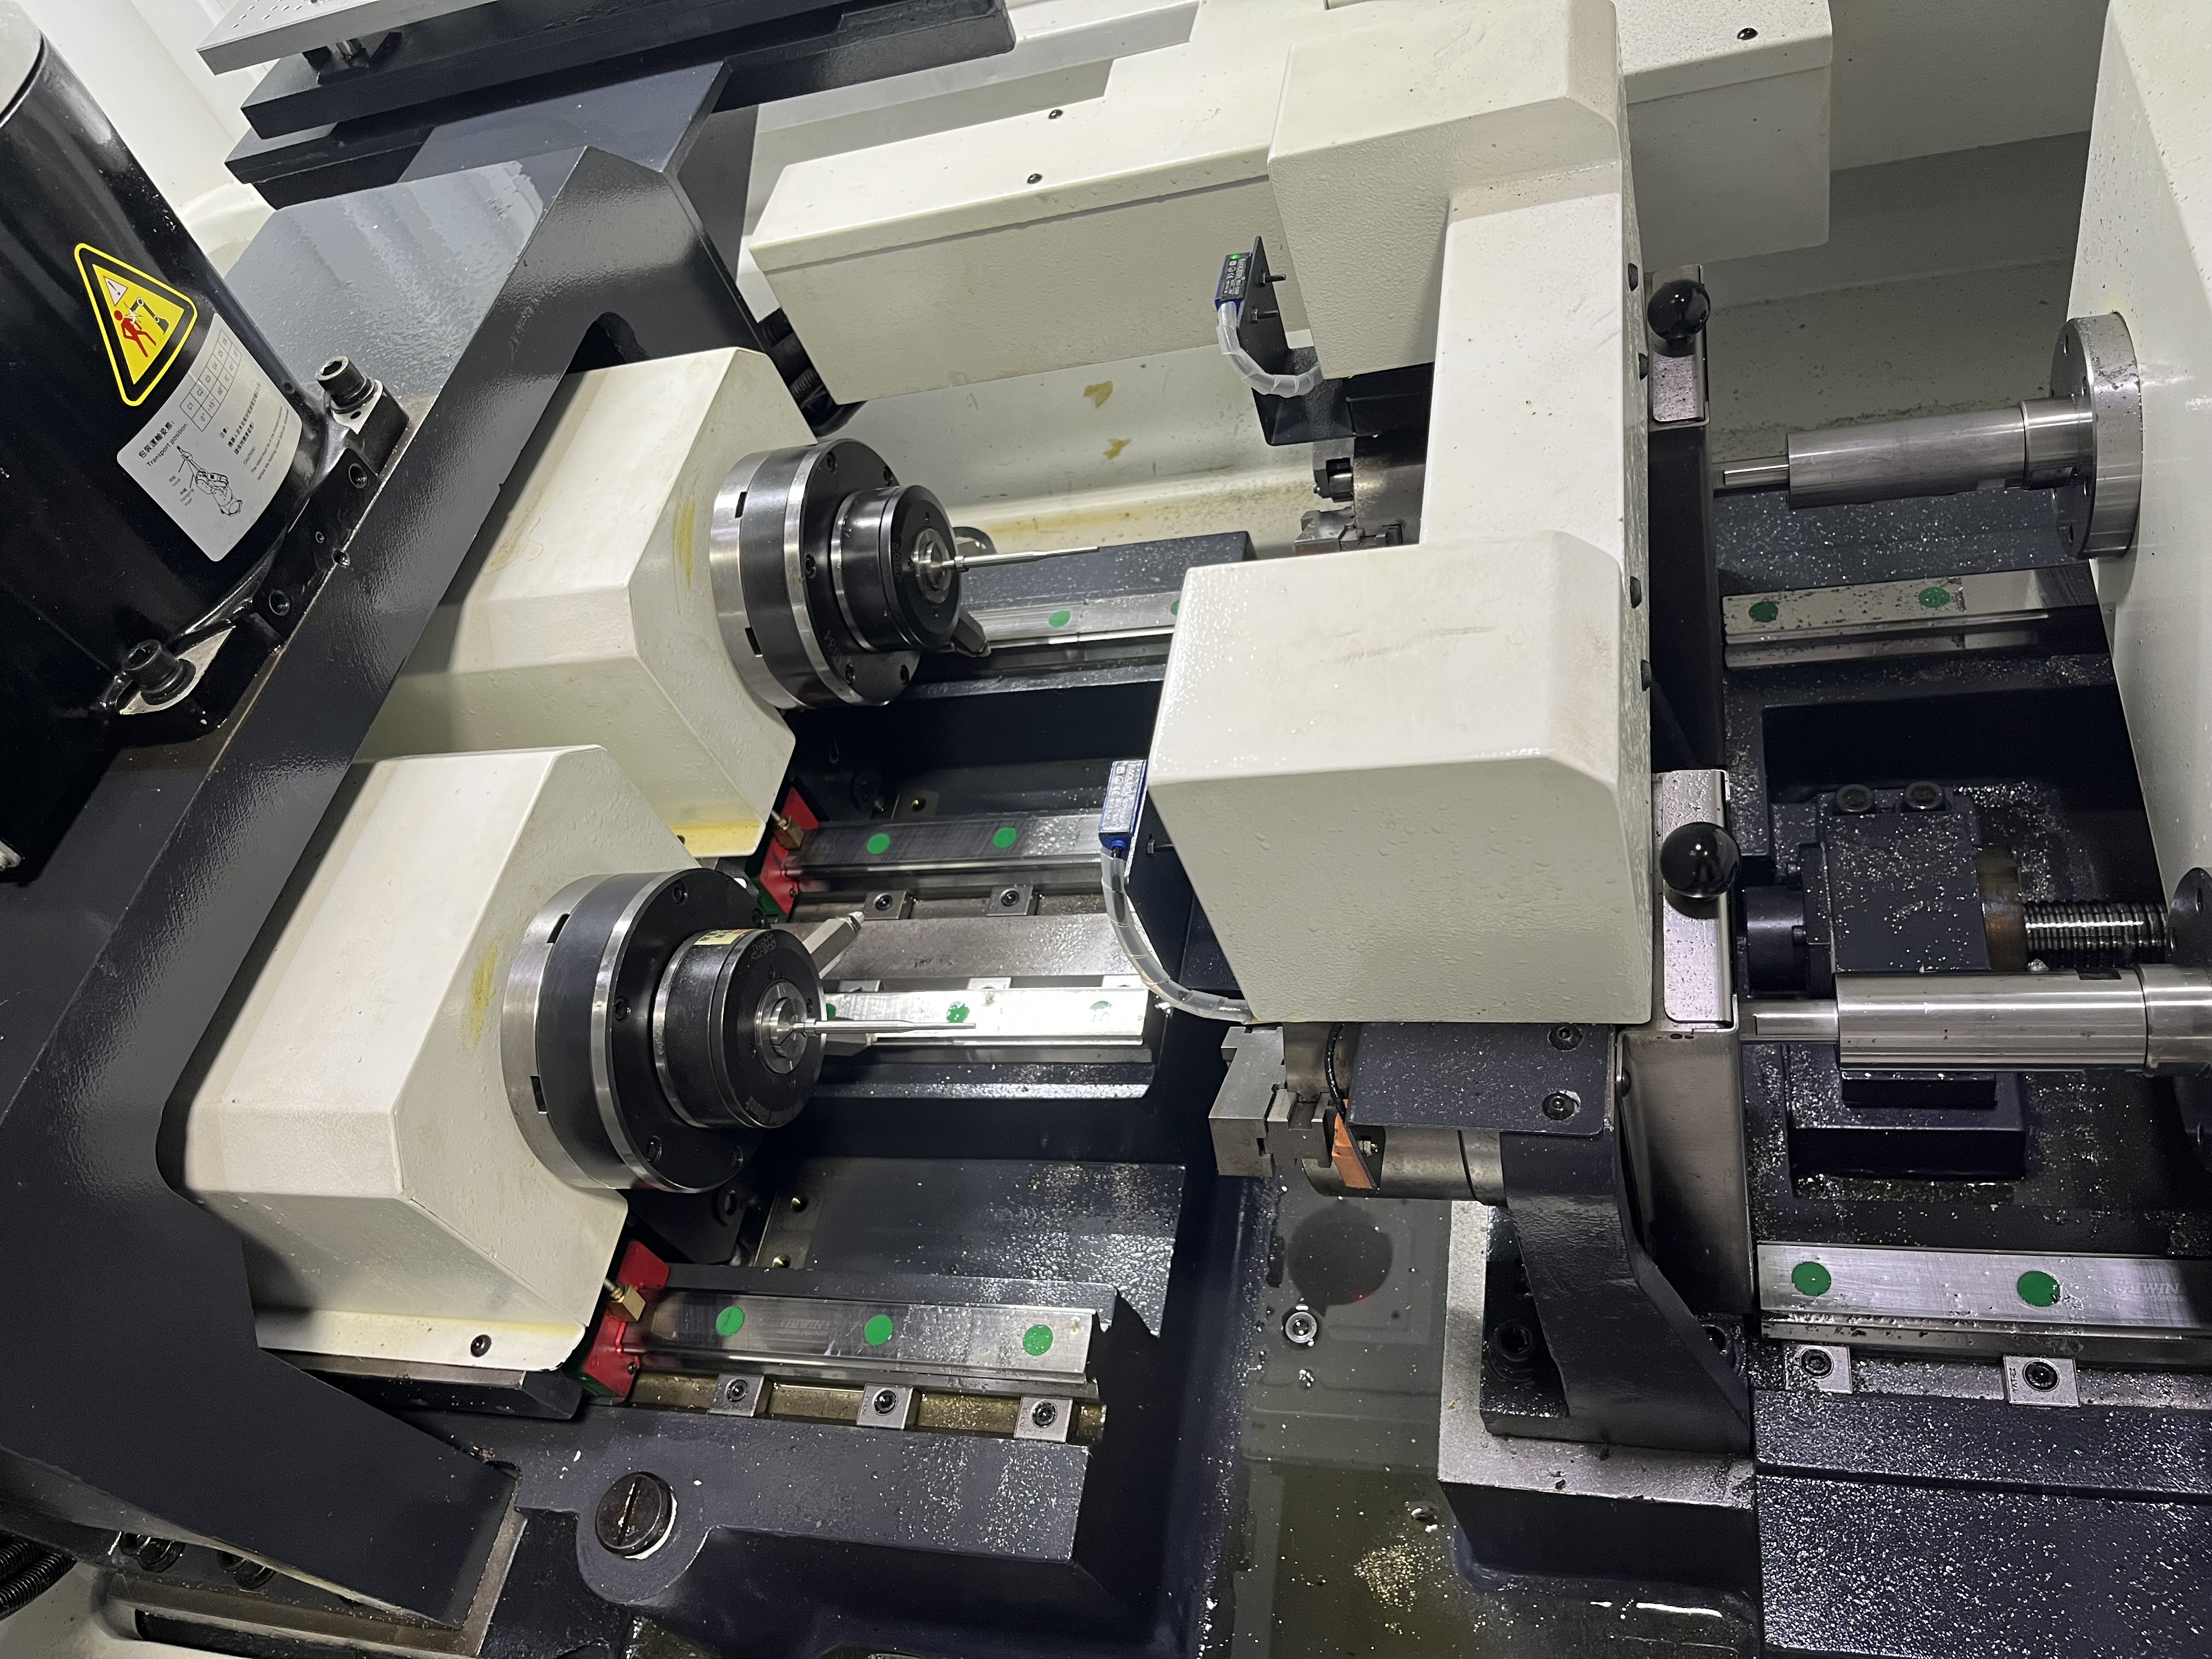
Regular calibration keeps the machine producing accurate holes. I have seen machines drift out of alignment by 0.02mm over a few months of heavy use, which is enough to affect hole position on long jobs requiring tight tolerances.
I follow a structured calibration schedule that catches problems early, before they cause scrap. Here is the schedule I use and the procedures I follow for each check.
Weekly: Spindle Runout Check
The most frequent check is spindle runout. I measure the radial runout at the spindle taper or tool holder interface using a dial indicator with a 0.001mm resolution.
Procedure:
- Clean the spindle taper and the tool holder
- Mount a precision test bar in the spindle (or a known-good tool holder)
- Set the dial indicator against the test bar near the spindle face
- Rotate the spindle by hand through one full revolution
- Record the maximum deviation (TIR)
- Repeat the measurement at 50mm from the spindle face to detect bearing tilt
I check spindle runout every Monday morning before production starts. A reading over 0.01mm TIR means the spindle bearings need attention. I schedule a bearing inspection within the next maintenance window.
I keep a weekly log of runout values. A trend of increasing runout over several weeks — say 0.005mm to 0.008mm to 0.010mm — tells me the bearings are wearing and I can plan a replacement before they fail.
Monthly: Axis Squareness Check
Axis squareness affects hole perpendicularity and position accuracy. I check squareness between the spindle axis and the machine table or workholding.
Procedure:
- Mount a precision square on the machine table
- Mount a dial indicator on the spindle
- Traverse the spindle along the square’s vertical face (Z-axis)
- Record the deviation over 100mm of travel
- Repeat on the horizontal face (X or Y axis)
- Calculate the angular error in mm per 100mm
| Squareness Error | Effect on Hole Quality |
|---|---|
| Under 0.005mm/100mm | Excellent — no noticeable effect |
| 0.005-0.010mm/100mm | Acceptable for most work |
| 0.010-0.020mm/100mm | Marginal — check hole perpendicularity |
| Over 0.020mm/100mm | Needs correction — will produce tilted holes |
I check squareness monthly because it changes slowly over time as the machine settles and ways wear. A sudden change — more than 0.010mm from one month to the next — indicates a problem that needs immediate investigation.
Quarterly: Machine Leveling
Machine leveling affects overall geometry. The machine bed must be level within 0.02mm per meter in both axes for the machine to produce straight holes.
Procedure:
- Clean the machine bed surface
- Place a precision level (0.02mm/m resolution) on the bed in the X direction
- Record the reading
- Rotate the level 90 degrees and record the Y direction reading
- Adjust the leveling pads if needed
- Recheck after adjustment
I check leveling quarterly or after any machine relocation. A machine that is not level produces tapered bores because the bed twists under its own weight.
I also check leveling after heavy workpieces are loaded. A large part weighing several tons can deflect the machine bed enough to affect alignment. I’ve seen shops that level the machine empty and then load a 3-ton part that drops the bed by 0.03mm.
Annual: Full Alignment Verification
The full alignment verification is the most comprehensive check. I use a laser calibration system for this because it is more accurate than mechanical methods.
The annual check includes:
| Check | Method | Tolerance |
|---|---|---|
| Spindle axis to bed travel | Laser alignment | 0.005mm over full travel |
| Guide bushing holder alignment | Dial indicator on test bar | 0.010mm TIR |
| Tailstock alignment | Dial indicator on test bar | 0.010mm TIR |
| Axis positioning accuracy | Laser interferometer | 0.010mm per 300mm |
| Axis straightness | Laser | 0.010mm per meter |
| Axis squareness | Laser | 0.005mm per 100mm |
The annual alignment also includes tightening all anchor bolts, checking the leveling pads, and verifying the machine foundation has not settled.
I schedule the annual calibration during a planned shutdown. The total time is 4-8 hours depending on machine size and the number of axes. I have the results documented in a calibration report that I keep on file.
Calibration Log
I keep a log of all calibration checks. The log includes the date, the measurement values, and any corrective actions taken.
The log is useful for spotting trends. If the spindle runout increases by 0.002mm per month, I know the bearings will need replacement in about five months. This lets me schedule the repair before the machine starts producing scrap.
I use a simple spreadsheet for the log. Each machine has its own tab with columns for the check type, nominal value, actual value, date, and technician. The spreadsheet flags values that are approaching the warning limit.
Compensation Updates
Some CNC controls allow error compensation values to be entered. If the annual calibration finds positioning errors, I compensate for them in the control parameters.
Compensation updates require caution. The compensation values apply to the machine at a specific thermal state. If the compensation was measured with the machine cold, the values will be wrong when the machine is at operating temperature.
I always calibrate at operating temperature and note the temperature in the calibration report. If the machine’s thermal behavior changes — due to a coolant system repair or a change in ambient temperature — I recalibrate.
Key Takeaways
- Weekly spindle runout checks catch bearing wear before it affects hole quality
- Monthly squareness checks detect gradual alignment drift
- Quarterly leveling checks prevent bed twist from causing tapered bores
- Annual full alignment verification with a laser catches problems mechanical methods miss
- A calibration log shows trends that allow predictive maintenance scheduling
- Calibrating at operating temperature is essential for accurate compensation values