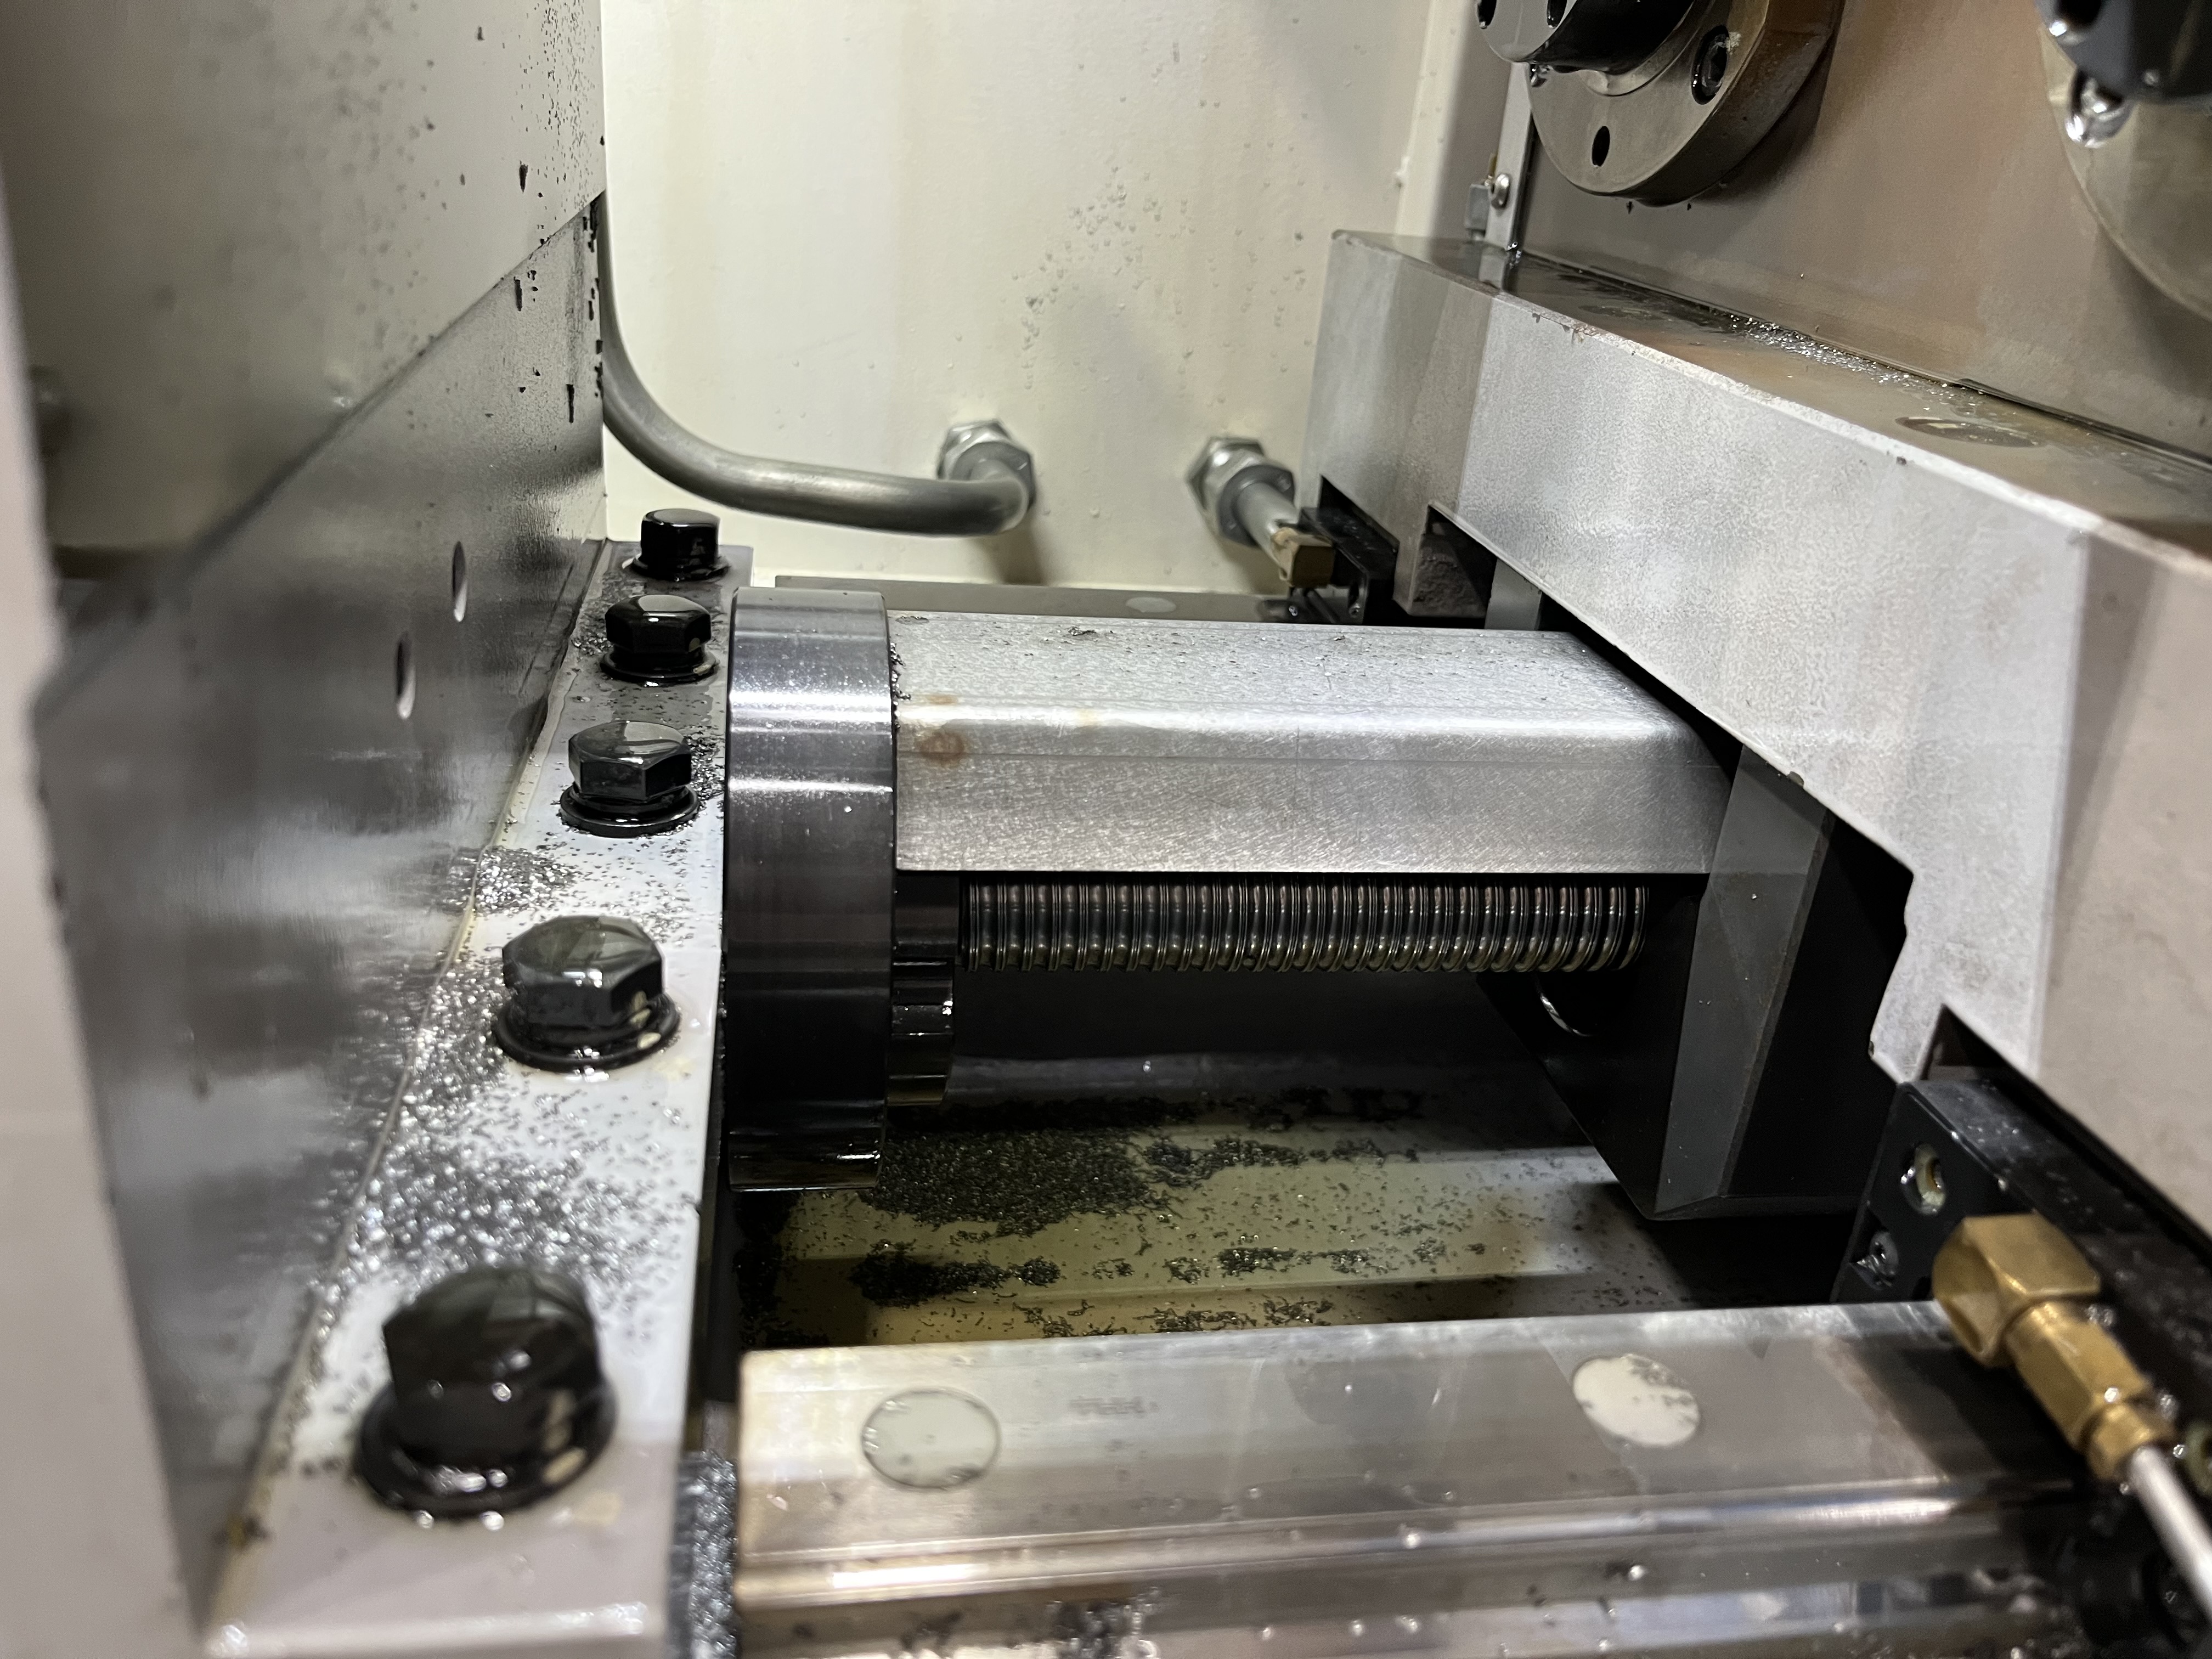
Installing a deep hole drilling machine is more involved than most other machine tools. The long stroke and high cutting forces require a solid foundation and careful alignment.
I’ve been involved in installing several deep hole drilling machines. Getting the foundation and alignment right from the start prevents problems that would otherwise show up in every hole drilled.
Foundation Requirements
A deep hole drilling machine needs a foundation that absorbs the cutting forces and prevents vibration. The foundation requirements depend on the machine size and weight.
For a mid-size single-spindle gun drilling machine (5-ton machine weight):
- Concrete foundation at least 12 inches thick
- Reinforced with rebar
- Isolated from the building floor (cut a gap around the foundation)
- Cured for at least 28 days before machine installation
For larger BTA machines (10-20 tons), the foundation needs to be thicker and may require engineering review. I’ve seen BTA machine foundations that were 24 inches thick with dual layers of rebar.
Here are the foundation specifications I use based on machine weight:
| Machine Weight Range | Concrete Thickness | Rebar Requirement | Cure Time |
|---|---|---|---|
| Under 3 tons | 8 in (200 mm) | Single layer, 12mm at 300mm spacing | 14 days |
| 3-8 tons | 12 in (300 mm) | Single layer, 16mm at 250mm spacing | 28 days |
| 8-15 tons | 18 in (450 mm) | Dual layer, 16mm at 200mm spacing | 28 days |
| 15-25 tons | 24 in (600 mm) | Dual layer, 20mm at 200mm spacing | 28 days |
The foundation needs to be level within 0.1mm per meter. This requires a precision grout during installation.
Leveling
The machine is leveled using precision leveling pads or wedges at the machine feet. The leveling process:
- Rough-level the machine to within 0.5mm per meter
- Tighten all foundation bolts to the specified torque
- Fine-level the machine to within 0.05mm per meter
- Check alignment of the machine bed ways
- Adjust as needed
The leveling process takes a full day for a mid-size machine. Rushing the leveling causes alignment problems that show up in every hole.
Alignment
After leveling, the machine components need to be aligned:
- Headstock spindle to machine bed axis
- Tailstock center to headstock center (if applicable)
- Guide bushing holder to spindle axis
- Steady rest positions to machine bed axis
The alignment check uses a test bar, dial indicators, and precision levels. A typical alignment spec for a gun drilling machine is 0.02mm TIR over 500mm of travel.
I spend the time on alignment during installation. A misaligned machine produces off-center holes that can’t be corrected by parameter adjustments.
Coolant System Installation
The coolant system is often a separate unit that needs to be installed alongside the machine. The coolant pump, tank, filtration system, and chiller need to be positioned and connected.
Key considerations:
- The coolant tank should be large enough for 5-10 minutes of pump flow
- The piping from the pump to the machine should be as short as possible (pressure loss in long pipe runs)
- The return line should slope back to the tank
- The chiller capacity should match the heat load from the coolant
I’ve seen coolant system installations where the pump was too far from the machine, causing a 20% pressure loss in the piping. The pressure at the tool tip was insufficient for deep hole drilling.
Leveling Check after Warm-Up
After the machine is installed and leveled, I run the machine for several hours to warm it up, then recheck the leveling. Thermal expansion can change the alignment as the machine reaches operating temperature.
I check the level after 1 hour, 4 hours, and 8 hours of operation. If the alignment changes significantly during warm-up, the machine needs more time to stabilize or the foundation has an issue.
Vibration Isolation
Deep hole drilling machines should be isolated from vibration sources. Other machines, forklifts, and building vibrations can affect the hole quality.
The isolation is achieved by:
- A gap around the foundation (separate from the building floor)
- Isolation pads under the machine feet (for smaller machines)
- Checking vibration levels with a vibration meter after installation
I’ve seen a machine that produced chatter marks on the bore surface every time a forklift drove past on the other side of the shop. The foundation wasn’t isolated from the building floor.
Commissioning
After installation and alignment, the machine is commissioned by:
- Running all axes through their full travel range
- Checking spindle runout at the tool interface
- Drilling a test bar and checking the results
- Running a capability study (10-20 holes) to verify consistency
The test bar results tell you whether the installation was successful. A straight, consistent hole means the machine is properly installed. A drifting or inconsistent hole means something needs adjustment.
Key Takeaways
Machine installation is a one-time opportunity to get the foundation right. Fixing a poor foundation after the machine is in production is expensive and disruptive. I’ve learned to invest the time in proper installation and alignment before the first production part is drilled. The investment pays for itself in consistent hole quality.
- A solid, isolated foundation is essential – at least 12 inches of reinforced concrete for a mid-size machine.
- Level the machine to within 0.05mm per meter during fine leveling.
- Align the spindle to the bed axis within 0.02mm TIR over 500mm of travel.
- Isolate the foundation from the building floor to prevent vibration transmission.
- Recheck leveling after warm-up – thermal expansion can change alignment.
- Commission with a test bar; a straight test hole confirms the installation is correct.
For the detailed step-by-step procedure I use for leveling, see Leveling and Aligning Deep Hole Drilling Machines.