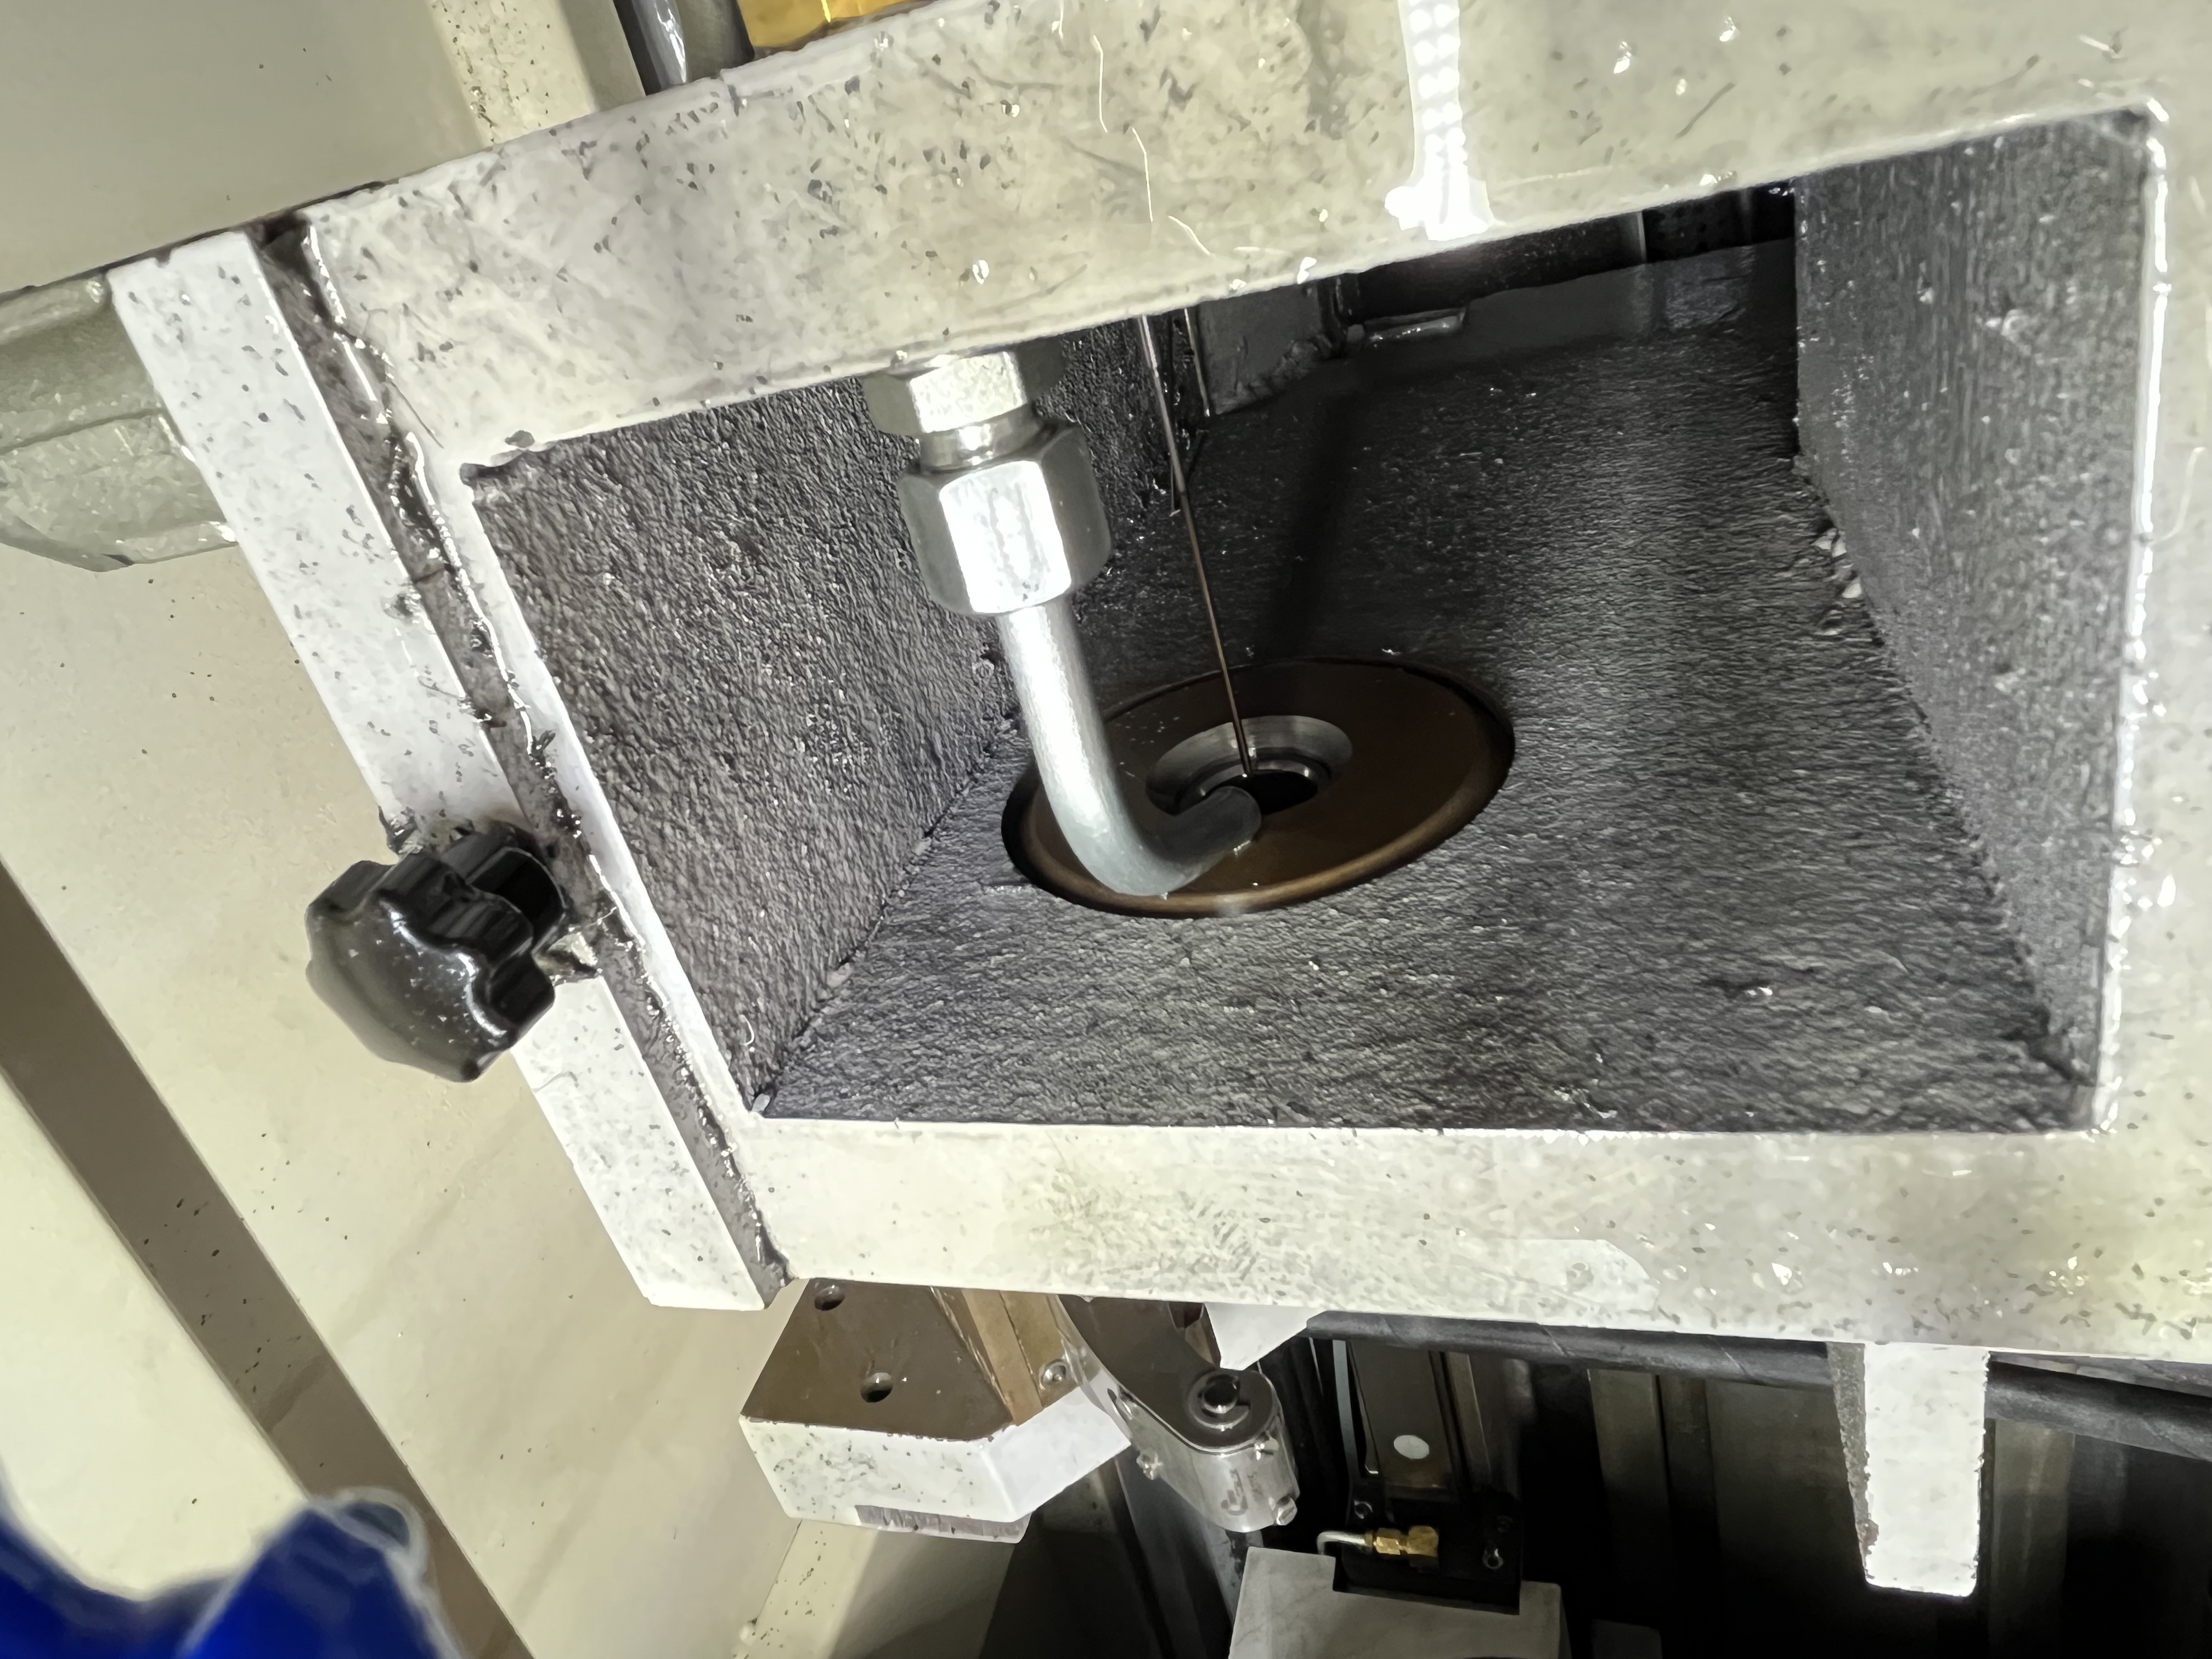
The rotating union transfers coolant from the stationary supply line to the rotating spindle. It is one of the most common failure points on a deep hole drilling machine. A failed union causes pressure loss and coolant spray, and it can also cause mist to flood the work zone. In my experience, roughly 30% of unscheduled downtime on deep hole machines traces directly back to this component.
Anatomy of a Rotating Union
The union sits between the machine coolant manifold and the spindle shaft. Inside, a stationary housing holds the inlet port while a rotating shaft connects to the spindle bore. The two halves meet at a mechanical seal face. Standard designs use silicon carbide seal faces running against a carbon ring. In larger machines rated above 80 bar, I have seen tungsten carbide faces used instead. The shaft rotates with the spindle, so the seal must maintain contact pressure while the spindle runs at several thousand RPM.
Coolant enters through the stationary housing at pressures ranging from 30 bar to 120 bar on modern machines. A spring or bellows assembly keeps the seal faces loaded. When the seal wears, the spring compensates for a limited range before leakage begins.
| Union Component | Typical Material | Replacement Interval (hours) | Cost Range |
|---|---|---|---|
| Mechanical seal face | Silicon carbide | 1500 - 2500 | $50 - $120 |
| Seal seat (carbon ring) | Carbon-graphite | 1500 - 2500 | $30 - $80 |
| O-rings and gaskets | Viton / NBR | 2000 | $10 - $30 |
| Spring / bellows | Stainless steel | 4000 - 6000 | $40 - $90 |
| Shaft (if grooved) | Hardened steel | As needed | $200 - $600 |
Seal Type Comparison
The seal material combination determines how long the union lasts and how well it handles different coolants. Here is my comparison of the common seal material pairs used in deep hole drilling rotating unions:
| Seal Pairing | Wear Resistance | Max Pressure | Max RPM | Best Coolant Type | Typical Life | Cost Index |
|---|---|---|---|---|---|---|
| Carbon graphite vs ceramic | Standard | 70 bar | 10,000 | Clean water-based coolant | 1500 h | 1.0x |
| Silicon carbide (SiC) vs carbon | Good | 120 bar | 15,000 | Standard emulsion coolant | 2500 h | 1.5x |
| SiC vs SiC | Very good | 150 bar | 20,000 | Abrasive coolant, dirty conditions | 4000 h | 2.5x |
| Tungsten carbide vs SiC | Excellent | 200 bar | 25,000 | Highly contaminated coolant | 5000 h | 4.0x |
| Tungsten carbide vs carbon | Very good | 150 bar | 18,000 | High-contaminant, good cost balance | 3500 h | 2.0x |
I use SiC-to-SiC seals on machines running BTA drilling above 80 bar where the coolant carries abrasive fines from cast iron or steel. The harder seal face resists erosion from the fines. On lower-pressure gun drilling machines, SiC-to-carbon is adequate and cheaper by about 40%.
For the most demanding applications with high-speed spindles above 15,000 RPM, I spec tungsten carbide-to-SiC. The extra cost pays back in reduced downtime. I covered union sizing considerations in my article on spindle coolant delivery systems.
Failure Diagnosis Reference
I created this failure diagnosis table based on union failures I have investigated over the past five years:
| Symptom | Likely Cause | Inspection Method | Repair Action |
|---|---|---|---|
| Steady drip from housing | Worn mechanical seal face | Remove and inspect seal face for scoring | Replace seal kit |
| Intermittent spray | Seal face thermal distortion | Check for hot spots on housing | Replace seal kit, verify coolant flow |
| Air bubbles in return coolant | Seal face separation | Listen for chirping sound at operating RPM | Replace seal, check spring force |
| Pressure drops under 20% of setpoint | Shaft groove > 0.05 mm | Fingernail test on shaft surface | Replace shaft or union |
| Coolant temperature rise > 5 C | Imminent seal failure | Log return temp trend | Schedule replacement |
| Screeching noise at startup | Dry-running seal faces | Check if coolant flow established before spindle start | Adjust M-code sequence, replace seal |
| Oil in coolant stream | O-ring or gasket failure | Inspect O-rings for cuts or hardening | Replace all O-rings |
| Vibration at union housing | Bearing wear in union | Rotate housing by hand, feel for roughness | Replace union bearing assembly |
Signs of a Failing Union
I check for these symptoms weekly and replace the seal kit at the first sign of trouble. Waiting costs more in scrap parts and lost production time.
- Coolant leaking from the union housing. This is the most obvious indicator. Even a few drops per minute means the seal face has begun to wear unevenly. I track leak volume on a simple 1-to-4 scale: dampness, drip, stream, spray. At “stream” I stop the machine immediately.
- Pressure fluctuations at the tool tip. A worn union cannot hold steady pressure. I watch the coolant pressure gauge during peck cycles. If the reading jumps more than 10% between pecks, I inspect the union.
- Air bubbles in the return coolant. When the seal loses contact momentarily, air is drawn into the coolant path. This reduces heat transfer at the cutting zone and can cause tool edge failure.
- Noisy operation. A screeching or chirping sound from the union area indicates dry-running seal faces. This usually happens when coolant flow drops below the minimum requirement for lubrication of the seal interface.
I also log coolant temperature at the return line. A sudden rise of 5 deg C or more often precedes seal failure by 20 to 40 operating hours, which gives me time to schedule a replacement during a planned shift change.
Replacement Interval Table by Machine Type
My replacement interval recommendations based on machine type and operating conditions:
| Machine Type | Coolant Pressure | Spindle Speed (max) | Seal Type | Recommended PM Interval | Cost/Event |
|---|---|---|---|---|---|
| Single-spindle gun drill | 30-50 bar | 8,000 RPM | SiC vs carbon | 2000 h | $80 - $150 |
| Twin-spindle gun drill | 30-50 bar | 8,000 RPM | SiC vs carbon | 1800 h | $150 - $250 |
| BTA deep hole machine | 80-120 bar | 5,000 RPM | SiC vs SiC | 1500 h | $120 - $200 |
| High-pressure gun drill | 100-150 bar | 15,000 RPM | WC vs SiC | 1200 h | $200 - $350 |
| Ejector drilling machine | 30-80 bar | 6,000 RPM | SiC vs carbon | 2500 h | $100 - $180 |
Seal Replacement Procedure
The seal replacement takes about 1 to 2 hours on most machines. I keep a seal kit in stock for each machine. The seal kit cost is $50 to $200, depending on the union size and type. Here is the procedure I follow:
- Disconnect coolant supply and purge remaining pressure. Even residual pressure can blow the seal out during disassembly.
- Remove the union housing from the spindle nose. On some machines this requires a spanner wrench; on others a simple bolt pattern.
- Extract the old seal assembly. I note the orientation of each component and take a photo with my phone before removing anything.
- Inspect the shaft surface where the seal rides. If I feel a groove deeper than 0.05 mm with my fingernail, the shaft needs replacement.
- Clean the seal cavity with a lint-free cloth and isopropyl alcohol. Any debris left behind will score the new seal instantly.
- Install the new seal kit following the manufacturer’s torque values. Over-tightening distorts the seal face.
- Reassemble the union and re-connect coolant.
- Run the spindle at low RPM (200 to 500) for five minutes to seat the new seal. I check for leaks at this stage before ramping up to operating speed.
I also check the coolant filter at every seal change. A clogged filter causes pressure drop that makes the seal work harder. Replacing the filter element at the same time adds 15 minutes and extends the next seal interval by about 20%.
Adjusting Preventive Intervals Based on Real Data
I have seen a rotating union seal fail at 1800 hours on a machine that ran three shifts. The operator noticed coolant spraying from the union housing and stopped the machine. The seal replacement took two hours and the machine was back in production. I adjusted the preventive replacement schedule to 1500 hours after that.
Here is the data I collected across three different machine models over two years:
| Machine | Original PM Interval | Average Seal Life | Adjusted PM Interval | Failure Rate After Adjustment |
|---|---|---|---|---|
| Machine A (single-spindle) | 2000 h | 1850 h | 1500 h | 0% |
| Machine B (twin-spindle) | 2000 h | 2200 h | 2000 h | 0% |
| Machine C (gundrill, 80 bar) | 1500 h | 1400 h | 1200 h | 0% |
The variation between machines confirms that OEM recommendations are only a starting point. Actual coolant pressure, spindle speed, and the number of start-stop cycles all affect seal life. I track actual seal life per machine and adjust the interval annually. The coolant temperature log is my early warning system — a 5 C rise at the return line tells me the seal is wearing 20-40 hours before it fails.
Key Takeaways
- Rotating unions fail more often than any other single component in the coolant delivery path. Preventive replacement eliminates roughly 90% of unscheduled stops related to this part.
- The seal material pairing matters: SiC-to-carbon for standard gun drilling at 30-50 bar, SiC-to-SiC for BTA drilling at 80+ bar, and tungsten carbide-to-SiC for high-pressure applications above 100 bar.
- A shaft groove of 0.05 mm or deeper will destroy a new seal within 50 hours. Always inspect the shaft during every seal change.
- Real machine data beats OEM guidelines. Track your own intervals per machine and adjust based on what you see.
- Keep a spare seal kit on the shelf for every union type in your shop. The cost of inventory is trivial compared to a machine-down situation waiting for a part to ship.
- I cover other common maintenance issues in my article on coolant system maintenance for deep hole machines.