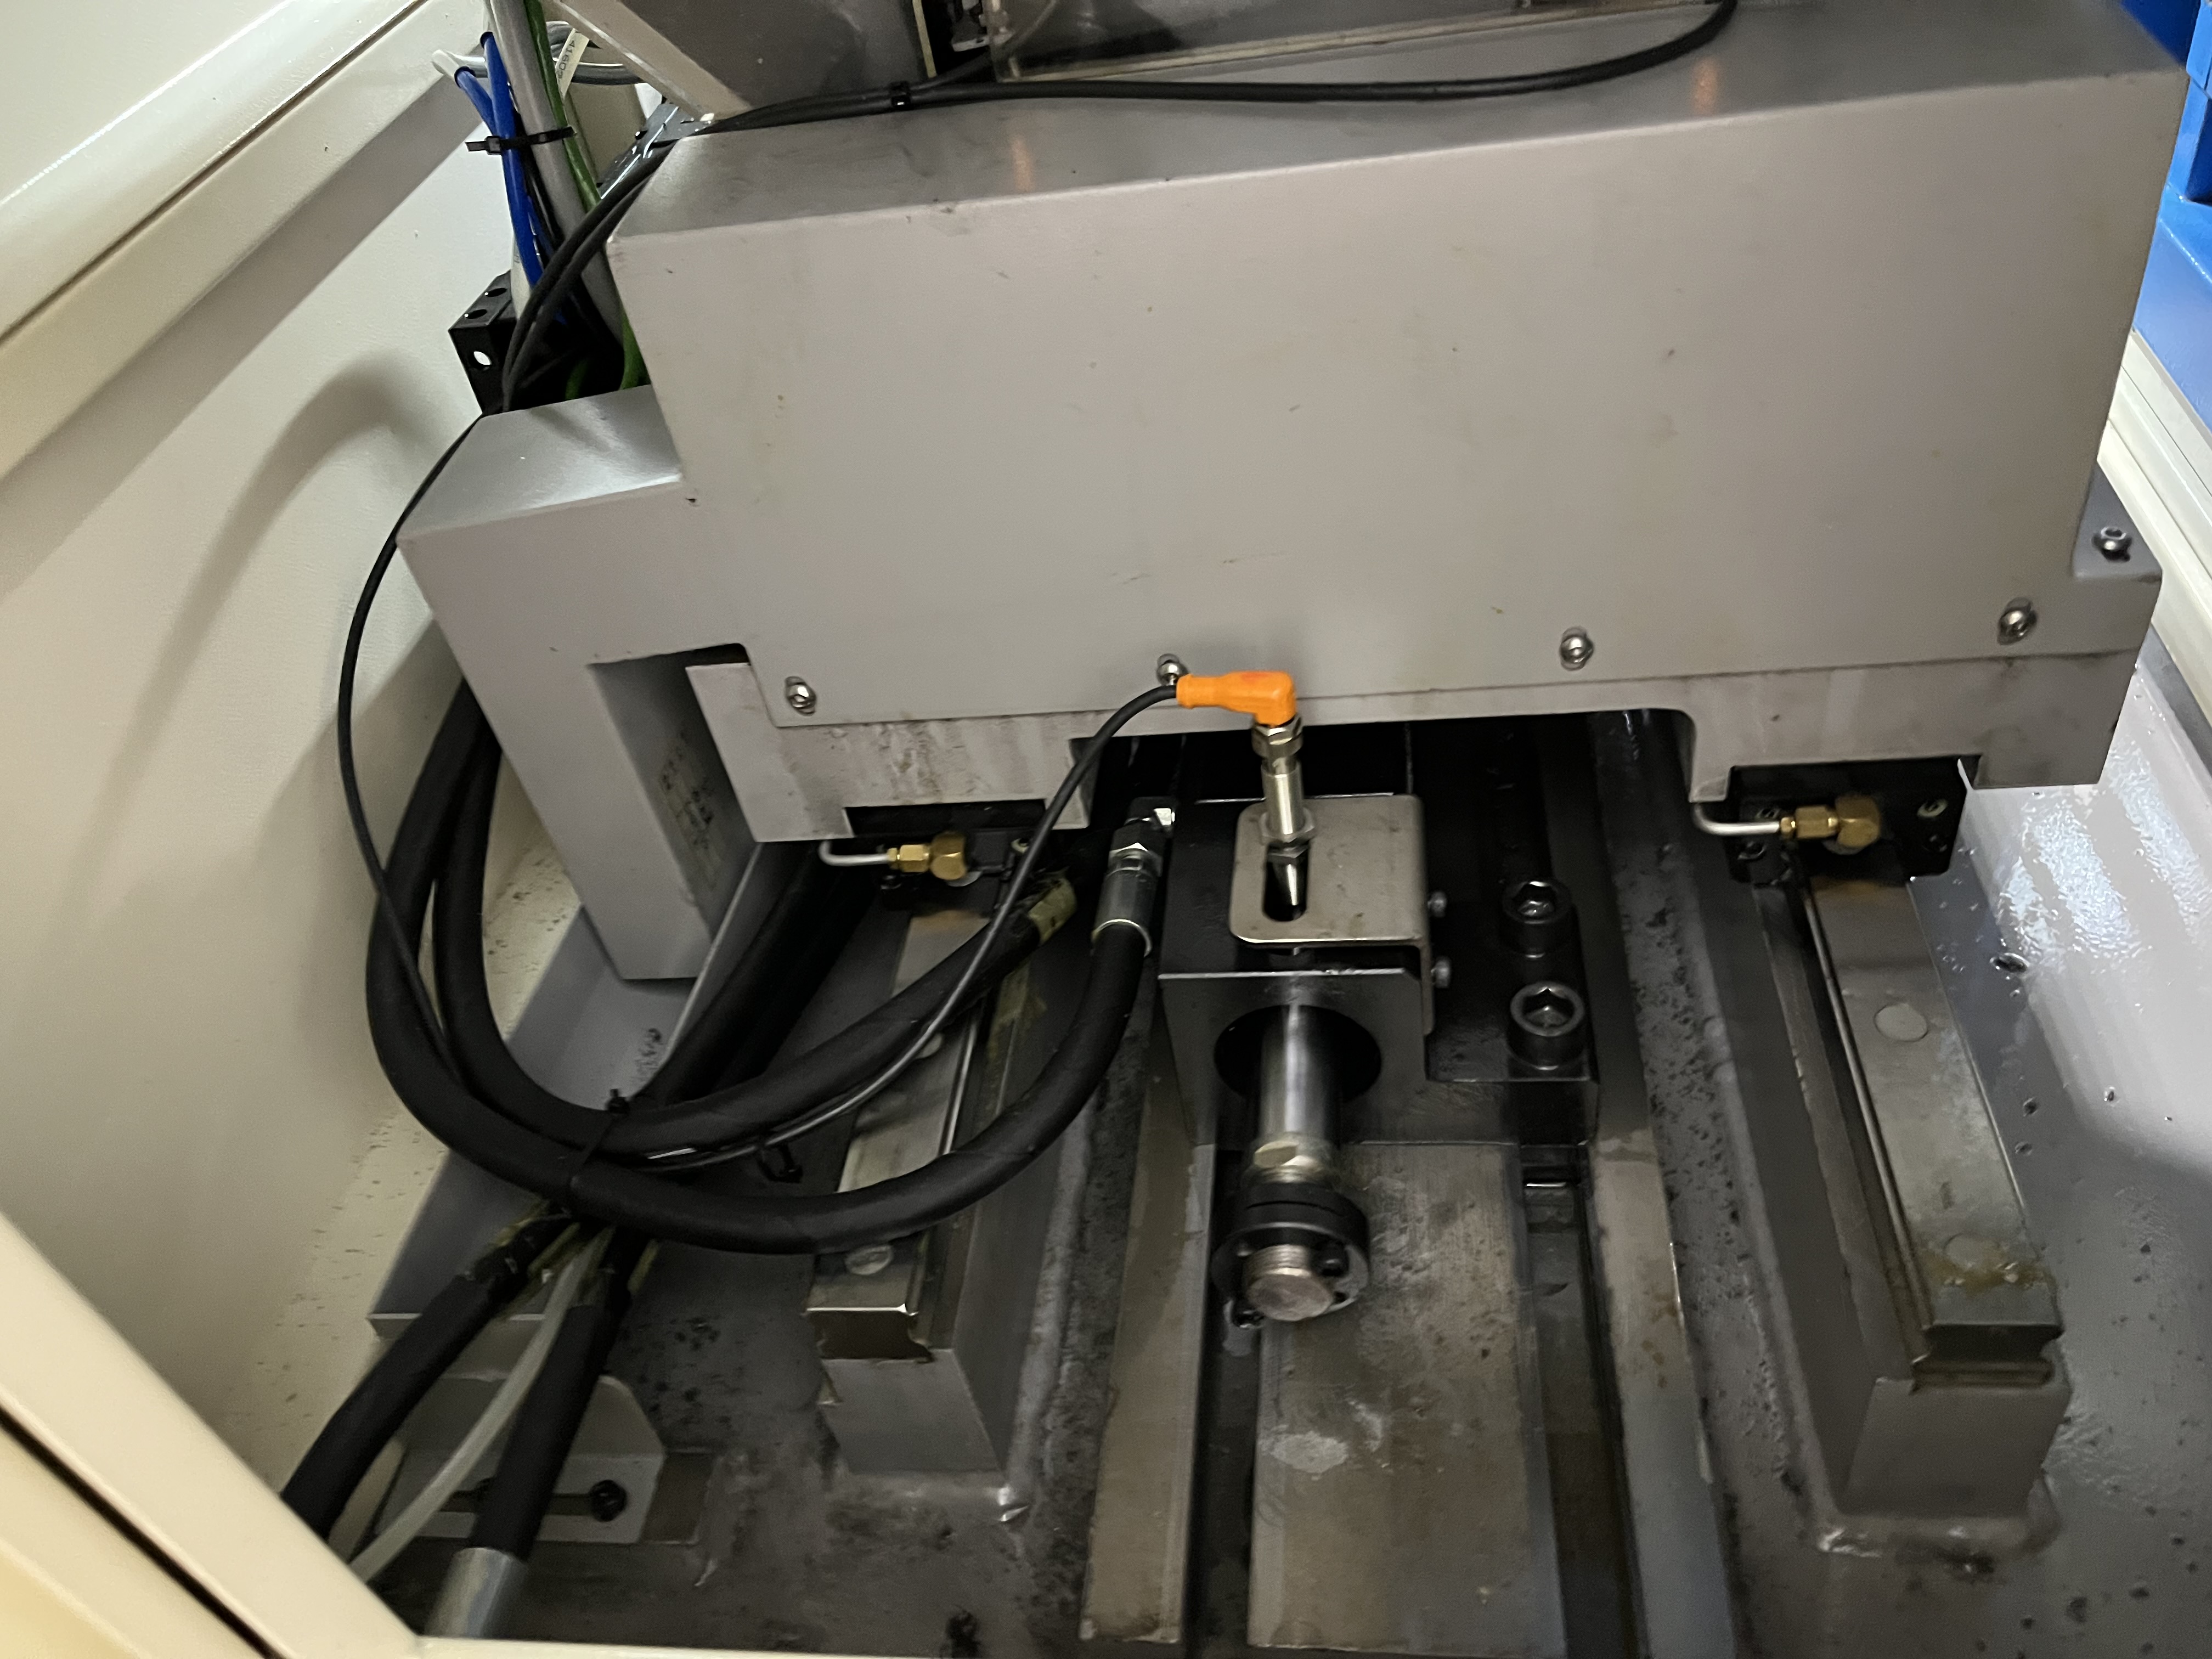
Tool presetting is one of those steps that operators skip to save five minutes, then spend two hours recovering from the crash that follows. In deep hole drilling, the tool setting accuracy directly determines bore diameter, surface finish, and tool life. I have made a habit of measuring every tool before it goes into the spindle, and the data has shown me patterns I never would have caught otherwise.
Why Presetting Matters for Deep Hole Drilling
A gun drill with 0.02 mm runout at the tip will produce a bore 0.03 to 0.05 mm oversize, depending on the material and feed rate. That may not sound like much, but if your tolerance is ±0.025 mm, you are already out of spec. The relationship between runout and bore quality is nonlinear. I have seen a 0.01 mm increase in tip runout produce a 0.025 mm increase in bore diameter.
| Parameter | Preset In-Spec | Preset Out-of-Spec | Impact |
|---|---|---|---|
| Tip runout (gun drill) | <0.01 mm TIR | >0.02 mm TIR | Oversize bore, bell mouth |
| Drill point height | ±0.05 mm of reference | >±0.1 mm | Uneven chip load, chipping |
| Bush-to-tool gap | 0.005–0.015 mm | >0.025 mm | Chatter, poor surface finish |
| Tool overhang length | ±0.1 mm | >±0.5 mm | Depth control error |
| Coolant hole alignment | Full flow | Partial blockage | Chip evacuation failure |
I track these dimensions for every tool on every setup. The first time I ran a capability study, I found that 12% of our gun drills had tip runout above 0.02 mm when measured at the machine spindle, even though they were within spec when measured on the bench. The tool holder condition was the hidden variable.
Presetting Equipment Options
Bench-Mounted Optical Presetter
This is the gold standard. A bench presetter with a 200x or 400x magnification optical system lets you measure diameter, runout, point geometry, and length in a single setup. Prices range from $8,000 for a manual optical comparator to $40,000 for a CNC video system with automatic edge detection. I use a system with 0.002 mm resolution and digital data export to our tool management database.
Presetter with Tool Holder Interface
The key feature is that the presetter spindle must match the machine spindle interface. If your machine uses HSK-100, the presetter should have an HSK-100 spindle with the same pull stud or clamping mechanism. Otherwise, the runout reading at the presetter will not match what you see at the machine. I have seen shops buy a $25,000 presetter with the wrong spindle interface, rendering the runout measurements meaningless.
| Equipment Type | Resolution | Cost Range | Setup Time per Tool |
|---|---|---|---|
| Manual optical comparator | 0.005 mm | $8,000–$15,000 | 3–5 min |
| CNC video presetter | 0.002 mm | $20,000–$40,000 | 1–2 min |
| Dial indicator + V-block | 0.01 mm | $200–$800 | 4–7 min |
| Laser micrometer | 0.001 mm | $15,000–$30,000 | 30 sec (automated) |
Laser Micrometer Systems
For high-volume presetting, laser micrometers measure diameter and length in a fraction of the time. I use a laser system for our high-runner gun drill sizes that we preset 30+ times per week. The system measures five diameters along the tool length and flags any deviation beyond the preset limits. It paid for itself in reduced scrap within eight months.
The Presetting Procedure I Use
Step one is cleaning the tool holder taper and the tool shank. Any contamination at the interface shows up as runout. I use a lint-free wipe with isopropyl alcohol, then a light coating of way oil on the taper.
Step two is mounting the tool in the presetter and taking a runout reading at the tool tip and at 25 mm from the tip. I record both values. If the readings differ by more than 0.005 mm, the tool is bent or the shank is damaged.
Step three is measuring the drill point geometry. For gun drills, I check the point angle and the clearance angles. The point angle tolerance should be ±1 degree. A worn point creates excessive thrust force that can deflect the drill.
Step four is recording the data. I log the tool ID, preset dimensions, operator, date, and the presetter serial number. This data feeds into our tool life tracking system and helps identify when a tool is approaching end of life based on dimensional drift.
Common Presetting Mistakes
I have collected a list of the most frequent errors I see in shops that have recently adopted presetting. The first is measuring the tool without cleaning it first. A chip stuck to the carbide tip or a smear of coolant on the shank can throw the runout reading off by 0.01 mm or more. Clean the tool, clean the holder taper, and clean the presetter spindle bore before every measurement.
The second mistake is not zeroing the presetter at the start of every shift. The presetter’s reference surfaces accumulate coolant residue, and the zero drifts. I have the operator zero the presetter against a master gage pin at the start of each shift. The zero verification takes 30 seconds and catches drift before it affects measurements.
The third mistake is ignoring the tool holder condition. A collet chuck with nicks on the taper or a cracked retention knob will introduce runout that the presetter measures as tool runout but that is actually holder runout. I inspect every tool holder with a 10x loupe before mounting a tool. Any holder with visible damage goes to the tool room for repair.
The fourth mistake is not verifying the presetter accuracy periodically. I send our presetters out for calibration annually. The calibration checks all axes and the optical system against certified gages. The calibration cost is $400 to $800 per unit but has caught encoder drift twice that would otherwise have affected every measurement taken between calibrations.
Presetting for BTA Tools
BTA drill heads are larger and heavier than gun drills, and the presetting procedure is different. The BTA head has multiple cutting edges that must be set to the same diameter within 0.01 mm. I measure each cutting edge independently and record the average and the variation between edges.
| Tool Type | Measurement Points | Critical Dimensions | TIR Target |
|---|---|---|---|
| Gun drill, 3–20 mm | Tip, 25 mm from tip | Tip runout, point angle | <0.01 mm |
| Gun drill, 20–50 mm | Tip, 50 mm from tip | Tip runout, point angle | <0.015 mm |
| BTA head, single cutter | Cutting edge, pad location | Diameter, pad height | <0.02 mm |
| BTA head, multi-cutter | Each cutting edge | Diameter, edge height variation | <0.01 mm between edges |
| Trepanning head | Each cutter and guide pad | Diameter, pad clearance | <0.015 mm |
BTA heads also need the guide pad position checked. The pads support the head in the bore and must be slightly smaller than the cutting diameter. The pad-to-cutting-edge difference should be 0.02 to 0.05 mm. Too much pad clearance causes chatter. Too little causes the pads to rub and overheat.
In-Machine Verification
I never trust a bench presetting alone. Every tool gets an in-machine verification after the first part. I run a test bore in a scrap part and measure diameter at the entry, mid-point, and exit. If the entry diameter is 0.01 mm larger than the mid-point, the tool has more runout than the presetter indicated, and I recheck the tool holder condition.
The spindle design and condition affect the final tool runout. A spindle with worn bearings will add runout that the presetter cannot measure. I check spindle runout quarterly with a test bar and indicator. The combined presetter + spindle runout should stay under 0.015 mm TIR for precision gun drilling.
Key Takeaways
- Tool presetting with 0.002 mm resolution catches runout issues before they create scrap.
- The presetter spindle interface must match the machine spindle interface for readings to transfer.
- Clean interfaces between taper and tool holder are critical for accurate runout.
- Record preset data for every tool to enable trend analysis and tool life prediction.
- Bench presetting must be supplemented with in-machine verification on every new setup.
- Spindle bearing condition adds runout that a bench presetter cannot measure.