I have inspected more used deep hole drilling machines than I care to count. Some were steals that ran for another decade. Others were money pits that cost more in repairs than the purchase price. The difference was the inspection — or the lack of one. This checklist is what I use every time, and it has saved me far more than it has cost.
If you are not familiar with what makes a deep hole drilling machine different from standard machine tools, start with my overview on what to look for in a deep hole drilling machine. Then come back here for the pre-purchase deep dive.
Documentation Review
Before I set foot on the shop floor, I ask for documentation. The paperwork tells me how the machine was treated over its life. If the seller cannot produce basic records, that is the first red flag.
I ask for three things specifically:
Maintenance records. I look for regular oil changes, filter replacements, way wiper replacements, and coolant system servicing. A machine with a binder full of dated maintenance logs is a machine that was cared for. A machine with no records is a gamble.
Spindle run hours. On machines with hour meters or CNC runtime counters, I check total spindle-on hours. A ten-year-old machine with 40,000 spindle hours has been run hard. A machine with 8,000 hours has been lightly used. There is no universal cutoff, but I get cautious above 30,000 hours without a documented spindle rebuild.
Alignment reports. If the seller has recent ballbar or laser alignment reports, I review them for trend. A report showing progressive geometric deterioration tells me the machine needs mechanical work. A report showing stable alignment over multiple years tells me the machine is sound.
I also ask for electrical schematics and the operator manual. Machines that come with full documentation are easier and cheaper to maintain.
Spindle Inspection
The spindle is the most expensive single component to repair on a deep hole drilling machine. A spindle rebuild runs $10,000 to $25,000 depending on size and complexity. I spend the most time here.
I check spindle runout at the nose taper using a dial indicator with a 0.001 mm resolution. I rotate the spindle by hand and record the total indicated runout. I also check the taper surface for scoring, galling, or coolant erosion. A damaged taper means the tool holder will not seat correctly, which causes runout at the drill tip.
I run the spindle at three speeds — low, medium, and maximum — and listen for bearing noise through a mechanics stethoscope or simply by putting my ear to the housing. Bearing condition is hard to assess on a cold machine, so I let it warm up for at least 30 minutes and listen again. Bearings that sound fine cold but develop noise when warm are worn and nearing end of life.
I also check the spindle temperature after 30 minutes of continuous running at moderate RPM. I use an infrared thermometer on the housing near the front bearing. The temperature should stabilize below 50C. Above 60C indicates excessive bearing preload or failing lubrication.
| Inspection Item | What to Check | Acceptable Condition | Red Flag |
|---|---|---|---|
| Radial runout at nose taper | Dial indicator at tooling interface | Under 0.005 mm TIR | Above 0.010 mm TIR |
| Taper surface condition | Visual inspection for scoring | Smooth, no galling or erosion | Visible grooves or coolant etching |
| Bearing noise at low RPM (500) | Listen for rumble or grinding | Smooth hum | Low-frequency rumble or chirping |
| Bearing noise at max RPM | Listen under load if possible | Steady whir | Metallic grinding or vibration |
| Bearing temperature after warm-up | IR thermometer on housing | Stabilized under 50C | Above 60C or climbing |
| Axial runout at spindle nose | Dial indicator on face | Under 0.010 mm | Above 0.015 mm push-pull movement |
| Rotating coolant union | Run coolant, inspect for drip | No visible leakage | Drips at rest or under pressure |
Coolant System Inspection
On a deep hole drilling machine, the coolant system is not an accessory. It is a drivetrain component. If the coolant system is weak, the machine cannot cut. I check every stage from the tank to the tool tip.
I start at the coolant pump. I check the pump nameplate against the machine specs to verify it is the original pump. A replaced pump with different ratings tells me the original failed and the replacement may be undersized. I run the pump and check for vibration, cavitation noise, and seal leakage. A pump with a leaking shaft seal will fail soon, and seal replacement on high-pressure pumps is not a simple job.
I check the high-pressure seals throughout the system. Deep hole drilling machines have seals at the rotating union, at pipe junctions, and at the tool holder interface. I look for external leakage and I monitor pressure at the gauge while the system is running. Pressure that drops more than 15% from the pump discharge to the tool holder indicates a leak or restriction that needs attention.
I inspect the coolant tank condition by opening the access cover. I look for:
- Sludge buildup at the bottom (indicates poor maintenance)
- Tramp oil floating on the surface (indicates hydraulic oil leakage into coolant)
- Rust or corrosion inside the tank (indicates water-based coolant sat too long)
The filtration system gets a close look. I check the filter housing for cracks, the pressure gauge across the filter element for delta, and the filter element for age. A filter housing that has been bypassing due to clogged elements likely has contaminated the entire system. Filtration below 20 microns for gun drilling is not acceptable.
| Inspection Item | What to Check | Acceptable Condition | Red Flag |
|---|---|---|---|
| Pump condition | Run noise, vibration, seal leakage | Quiet operation, no leaks | Cavitation, shaft seal dripping, vibration |
| System pressure integrity | Pressure at pump vs at tool holder | Drop under 15% | Drop over 20% or erratic pressure |
| High-pressure seals | Visual at union, junctions, holder | Dry or minimal seepage | Active dripping or spraying |
| Coolant tank | Sludge, tramp oil, corrosion | Clean bottom, no oil layer | Thick sludge, floating oil, rust scale |
| Filtration system | Housing cracks, delta P, element age | Intact housing, normal delta P | Cracked housing, bypass valve open |
| Coolant type and condition | Check concentration, smell, clarity | Proper mix, no odor, clear | Foul smell, cloudy, incorrect concentration |
Way and Guide Inspection
The ways and linear guides determine whether the machine can hold straightness over long drill strokes. Deep hole drilling puts asymmetric loads on the feed axis, so way condition matters more than on a standard lathe.
For box way machines, I check for scoring, galling, and uneven wear patterns at the headstock end of the travel — that is where most of the cutting force is applied. I use a feeler gauge to check the way wipers. Worn wipers allow swarf to get between the ways and the carriage, which accelerates wear dramatically.
For linear guide machines, I check the truck assemblies for play by rocking the carriage by hand. Any detectable play in the linear guide trucks means replacement is needed. I also check the guide rail for corrosion or bruising from swarf entrapment.
I check lubrication by running a manual lube cycle and watching each lube point for oil flow. A machine with plugged lube lines has been running dry on some axes, and that means accelerated wear.
I perform a simple geometric check: I mount a dial indicator on the spindle housing, zero it on the machine table, and traverse the Z-axis for 500 mm. The indicator reading should not change by more than 0.02 mm over that travel. Changes larger than that indicate uneven way wear or loss of machine level.
| Inspection Item | What to Check | Acceptable Condition | Red Flag |
|---|---|---|---|
| Box way condition | Scoring, galling at headstock end | Smooth surface, visible scraping marks | Deep scoring, galling, or brinelling |
| Way wipers | Feeler gauge under wiper | Snug contact, no gaps | Loose or missing wipers |
| Linear guide trucks | Rock carriage, listen for play | No detectable movement | Audible or felt play |
| Guide rail surface | Visual for corrosion or dents | Smooth, corrosion-free | Pitting, dents, or rust |
| Lubrication system | Manual cycle, check each port | Oil at every lube point | Dry ports, plugged lines |
| Z-axis straightness | Dial indicator over 500 mm traverse | Under 0.02 mm deviation | Over 0.05 mm deviation |
Electrical System Inspection
The electrical system on a used deep hole drilling machine can be a source of chronic problems if not checked carefully. I open the main electrical cabinet and look systematically.
Cabinet condition comes first. I check for coolant mist ingress, which appears as a fine oily film on components. Coolant mist inside the cabinet means the cabinet seals are compromised and components will fail prematurely. I also check for corrosion on terminal blocks and bus bars, which indicates the cabinet has been exposed to moisture.
I inspect the wiring for modifications. A machine with added relays, timers, and patched-in wires is a machine that has had problems. I look for wire labels — missing labels make troubleshooting expensive. I check the condition of wire insulation, especially near hot components like transformers or power supplies. Brittle or cracked insulation means the wiring is near end of life.
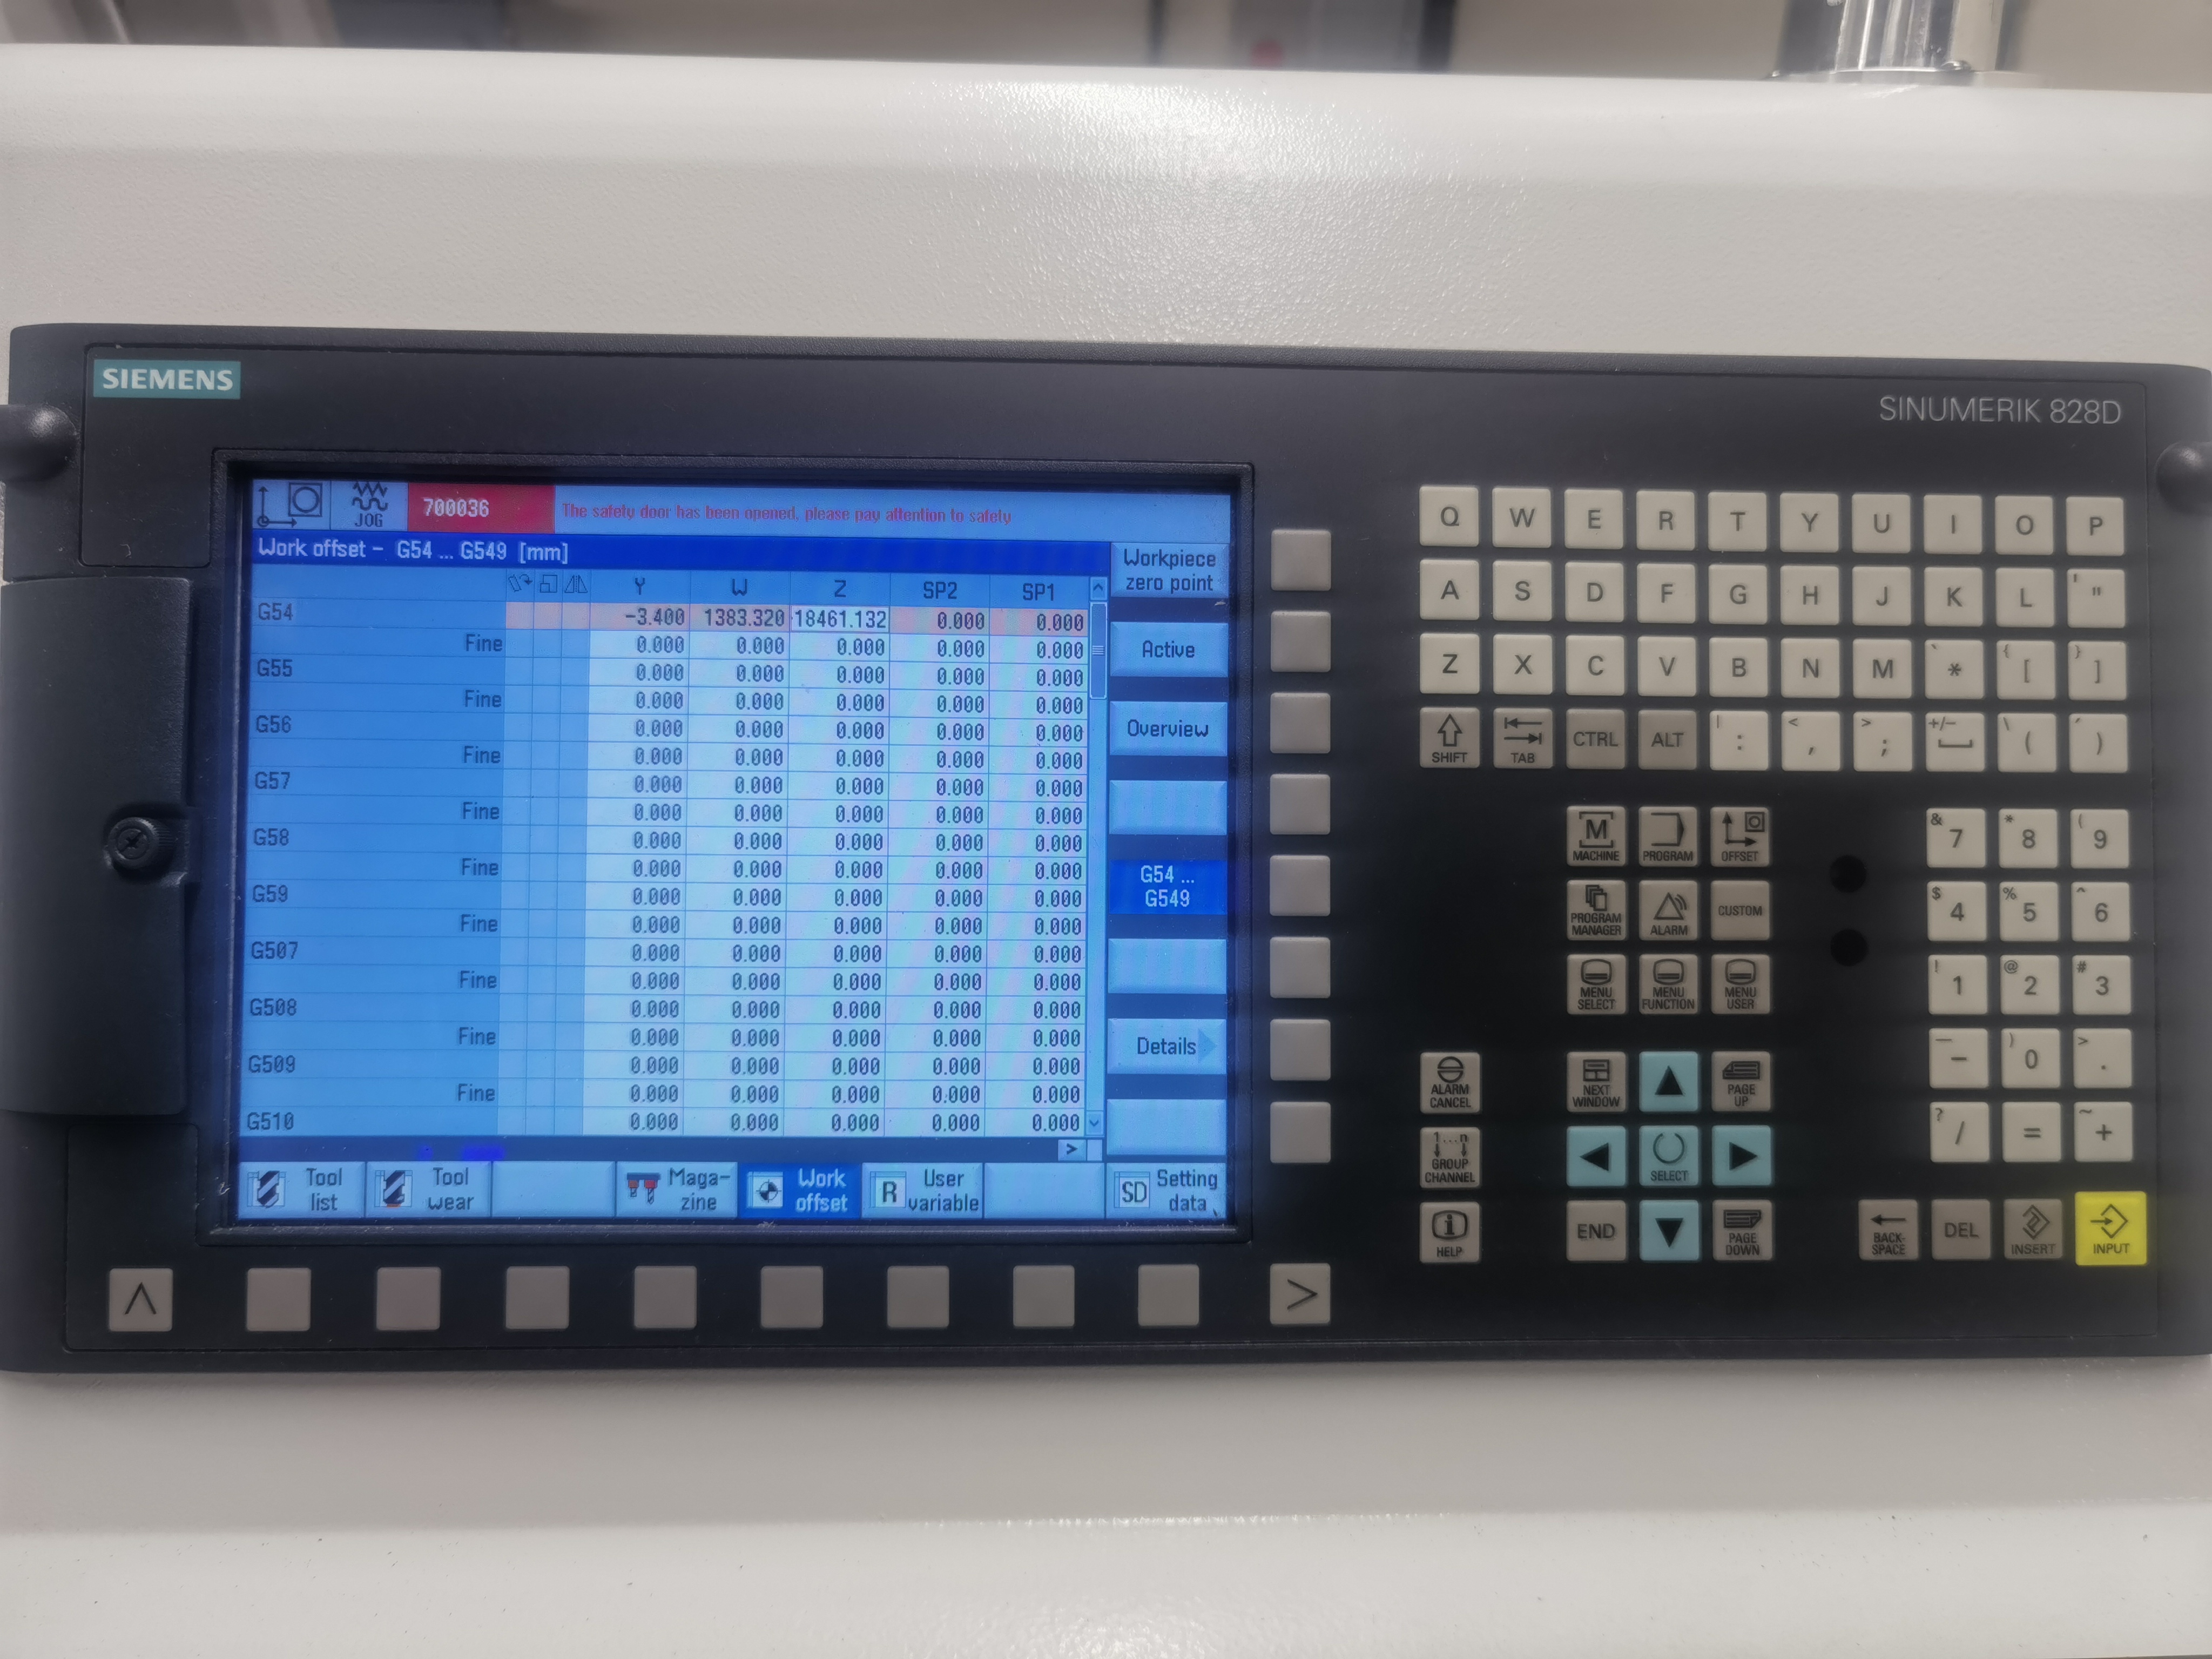
I check all alarms by cycling power and watching the control boot sequence. I look for battery alarms, servo alarm codes, and PLC fault lights. I also check the condition of the CNC control panel — worn-out keys, cracked screens, and unresponsive buttons mean panel replacement or repair.
| Inspection Item | What to Check | Acceptable Condition | Red Flag |
|---|---|---|---|
| Cabinet condition | Coolant mist, corrosion, dust | Clean internal surfaces | Oily film, corroded terminals |
| Wiring modifications | Added relays, patched wires | Factory wiring intact | Multiple added components, no labels |
| Wire labels | Presence and legibility | All wires labeled | Missing or illegible labels |
| Cable insulation | Near transformers, drives | Flexible, no cracks | Brittle, cracked, or melted |
| Control boot sequence | Battery, servo, PLC alarms | Clean boot, no alarms | Battery alarm, servo error, PLC fault |
| Operator panel | Keypad, screen, buttons | All functional | Dead zones, cracked display, sticky keys |
If the machine has a history of electrical problems, read my guide on troubleshooting electrical systems in deep hole drilling machines — many issues are repairable, but you want to know about them before you purchase, not after.
Test Cut Procedure
I never buy a used deep hole drilling machine without drilling a test hole. A test cut reveals problems that no static inspection can find. I bring my own gun drill, guide bushing, and a test workpiece of known material — usually 4140 or 1045 steel, stress-relieved and faced on both ends.
I drill a hole at least 10 diameters deep at the machine’s rated feed and speed for that material. I monitor coolant pressure, spindle load, and feed rate during the cut. Pressure drops during the cut indicate a chip packing problem or a seal failure. Spindle load spikes indicate a dull drill or a misalignment issue.
After the cut, I measure the hole at the entry, midpoint, and exit. I check diameter, roundness, straightness, and surface finish.
| Criterion | Measurement Method | Acceptable | Good | Excellent |
|---|---|---|---|---|
| Diameter tolerance | Bore gauge at entry, mid, exit | H9 grade | H8 grade | H7 grade |
| Roundness | Roundness gauge or CMM | Under 0.015 mm | Under 0.008 mm | Under 0.005 mm |
| Straightness | Straightness gauge or CMM | 0.05 mm per 100 mm | 0.03 mm per 100 mm | 0.01 mm per 100 mm |
| Surface finish (Ra) | Profilometer | Under 3.2 um | Under 1.6 um | Under 0.8 um |
| Coolant pressure stability | Pressure transducer log | +/- 5% variation | +/- 3% variation | +/- 1% variation |
| Spindle load stability | Spindle load meter | +/- 10% variation | +/- 5% variation | +/- 3% variation |
If the test hole passes at the “Acceptable” level across all criteria, the machine is mechanically sound enough to proceed. If it fails any criterion, I estimate the repair cost and adjust my offer accordingly — or walk away.
What to Walk Away From
Over the years, I have learned that some problems are fixable and some are not. Here is what makes me walk away:
Cracked machine bed or column. No repair can restore the geometry of a cracked casting. Walk away.
Severe way scoring with evidence of swarf entrapment. Once the ways are deeply scored, re-grinding and re-scraping costs rival the machine’s value. Walk away unless the price accounts for a full way rebuild.
Coolant system with rust throughout. If the coolant tank, piping, and valves all show internal rust, the entire system needs replacement. On a deep hole machine, that is a $15,000 to $30,000 project. Walk away unless that is in your budget.
Missing electrical schematics on a machine over 20 years old. Troubleshooting electrical problems without schematics on an older machine is a losing battle. Walk away.
A seller who refuses a test cut. If the seller will not let you drill a test hole, there is a reason. And it is usually a bad one. Walk away.
Before you make a final decision, read my comparison of retrofit vs new deep hole drilling machines. Sometimes a worn machine is worth buying at the right price if a retrofit makes economic sense. But go in with your eyes open.
Key Takeaways
- The seller’s documentation tells you how the machine was treated. No records means higher risk.
- Spindle condition is the highest-cost item to repair. Inspect runout, bearings, and temperature thoroughly before buying.
- The coolant system determines whether the machine can cut at all. Test pressure from pump to tool tip, and inspect tank and filtration condition.
- Way condition affects hole straightness over long drill strokes. Check lubrication, wiper condition, and Z-axis straightness.
- Electrical cabinet condition reveals how well the machine was maintained. Coolant mist inside the cabinet is a dealbreaker for me.
- A test cut reveals problems that static inspection misses. Do not skip this step. Measure diameter, straightness, roundness, and surface finish across the full hole depth.
- Budget 15% to 25% of the purchase price for refurbishment on any used machine over 10 years old. Some problems are fixable — cracked beds and failed schematics are not.