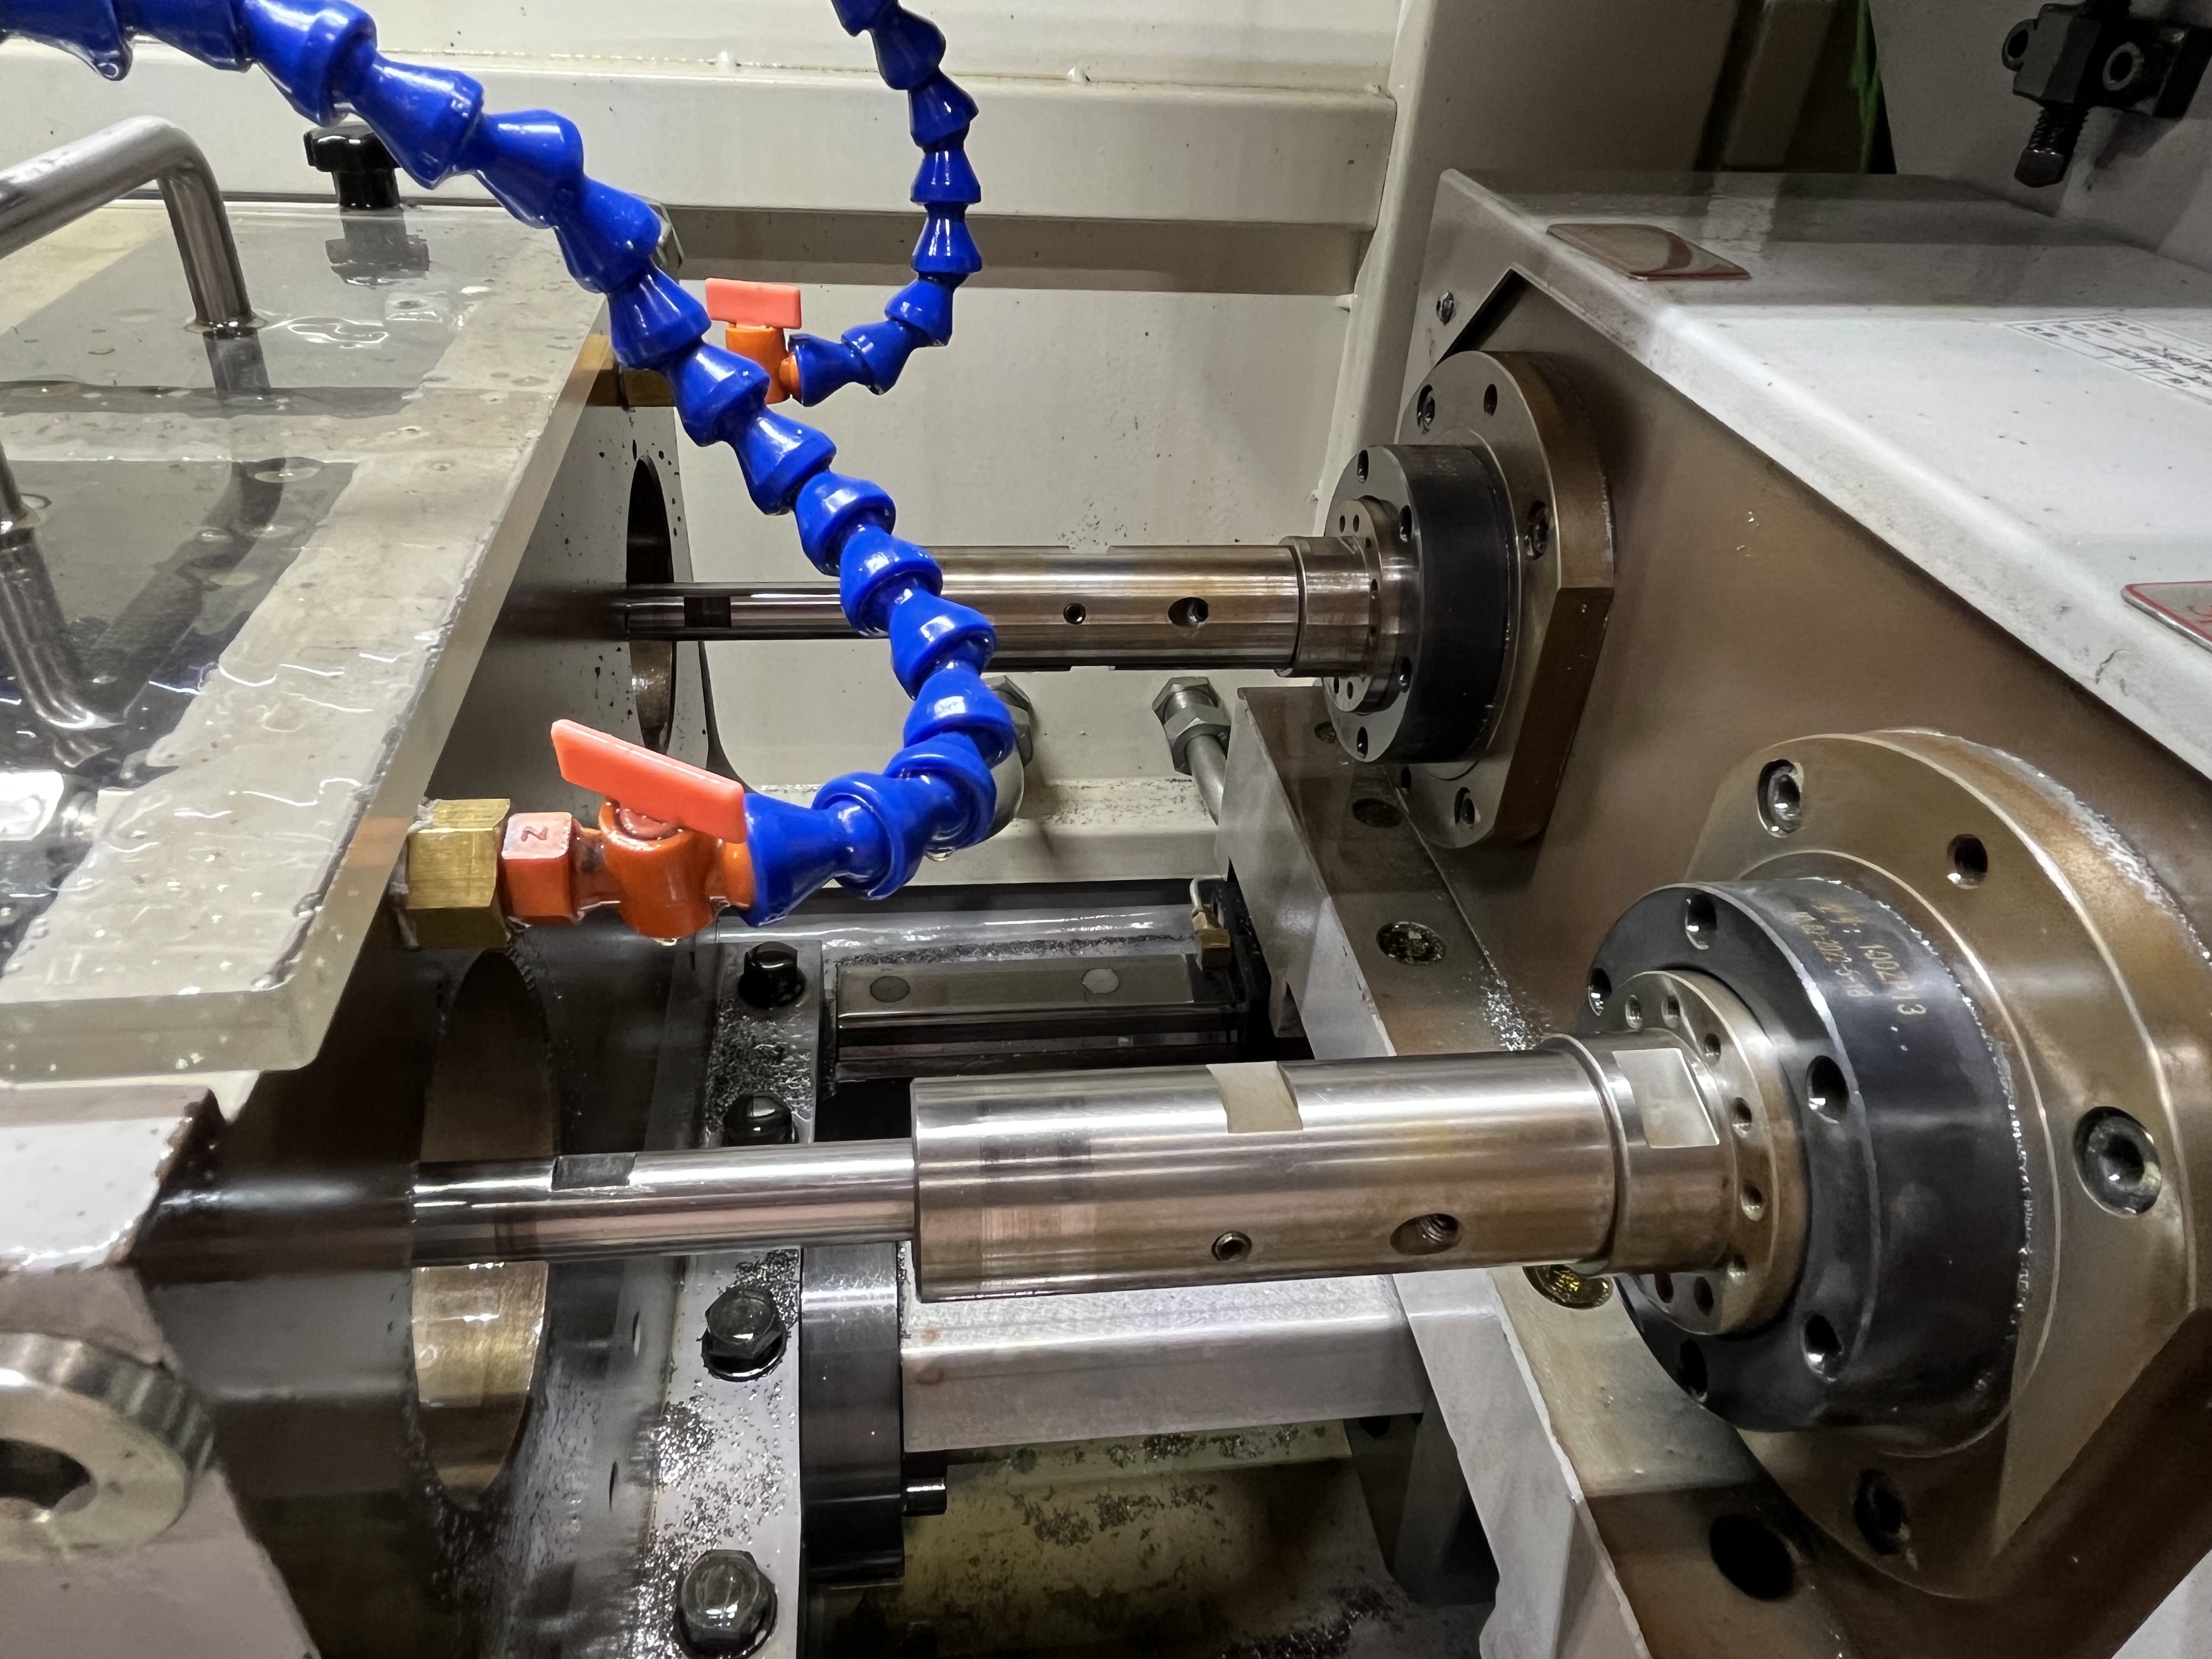
Vibration analysis measures the vibration at key points on the machine and identifies the frequency components. Each machine component rotates at a specific speed and produces vibration at a specific frequency. I have been running a vibration analysis program across twelve deep hole drilling machines for four years, and it has fundamentally changed how I approach maintenance.
Measurement Points and Equipment
I use a handheld vibration analyzer (Fluke 810 or equivalent) with a single-axis accelerometer that has a 100 mV/g sensitivity. I have standardized on seven measurement points per machine:
| Measurement Point | Direction | Why This Point |
|---|---|---|
| Spindle housing, front bearing | Radial horizontal | Captures main spindle bearing wear |
| Spindle housing, rear bearing | Radial horizontal | Catches rear bearing degradation |
| Spindle housing, front bearing | Axial | Detects thrust bearing issues |
| Coolant pump motor, drive end | Radial horizontal | Pump bearing and cavitation |
| Coolant pump motor, free end | Radial horizontal | Motor bearing condition |
| Feed axis motor | Radial horizontal | Leadscrew bearing health |
| Feed axis thrust bearing housing | Radial horizontal | Ball screw preload loss |
I take each reading at operating temperature with the machine cutting material at a standard cycle. The baseline readings are taken within the first 30 days of a new machine or after a major rebuild. I store every reading in a spreadsheet that now contains over 2,000 data points.
The equipment cost was $4,200 including the analyzer, accelerometer, and magnetic mounting base. Compared to the cost of a single spindle rebuild at $12,000, the payback period was less than a month after the first bearing I caught before failure.
Understanding Bearing Defect Frequencies
Spindle bearing wear shows up at very specific frequencies that I calculate from the bearing geometry. The standard formulas are:
- Ball Pass Frequency Outer Race (BPFO): 0.4 x N x RPM
- Ball Pass Frequency Inner Race (BPFI): 0.6 x N x RPM
- Ball Spin Frequency (BSF): 0.2 x N x RPM
- Fundamental Train Frequency (FTF): 0.4 x RPM
Where N is the number of rolling elements. I keep a reference card for the ten most common spindle bearing part numbers in my shop:
| Bearing Part Number | Elements (N) | BPFO @ 6000 RPM | BPFI @ 6000 RPM |
|---|---|---|---|
| 7002CTYNDBL | 12 | 2880 Hz | 4320 Hz |
| 7004CTYNDBL | 13 | 3120 Hz | 4680 Hz |
| 7005CTYNDBL | 14 | 3360 Hz | 5040 Hz |
| 7010CTYNDBL | 16 | 3840 Hz | 5760 Hz |
| NN3018KTN | 18 | 4320 Hz | 6480 Hz |
When I see vibration amplitude at a bearing defect frequency climbing, I track it against alert thresholds I have developed:
| Amplitude at Defect Frequency | Condition | Action |
|---|---|---|
| Under 0.1 in/sec | Normal | No action |
| 0.1-0.2 in/sec | Developing wear | Monitor monthly |
| 0.2-0.4 in/sec | Moderate wear | Plan replacement within 500 hours |
| 0.4-0.6 in/sec | Advanced wear | Replace during next scheduled downtime |
| Over 0.6 in/sec | Critical | Replace immediately, risk of seizure |
I have caught spindle bearing wear three months before failure using this system. The bearing replacement was scheduled during a planned shutdown instead of causing an emergency breakdown. The difference in cost is significant: a planned spindle bearing change costs about $3,000 in parts and 4 hours of labor. An emergency failure costs $12,000 in parts, 16 hours of labor, and at least 8 hours of lost production.
Pump Vibration and Cavitation Detection
Coolant pump vibration patterns tell a different story. I measure at the pump motor and pump housing:
| Vibration Signature | Likely Cause | Action |
|---|---|---|
| Broadband random vibration at pump housing | Cavitation | Check inlet filter, tank level, pump speed |
| 1x RPM peak increasing over time | Pump bearing wear | Schedule bearing replacement |
| 2x RPM peak | Misalignment of pump and motor | Realign coupling |
| High frequency with harmonics | Vane-pass frequency — worn impeller | Replace impeller |
Pump cavitation is particularly damaging because it erodes the impeller and housing over time. I have replaced three coolant pump impellers that were damaged by prolonged cavitation that went undetected. Each impeller replacement costs about $800. Had I caught the cavitation earlier with vibration analysis, the impellers could have been saved by correcting the inlet restriction.
I set a cavitation alert threshold at 0.15 in/sec broadband vibration at the pump housing. Above that, I inspect the pump inlet conditions within 24 hours.
Setting Up a Vibration Program
Starting a vibration analysis program does not require expensive equipment. Here is my recommended approach:
Buy a handheld analyzer in the $3,000-5,000 range. The entry-level Fluke 805 is sufficient for spindle bearings and pumps.
Establish baselines on every machine. Take readings at all measurement points during normal production. Record the machine speed, material, and tooling.
Set alert thresholds. I use a simple two-level system: Alert (50% above baseline) and Alarm (100% above baseline). This catches developing problems without false alarms.
Schedule quarterly readings. I block one day per quarter per six machines. The actual measurement takes about 10 minutes per machine.
Trend the data. I update my spreadsheet after each quarterly round and look for consistent increases. A single high reading is noise. Three consecutive increases is a trend.
| Machine | Baseline (in/sec) | Quarter 1 | Quarter 2 | Quarter 3 | Trend |
|---|---|---|---|---|---|
| Drill-01 spindle | 0.05 | 0.06 | 0.09 | 0.14 | Warning |
| Drill-02 spindle | 0.04 | 0.04 | 0.05 | 0.05 | Normal |
| Drill-03 pump | 0.08 | 0.12 | 0.22 | 0.35 | Alert |
The program costs about $4,000 to start and 4 hours per quarter to maintain. In four years, I have prevented six spindle failures and three pump failures. The total savings exceeds $85,000.
Key Takeaways
- Vibration analysis pays for itself on the first prevented spindle failure
- Quarterly readings are sufficient for most production machines
- Track bearing defect frequencies, not just overall vibration level
- Set alert thresholds at 50% above baseline, alarm at 100%
- Cavitation is detectable and preventable with routine vibration monitoring