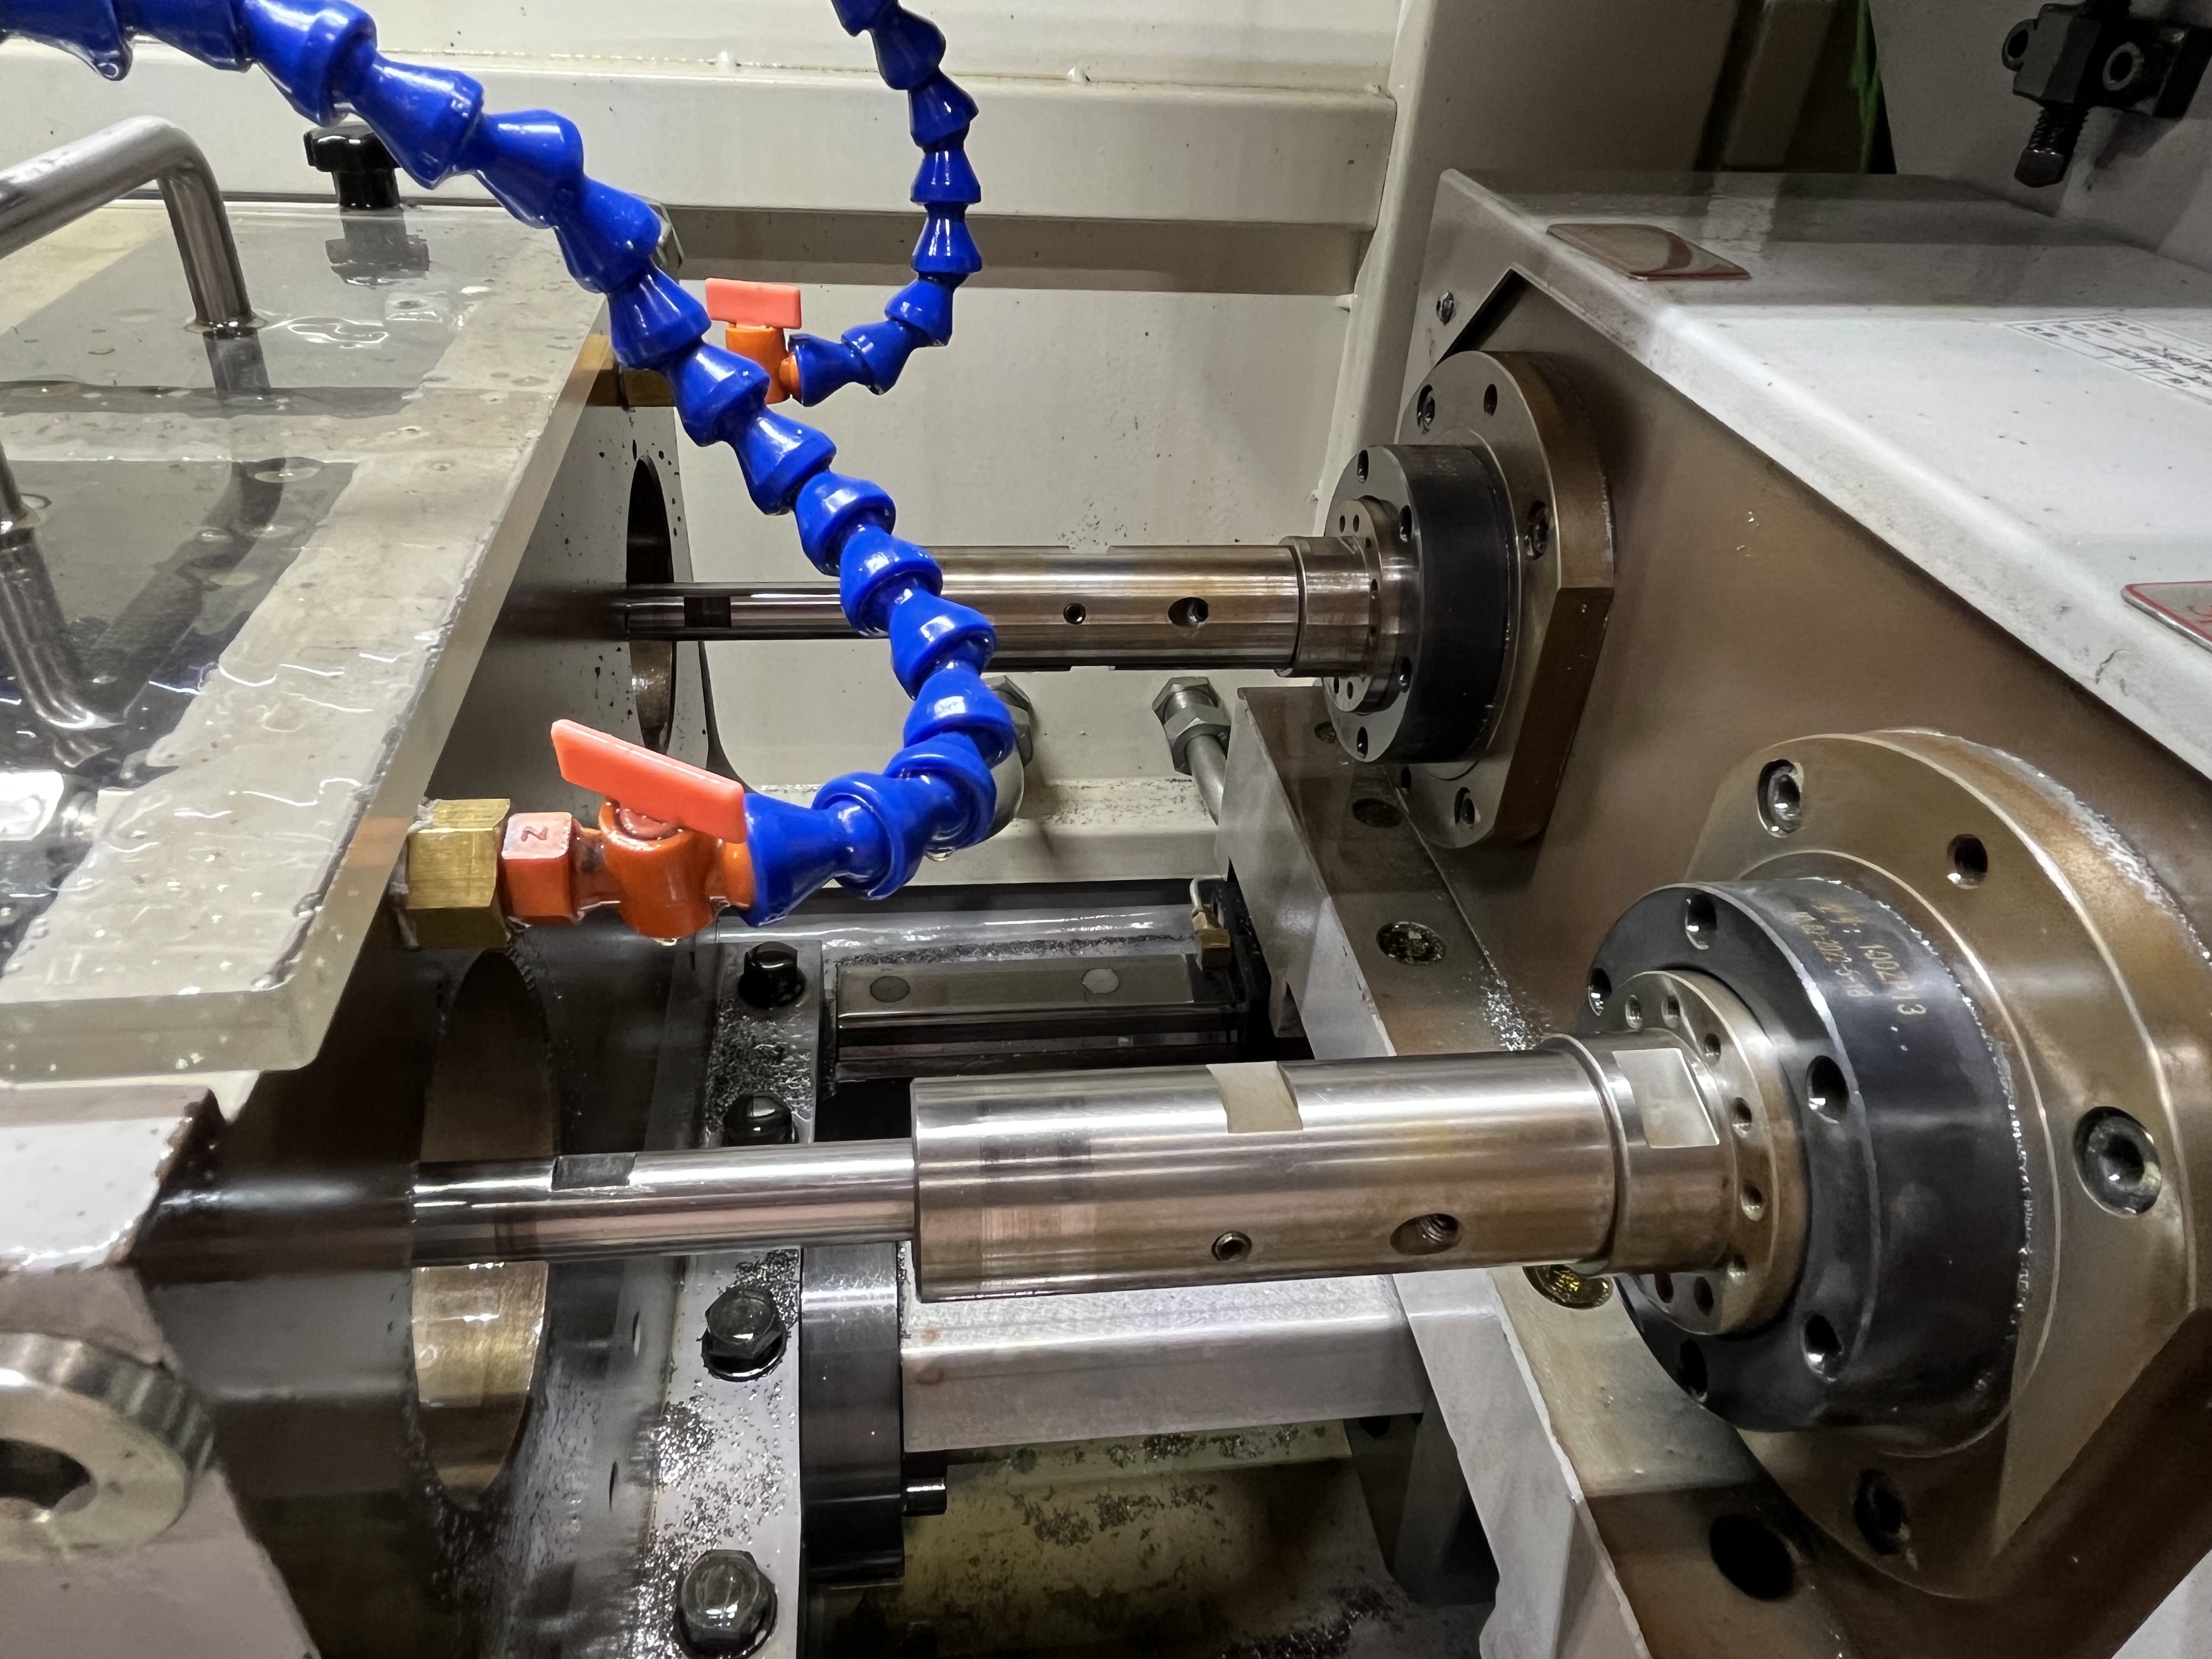
I spent the first three years of my career watching the coolant pressure gauge like a hawk. If it held steady at 1200 psi, I assumed everything was fine. Chips were packing? Must be a feed issue. Drill broke? Wrong parameters. Then a senior engineer walked over to my machine one afternoon, pulled out a bucket and a stopwatch, and showed me that my pump was delivering less than half the flow the drill actually needed. The pressure gauge never flickered.
That day changed how I think about coolant.
Pressure gets all the attention in gun drilling, but flow is what actually moves the chips. You can have perfect pressure at the gauge and zero flow at the tool tip. Here is what I have learned about the relationship between the two and why you need to watch both.
Pressure vs Flow — The Difference
Pressure is resistance to flow. It is not a measure of how much coolant is moving — it is a measure of how hard the pump has to push to get coolant through the system. Flow is the actual volume of coolant moving through the drill per unit of time, usually measured in gallons per minute (GPM) or liters per minute (LPM).
Think of it like a garden hose. Pinch the end and pressure goes up, but flow drops. The same thing happens inside a gun drill when chips pack in the flute or the coolant hole starts clogging. Your gauge reads high, but the drill tip is starving.
In gun drilling, flow does three things that pressure alone cannot:
- Carries chips out of the hole. Coolant velocity creates the drag force that sweeps chips backward through the flute. No flow, no chip transport.
- Cools the cutting edge. Stagnant coolant at high pressure does not remove heat. Moving coolant does.
- Lubricates the guide pads continuously. Flow ensures fresh lubricant reaches the pads at every revolution.
Pressure still matters — it overcomes the back-pressure from the cut and forces coolant into the narrow gap between the drill and the hole wall. But flow is the parameter that actually does the work. For a deeper breakdown of pressure settings by diameter, see Coolant Pressure in Gun Drilling.
What Each One Does in Deep Hole Drilling
In deep hole drilling, the coolant has to travel a long path — from the pump, through hoses, through the rotating union, down the length of the drill tube, out through the coolant hole, and back up the flute carrying chips. Every restriction along that path eats into either pressure or flow.
Pressure is what gets the coolant to the cutting zone. It must be high enough to overcome:
- Friction losses in the drill tube
- Back-pressure from the depth of the hole
- The pressure drop across the coolant hole at the drill tip
- Resistance from chips in the flute
Flow is what determines chip-carrying capacity. A minimum coolant velocity is required to lift chips and transport them out of the hole. If velocity drops below that threshold, chips settle in the flute and pack. Once they pack, pressure spikes and flow drops to near zero — and the drill breaks soon after.
I have seen operators crank up pressure to solve a chip-packing problem, only to make things worse. Higher pressure with the same restriction means less flow, not more. The fix is almost always to address the restriction — clean the filter, clear the coolant hole, or check for a kinked hose.
How to Measure Both
Most machines come with a pressure gauge plumbed into the manifold near the pump. That gauge tells you what the pump is doing, not what is happening at the drill tip. I have seen 1500 psi at the manifold and 200 psi at the tool tip on a machine with worn seals and a clogged filter.
Here is how I measure both:
Pressure at the tool tip. I installed a pressure tap in the rotating union outlet on my machines. That gives me pressure readings after the pump, filter, and all the plumbing — much closer to reality than the manifold gauge. If I cannot add a permanent tap, I use a inline pressure gauge on the coolant hose right before the spindle for spot checks.
Flow. I use the bucket-and-stopwatch method. Disconnect the coolant hose at the spindle, direct it into a 5-gallon bucket, and time how long it takes to fill. Do this with the drill running at operating temperature — cold coolant flows differently than hot. I check flow at the start of every job and once per shift during long production runs.
Flow at the drill tip is harder to measure directly, but I estimate it by comparing free-flow (hose disconnected) to restricted flow (drill in the cut). A drop of more than 30% from free flow to cutting flow tells me there is a restriction that needs attention.
For more on coolant system components and layout, see Coolant Systems in Deep Hole Drilling.
Pressure and Flow Requirements by Drill Diameter
The relationship between drill diameter and coolant requirements is not linear. Smaller drills need higher pressure but lower flow. Larger drills need more flow but can get away with lower pressure. Here is the table I keep on the wall next to every machine:
| Drill Diameter | Min Pressure | Recommended Pressure | Min Flow | Recommended Flow |
|---|---|---|---|---|
| 6 mm | 1500 psi | 1800-2200 psi | 4 GPM | 5-7 GPM |
| 10 mm | 1000 psi | 1200-1600 psi | 8 GPM | 10-14 GPM |
| 15 mm | 800 psi | 1000-1400 psi | 14 GPM | 16-22 GPM |
| 20 mm+ | 600 psi | 800-1200 psi | 20 GPM | 24-35 GPM |
I target the middle of the recommended flow range on every job. If I cannot hit minimum flow, I do not run the drill — the risk of chip packing is too high regardless of what the pressure gauge says.
These numbers assume standard steel alloys at 10x diameter depth. For deeper holes, add 5-10% to both pressure and flow for every additional 10 diameters of depth. For higher-tensile materials like Inconel or titanium, I go to the top of the recommended range and monitor chip condition closely.
Common Problems: When Flow Is Insufficient but Pressure Looks Fine
This is the danger zone. The gauge reads normal, so most operators keep running. But chips are not clearing, surface finish is degrading, and drill wear is accelerating. Here is what I check:
Clogged coolant hole in the drill. A partial blockage in the drill’s internal coolant passage reduces flow without a big pressure drop. The pump sees higher resistance and compensates, so manifold pressure stays stable. I check drill coolant holes with a wire gauge before every setup.
Worn pump internals. A pump with worn clearances can maintain pressure at low flow but cannot deliver rated flow under load. The gauge looks fine until the drill is in the cut and the flow drops. This is why I measure flow under cutting conditions, not just at the hose.
Partially clogged filter. As filter media loads up, flow drops gradually while pressure stays constant or even creeps up. I change filters on a schedule, not when the pressure gauge tells me to — by then, flow has already degraded.
Kinked or undersized hoses. I once spent two days chasing a chip-packing problem on a 15 mm drill. Turned out the coolant hose was one size too small and had a sharp bend near the manifold. The pressure drop across that single restriction was killing flow at the drill. Replaced the hose and flow doubled.
Symptom vs Cause: Reading the Pressure-Flow Relationship
| Symptom | Likely Cause | What to Check |
|---|---|---|
| High pressure, low flow | Restriction in the coolant path | Clogged filter, blocked drill coolant hole, packed chips in flute, kinked hose |
| High pressure, high flow | System is healthy or bypass valve stuck closed | Verify against baseline, check bypass valve operation |
| Low pressure, high flow | Leak or bypassing | Worn pump seals, leaking rotating union, open bypass valve, hose rupture |
| Low pressure, low flow | Pump problem or severe restriction | Pump cavitation, worn pump, massive clog, insufficient coolant level in tank |
I reference this table every time I walk up to a machine with a coolant problem. It saves me from guessing. If I see high pressure with low flow, I start looking for restrictions. If I see low pressure with high flow, I look for leaks. The combination tells you where to look faster than any single number.
How Restrictions Affect Flow More Than Pressure
This is the part that took me the longest to understand. In a hydraulic system, flow is proportional to the square root of the pressure drop across a restriction. That means a small restriction creates a disproportionately large flow reduction while the pressure reading at the pump barely changes.
A practical example: A 20% reduction in the coolant hole cross-section (from a chip stuck in the hole or a buildup of deposits) can cut flow by 40% or more at the same pump pressure. But the manifold gauge might only show a 5-10% increase because the pump is still working in its normal range.
The opposite is also true. Cleaning a restriction often produces a dramatic increase in flow with a slight drop in pressure. I have cleaned a partially clogged coolant hole and watched flow jump from 8 GPM to 14 GPM while pressure dropped from 1400 psi to 1100 psi. The machine cut better, the chips cleared, and the drill stopped breaking.
This is why I tell every new operator: trust flow, verify pressure. The gauge is a tool, not the whole story.
Key Takeaways
- Flow moves chips, not pressure. Pressure overcomes resistance; flow provides the velocity that evacuates chips from the hole.
- Measure flow at the tool tip, not just at the pump manifold. A bucket and stopwatch are more reliable than a gauge.
- Pressure can look normal while flow is critically low — check for restrictions in the coolant hole, filter, hoses, and pump.
- High pressure with low flow always means a restriction. Low pressure with high flow always means a leak or bypass.
- A 20% reduction in coolant hole area can cut flow by 40% or more. Keep coolant passages clean.
- Match flow to drill diameter using the table above, and add margin for depth and material difficulty.
- Check free flow vs cutting flow regularly. A drop over 30% signals a developing problem.