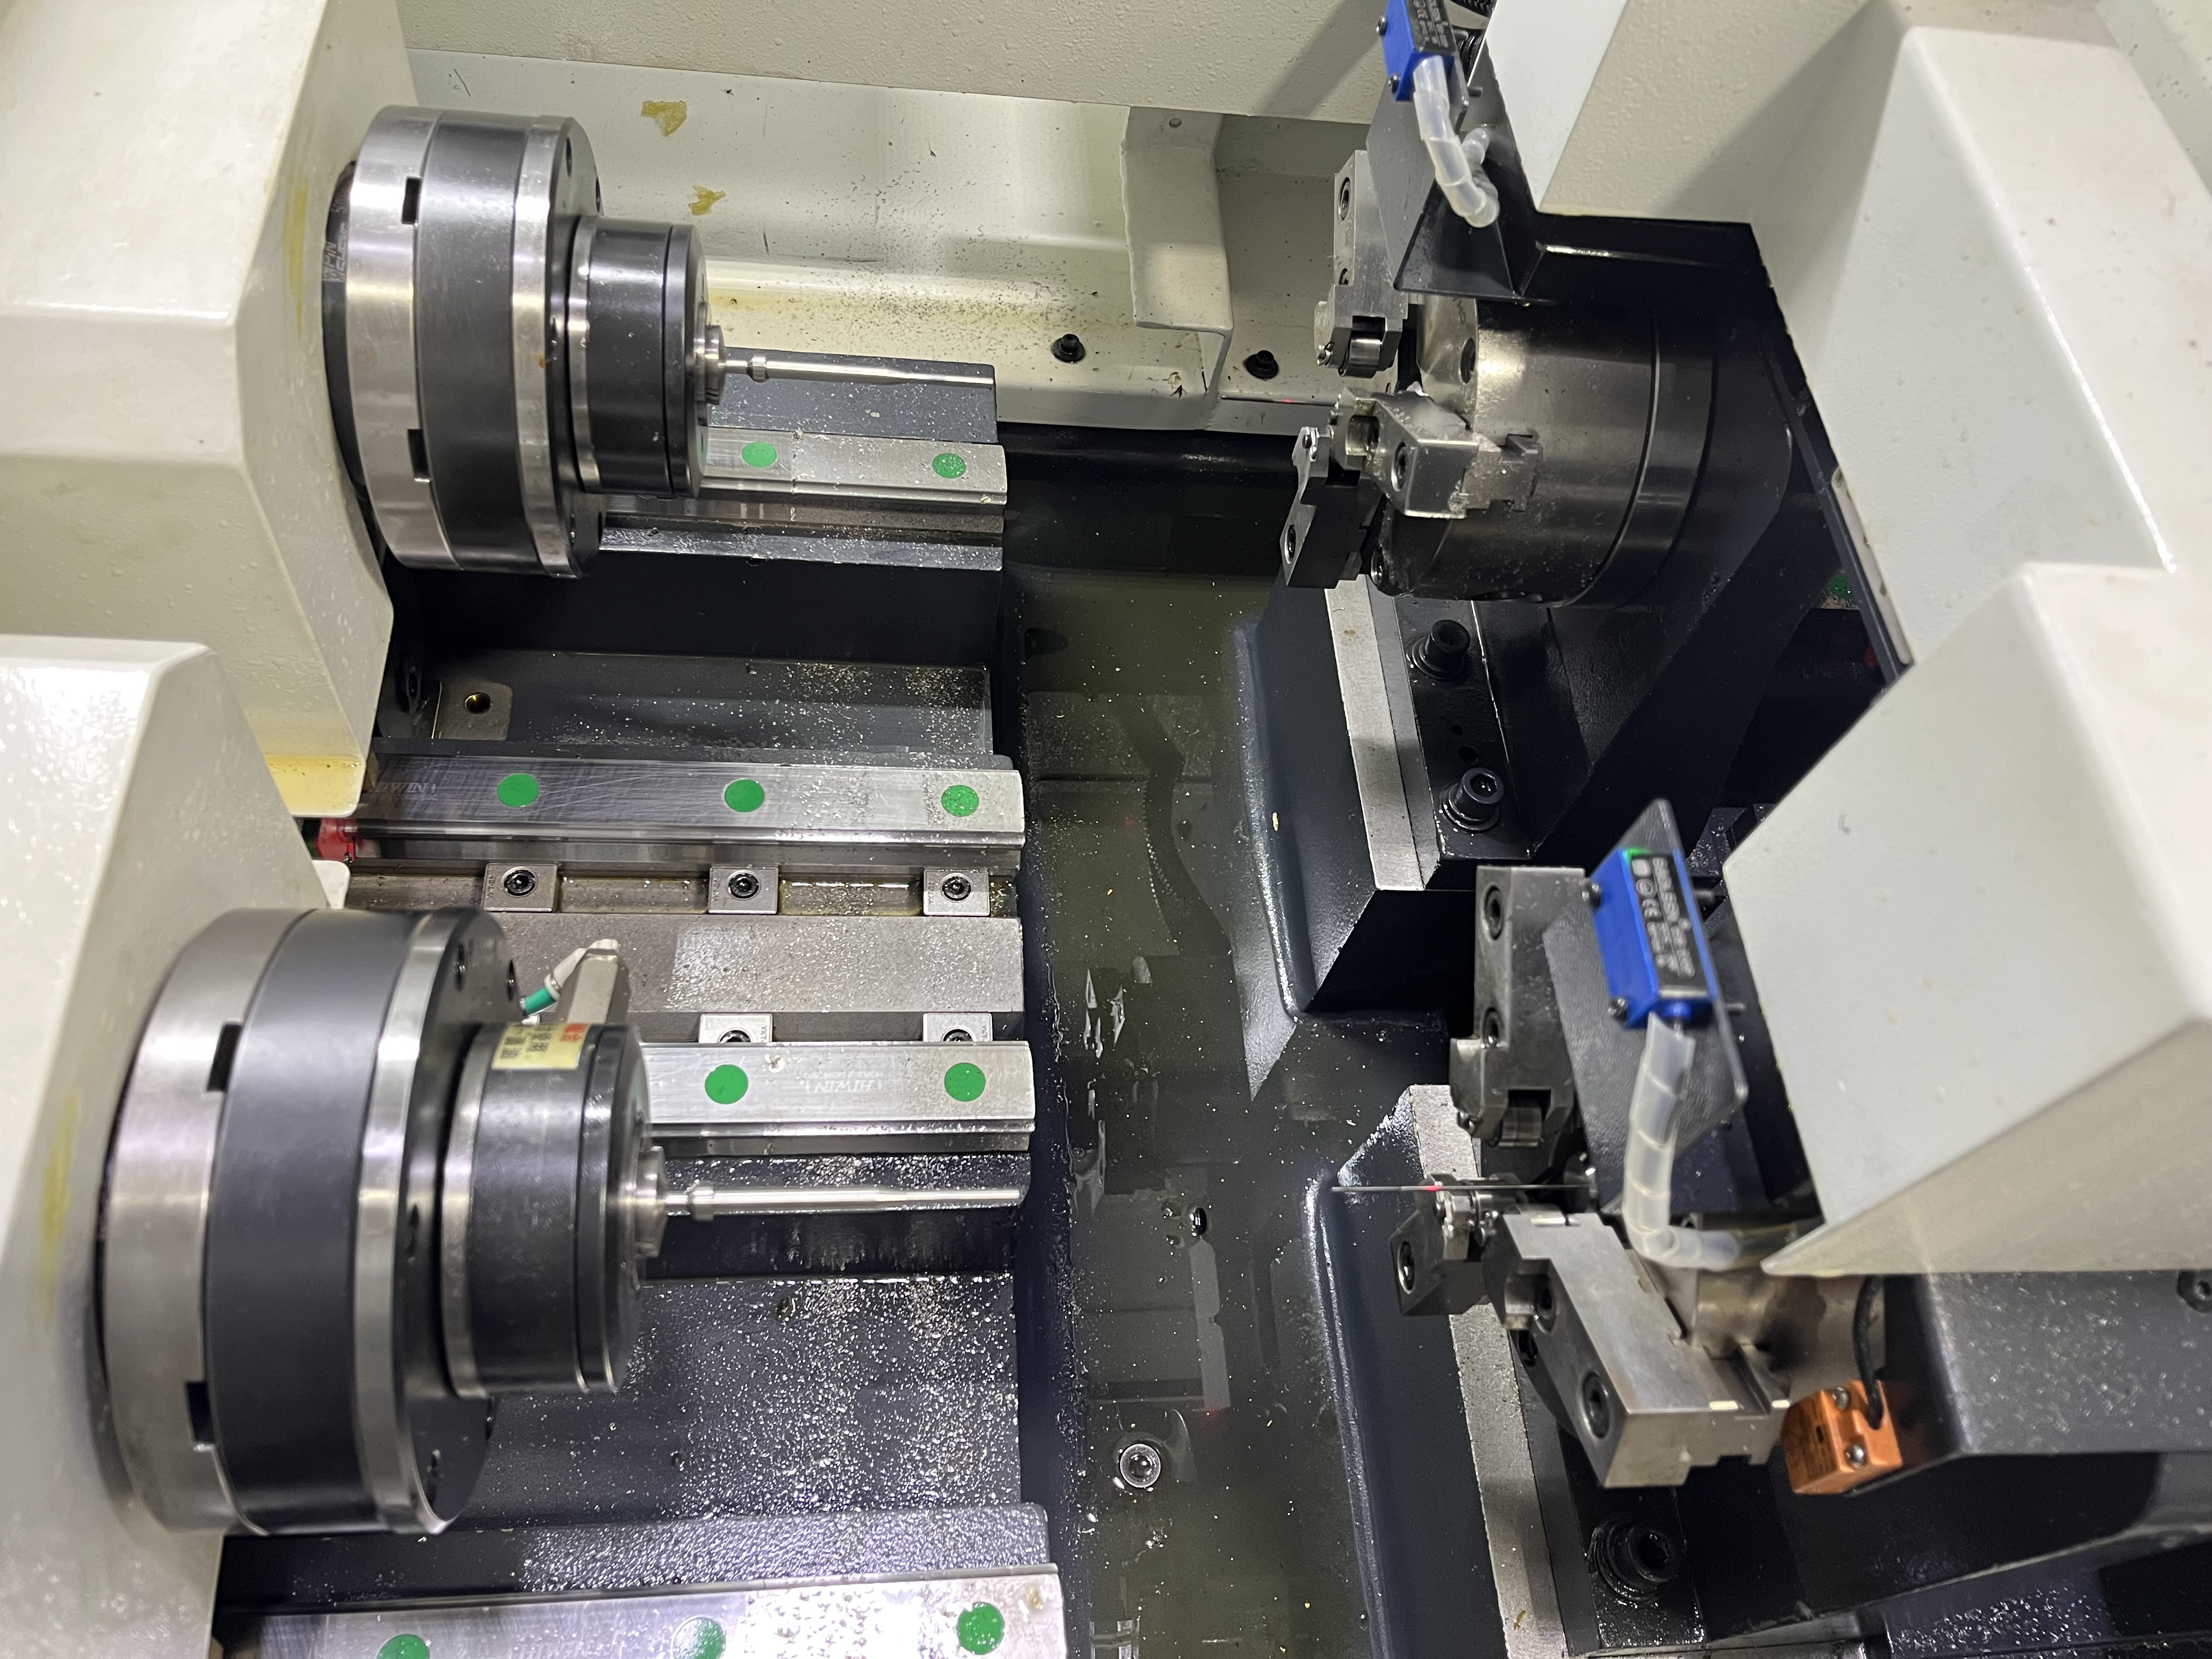
I use a fixed setup checklist for every deep hole drilling job. It takes five minutes to run through and has prevented more scrapped parts than any other process control I have implemented. A cold machine, a dirty bushing, or a clogged coolant line will ruin a part faster than any programming mistake.
Step 1: Machine Warm-Up
I run the spindle at operating speed with coolant circulating for at least 30 minutes before starting a job. A cold machine does not drill straight holes because the spindle, headstock, and bed expand as they warm up.
| Machine Condition | Typical Thermal Growth | Effect on Hole Straightness |
|---|---|---|
| Cold start (0 minutes) | 0 mm | 0.02-0.05 mm/100 mm drift |
| Partial warm-up (15 minutes) | 0.02-0.05 mm | 0.01-0.03 mm/100 mm drift |
| Full warm-up (30 minutes) | 0.05-0.10 mm | Under 0.01 mm/100 mm drift |
| Extended run (120 minutes) | 0.10-0.15 mm | Stabilized, no further change |
I have watched a machine drill a straight test bar 30 minutes after startup, then drill three production parts that were 0.03 mm out of straightness because the spindle bearing housing was still expanding. The 30-minute warm-up eliminated the problem.
Step 2: Coolant Pressure Verification
Coolant pressure must be verified at the tool tip, not at the pump gauge. I have seen the pump read 1,500 psi while the tool tip only got 900 psi because of a partially clogged filter or a worn rotating union seal.
My verification sequence:
- Install a pressure gauge on the rotating union outlet.
- Run the coolant pump at operating speed.
- Record the pressure with the tool installed and the spindle rotating.
- If the pressure at the tool tip is more than 15 percent below the pump reading, investigate the filter, the coolant lines, and the rotating union.
- Replace filters if the pressure drop exceeds 15 percent.
For gun drilling, I want at least 1,000 psi at the tool tip for holes up to 12 mm diameter. For BTA drilling, the pressure is lower but the flow must be verified with a flow meter.
Step 3: Guide Bushing Inspection
The guide bushing supports the drill near the workpiece entry. A worn bushing allows the drill to wobble, which produces oversized holes and poor surface finish.
I check the bushing ID with a pin gauge:
- New bushing: Matches drill diameter within 0.002 mm.
- Wear limit: Replace if ID exceeds 0.01 mm over the original size.
- Scoring or galling: Replace immediately.
I also check the bushing alignment to the spindle axis using a test bar. Misalignment of the bushing relative to the spindle produces a curved hole from the very first millimeter.
Step 4: Workpiece Support
The workpiece must be rigidly supported at both ends and any intermediate points. For long, slender workpieces, I use steady rests at intervals of no more than 10 times the workpiece diameter.
| Workpiece Length | Steady Rests Required | Position |
|---|---|---|
| Under 300 mm | None (chuck + tailstock) | N/A |
| 300-600 mm | 1 | Mid-span |
| 600-1000 mm | 2 | 1/3 and 2/3 points |
| Over 1000 mm | 3+ | Every 300-400 mm |
I verify that the steady rest rollers contact the workpiece with equal force by checking the gap between the roller and the workpiece with a feeler gauge. Uneven roller contact causes the workpiece to deflect during drilling.
Step 5: Machine Alignment Check
I run a test bar through the guide bushing and into the spindle to check alignment. The test bar should slide through the bushing and into the spindle without force. If the test bar binds at any point, the alignment between the spindle, bushing, and workpiece support is off.
The acceptable misalignment:
- Angular misalignment: Under 0.01 mm over 100 mm
- Parallel offset: Under 0.02 mm
I do not start production without passing the test bar check. Misalignment is the root cause of most straightness failures I have seen.
Step 6: Tool Condition Verification
Before loading the drill into the spindle, I inspect it under magnification:
- Cutting edge: No chips, cracks, or wear marks.
- Coolant hole: Clear of debris. I blow compressed air through the hole to check.
- Shank diameter: Within spec for the tool holder.
- Coating condition (if coated): No flaking or discoloration.
A drill with a small chip in the cutting edge will produce a ridged surface finish. A partially blocked coolant hole leads to chip packing and tool breakage. I replace any tool that does not pass inspection.
Step 7: Parameter Verification
I verify every parameter in the CNC program against the job sheet before starting:
| Parameter | Check Against |
|---|---|
| Spindle speed (RPM) | Manufacturer recommendation for material and diameter |
| Feed rate (mm/min or mm/rev) | Calculated chip load per tooth |
| Coolant pressure setpoint | Verified at tool tip |
| Peck cycle depth | Chip breaking requirement |
| Bore depth | Print dimension |
| Retract distance | Clearance for chip clearing |
I initial the job sheet after verification. If an operator runs a different setup later, they can see that parameters were verified before the first part.
Step 8: First Part Inspection Plan
Before drilling the first part, I prepare the inspection plan:
- What to measure: Diameter, straightness, surface finish, hole position.
- Where to measure: Entry, mid-length, exit.
- How to measure: Bore gauge, profilometer, CMM program.
- Acceptance criteria: Print dimensions and tolerances.
- Frequency: First article, then every Nth part per the control plan.
The inspection plan sits at the machine so the operator knows exactly what to check without hunting for instructions.
Key Takeaways
The setup checklist is the foundation of consistent deep hole drilling quality. The five minutes it takes has saved me hours of troubleshooting and more than a few scrapped parts. I have the checklist laminated and posted at every machine. New operators learn the checklist before they touch a machine control. Every time I have deviated from the checklist, I have regretted it within the first few parts.