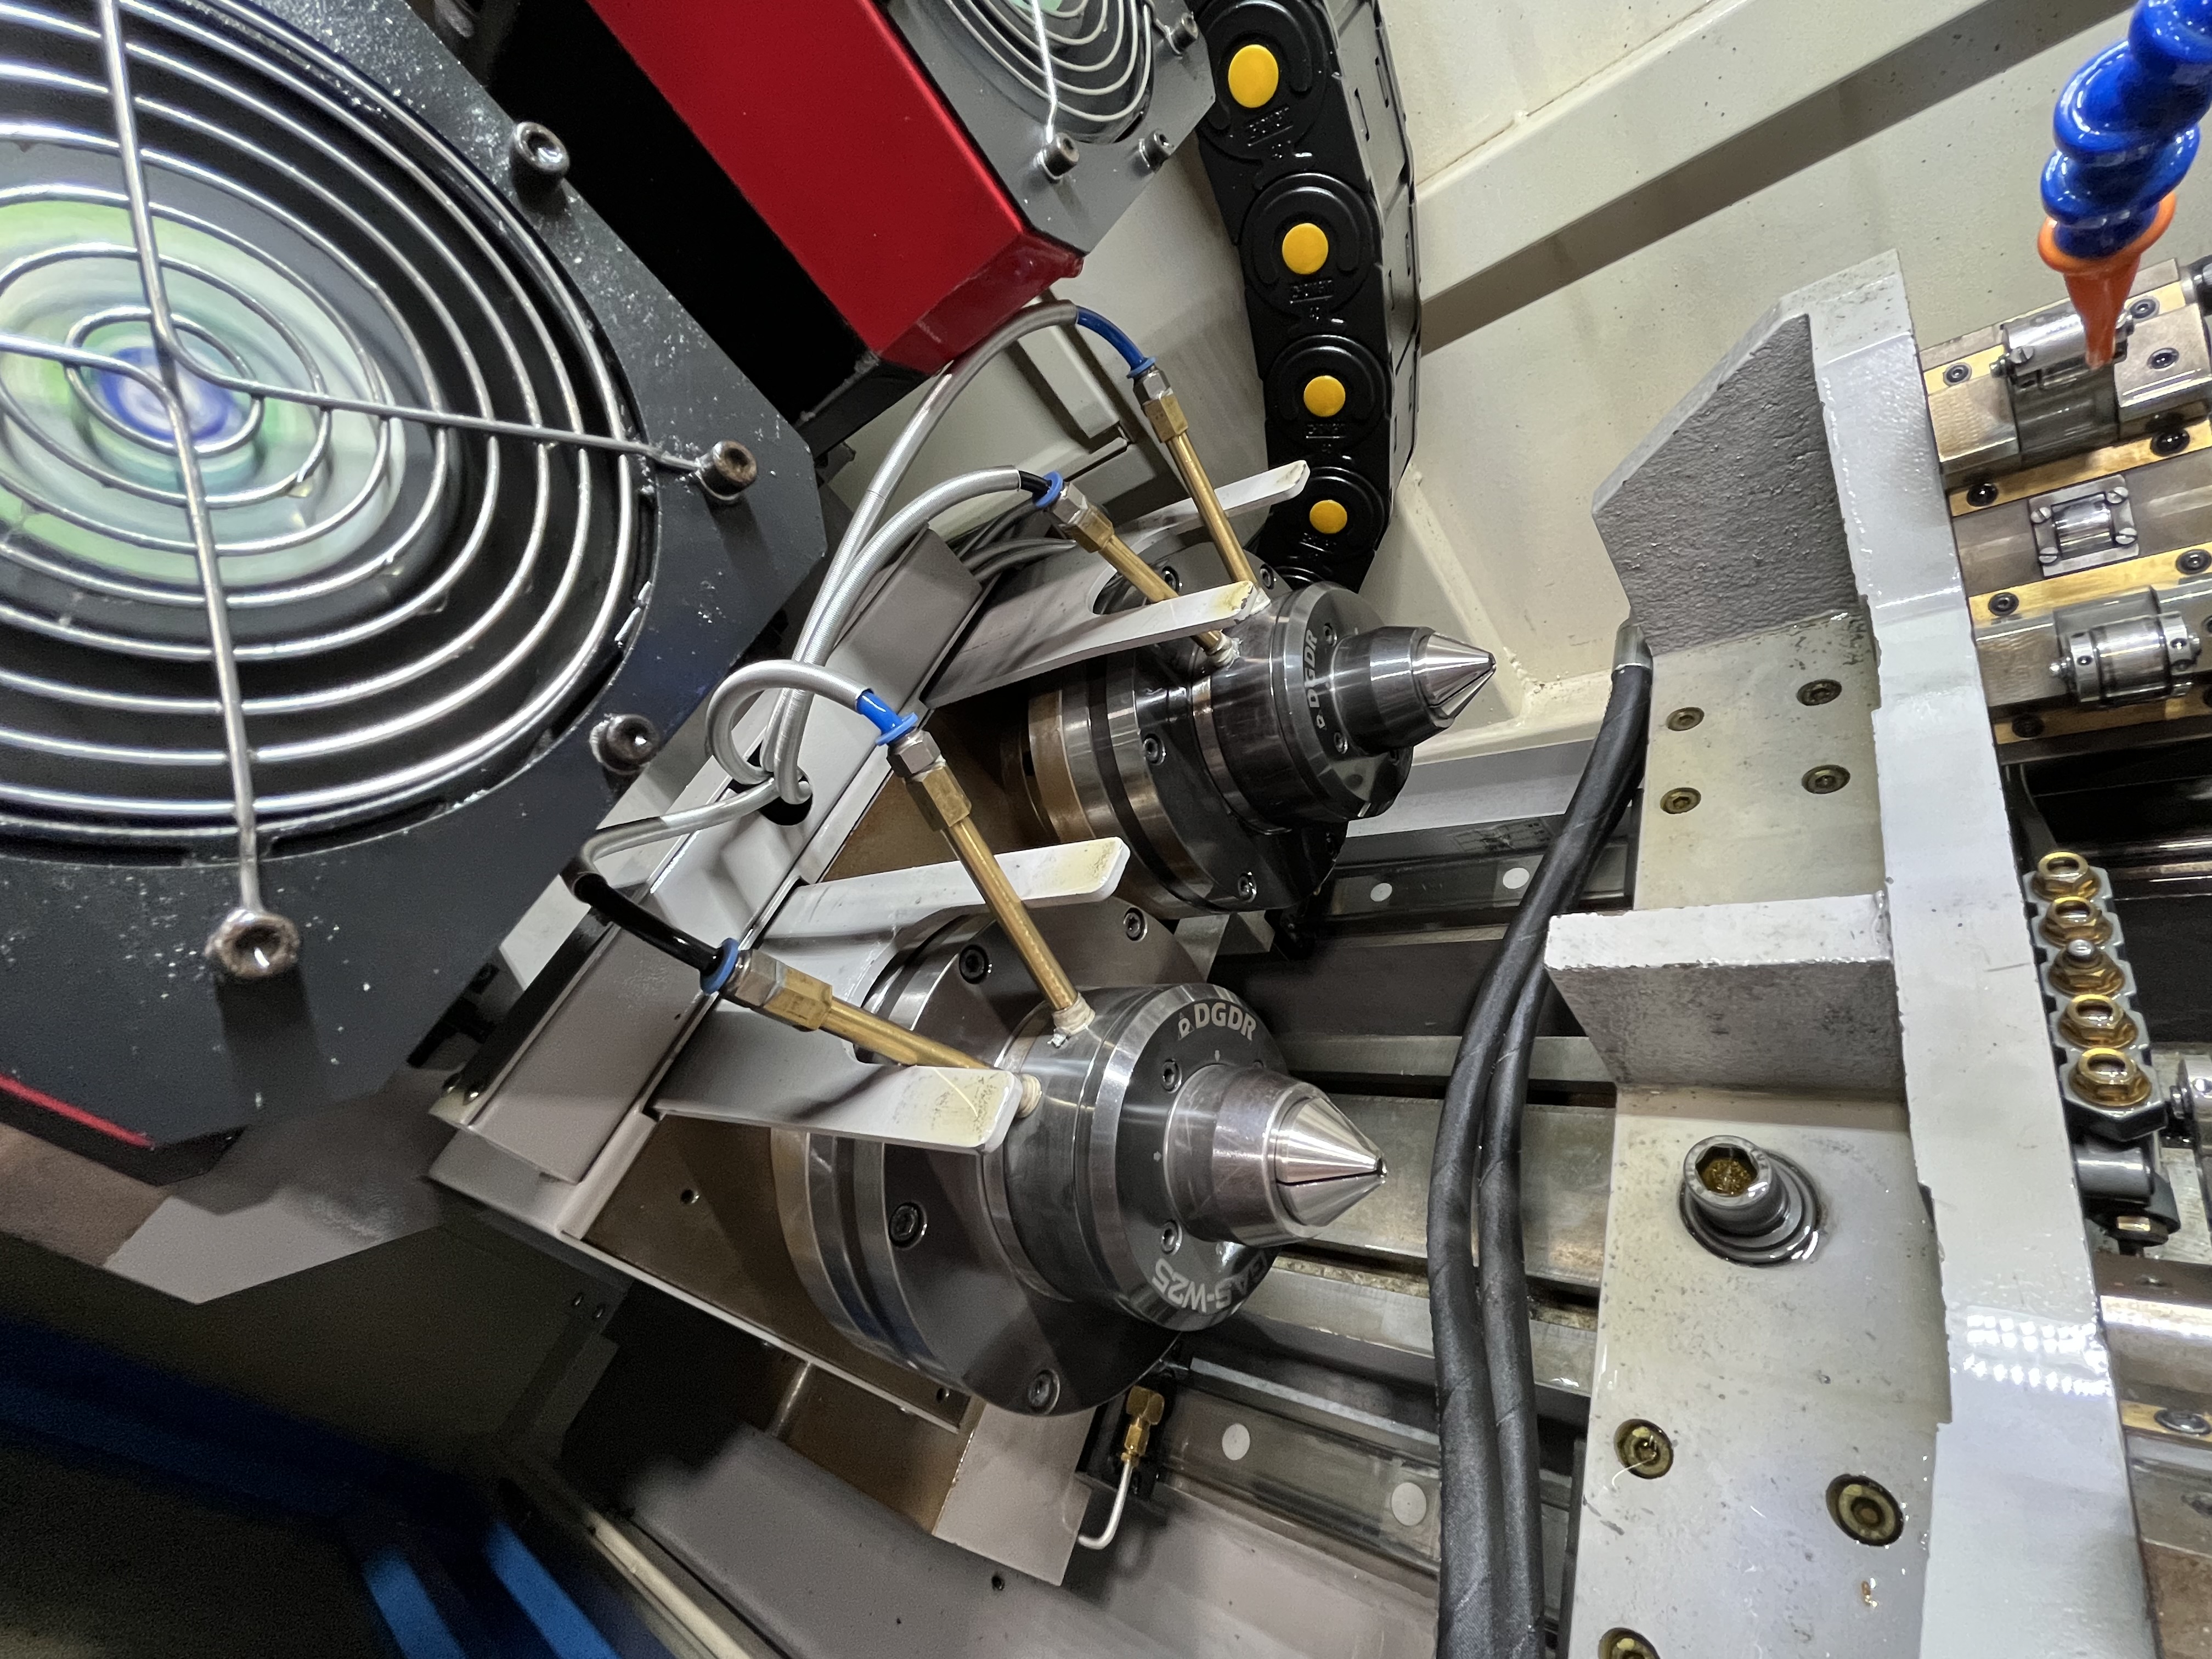
If there is one thing I have learned across years of running gun drills in production, it is this: tip geometry is everything. You can have the best coolant system, the tightest bushing alignment, and the most rigid machine on the floor, but if the tip geometry is wrong the drill will chatter, wear prematurely, or produce scrap. This article is the practical breakdown I wish someone had handed me when I started — what each angle does, why it matters, and how to set it for the material in the spindle.
This article assumes you already understand the basic anatomy of a gun drill. If you need a refresher, read the Gun Drill Geometry Guide first. For coating-specific considerations, see Gun Drill Coatings and Materials.
Point Angle and Its Effect on Chip Formation and Cutting Forces
The point angle is the included angle at the drill tip, typically measured between the two cutting lips. On a conventional gun drill this angle usually falls between 110 and 140 degrees, and shifting it even a few degrees changes the cutting dynamics dramatically.
A steeper (smaller) point angle — say 110 to 120 degrees — creates a more aggressive cut. The cutting edge engages the material more sharply, which reduces thrust force and produces shorter, more broken chips. This is ideal for gummy materials like low-carbon steel, aluminum, and stainless steel, where long stringy chips are the primary failure mode. The trade-off is that a steeper tip creates higher stress concentration at the drill center, which can lead to chipping in harder materials.
A shallower (larger) point angle — 130 to 140 degrees — spreads the cutting load over a longer edge. This reduces edge pressure and heat concentration at the tip, making it the right choice for hard steels, hardened tool steels, and heat-treated alloys. The downside is increased thrust force and a tendency to produce longer chips, which demands better chip evacuation.
In practice I run 118 degrees for aluminum and low-carbon steels, 125 to 130 for medium-carbon and alloy steels, and 135 to 140 for hardened materials above 40 HRC. These are starting points — the specific alloy, heat treat condition, and coolant pressure all shift the optimum.
Primary and Secondary Clearance Angles
Clearance angles prevent the flank of the drill from rubbing against the workpiece. Insufficient clearance generates heat and accelerates flank wear. Too much clearance weakens the cutting edge and invites chipping.
Primary Clearance
The primary clearance angle is the relief immediately behind the cutting edge, typically 6 to 12 degrees depending on the material. This is the most critical clearance because it directly supports the cutting edge. I set primary clearance at the lower end of the range — 6 to 8 degrees — for hard, abrasive materials where edge support is paramount. For soft, gummy materials I open it up to 10 to 12 degrees to reduce friction and prevent built-up edge.
Secondary Clearance
The secondary clearance is ground behind the primary relief and is always larger — typically 15 to 25 degrees. Its job is to ensure that the primary land does not rub as the drill feeds deeper. If the secondary clearance is too small, the drill will bind in the hole. If it is too large, you sacrifice land support and the drill can wander. I keep secondary clearance at 20 degrees for most general-purpose applications and only deviate when dealing with extremely long length-to-diameter ratios, where I may drop to 18 degrees for added stability.
Rake Angle: Positive vs. Negative and Material Specificity
Rake angle on a gun drill is the angle of the cutting face relative to the workpiece surface. Most gun drills use a positive rake angle — typically 0 to 6 degrees — because it reduces cutting forces and promotes shearing rather than plowing through the material.
Positive rake is essential for aluminum, brass, bronze, and plastics, where a sharp, free-cutting edge prevents work hardening and produces clean chips. I run 4 to 6 degrees of positive rake for these materials.
For harder materials — alloy steels above 30 HRC, stainless steels, and titanium — I reduce rake to 0 to 2 degrees positive. The reduced rake strengthens the cutting edge and prevents micro-chipping at the expense of slightly higher cutting forces.
Negative rake is uncommon in gun drilling but appears in specialized applications: interrupt cuts, heavily scaled surfaces, or extremely hard materials above 55 HRC. Negative rake strengthens the edge at the cost of pushing more heat into the workpiece and increasing thrust forces. I have only needed negative rake on gun drills for a handful of powdered-metal and MIM applications.
Tip Offset and How It Determines Hole Size
The tip offset — the radial distance between the drill centerline and the apex of the cutting tip — is arguably the single most important dimension on a gun drill because it directly determines the hole diameter.
On a correctly sharpened gun drill, the tip is offset from the drill body centerline by a specific amount. As the drill rotates, this offset point traces a circle larger than the drill body, which is what allows a gun drill to cut a hole larger than its own shaft. The margin on the outside diameter guide pad then burnishes the hole to size.
A tip offset that is too small produces an undersized hole. A tip offset that is too large causes the drill to cut oversize and puts excessive load on the outside guide pad, leading to rapid wear and poor surface finish. I check tip offset on every regrind and reject any drill where the offset deviates by more than 0.002 inch from specification.
Typical tip offset values range from 0.005 to 0.015 inches depending on drill diameter, with smaller drills using less offset. The exact number depends on the drill body clearance and the material being drilled — softer materials tolerate slightly more offset; harder materials need less.
Coating Interactions with Geometry
Coating changes everything about how a geometry performs in practice. A geometry that works well uncoated can be a disaster once coated if you don’t account for the coating’s effect on edge radius and friction.
TiAlN and AlTiN coatings add an effective edge radius that makes the cutting edge appear more negative. If I am running a coated drill, I increase the primary clearance by 1 to 2 degrees and move the rake slightly more positive to compensate. TiN coatings are thinner and have a smaller effect, but I still add 0.5 to 1 degree of clearance.
Diamond-like carbon (DLC) coatings have very low friction coefficients, which means chip flow changes dramatically. I reduce rake angle by 1 to 2 degrees with DLC to prevent the chip from curling too tightly and jamming in the flute.
The coating thickness itself also matters. After a few regrinds the coating is gone from the cutting edge, and the underlying substrate geometry governs performance. Always check with your coating supplier for their recommended geometry adjustments — they have tested more combinations than any one shop has.
Geometry Changes Through Regrinds
A gun drill geometry does not stay constant through its life. Each regrind shortens the drill and changes the tip profile. Here is what happens:
| Regrind Stage | Point Angle Change | Primary Clearance | Tip Offset | Notes |
|---|---|---|---|---|
| First grind (new) | Nominal spec | Nominal spec | Nominal spec | Full factory geometry |
| First regrind | +0 to 1 degree | +0.5 degree | Within 0.001 in. | Minimal geometry shift |
| Second regrind | +1 to 2 degrees | +1 degree | May drift 0.002 in. | Check offset carefully |
| Third regrind | +2 to 3 degrees | +1.5 degrees | Monitor closely | Edge support degrading |
| Fourth regrind | +3 to 4 degrees | +2 degrees | Likely out of spec | Consider retiring the drill |
The point angle tends to increase slightly with each regrind because the grinding wheel wears the inner corner preferentially. I compensate by adjusting the wheel dress frequency and checking the tip angle after every regrind with an optical comparator.
Primary clearance gradually opens up as the drill shortens and the grinding contact point shifts. This is usually acceptable unless it exceeds the material limit for the job. Tip offset is the dimension that degrades fastest — I have seen shops scrap perfectly usable drills simply because they let tip offset drift unchecked.
The practical takeaway: measure every regrind. Do not assume the geometry stays the same. If you track these four parameters — point angle, primary clearance, secondary clearance, and tip offset — across regrinds, you will know exactly when to retire a drill instead of guessing.
Recommended Geometry by Material
The table below summarizes the geometries I use as starting points. Every material heat and batch is slightly different, so treat these as initial setup values, not absolutes.
| Material Group | Point Angle | Primary Clearance | Secondary Clearance | Rake Angle |
|---|---|---|---|---|
| Aluminum / 6061 | 118 deg | 10-12 deg | 20 deg | 4-6 deg positive |
| Low-carbon steel (1018, 12L14) | 118-120 deg | 8-10 deg | 20 deg | 3-5 deg positive |
| Medium-carbon steel (4140, 1045) | 125-130 deg | 8-9 deg | 20 deg | 2-4 deg positive |
| Alloy steel (4340, 8620) | 125-130 deg | 7-8 deg | 18-20 deg | 2-3 deg positive |
| Stainless steel (304, 316) | 118-125 deg | 10-12 deg | 20-22 deg | 4-6 deg positive |
| Tool steel / hardened (>40 HRC) | 135-140 deg | 6-7 deg | 18 deg | 0-2 deg positive |
| Titanium (6Al-4V) | 125-130 deg | 10-12 deg | 20 deg | 2-4 deg positive |
| Brass / bronze | 118 deg | 8-10 deg | 20 deg | 3-5 deg positive |
| Plastics / composites | 110-118 deg | 12-15 deg | 22-25 deg | 5-7 deg positive |
Key Takeaways
- Point angle is material-dependent. Steeper angles (110-120 deg) for soft/gummy materials; shallower angles (130-140 deg) for hard materials. Adjust in 2-3 degree increments and test.
- Primary clearance supports the edge. Keep it tight (6-8 deg) for hard materials, open it up (10-12 deg) for soft materials. Secondary clearance is mainly about clearance — 20 degrees works for most jobs.
- Positive rake is the norm. Use 4-6 degrees for soft materials, reduce to 0-2 degrees for hard alloys. Negative rake is rarely needed in gun drilling.
- Tip offset controls hole size. Measure it every regrind. Reject anything outside 0.002 inch of spec. It degrades faster than any other dimension.
- Coating changes effective geometry. Adjust clearance and rake to compensate for the coating’s edge radius and friction effects. Always check with your coating supplier.
- Geometry drifts through regrinds. Point angle opens up, clearance increases, and offset drifts. Measure all four parameters after every regrind, not just the tip.