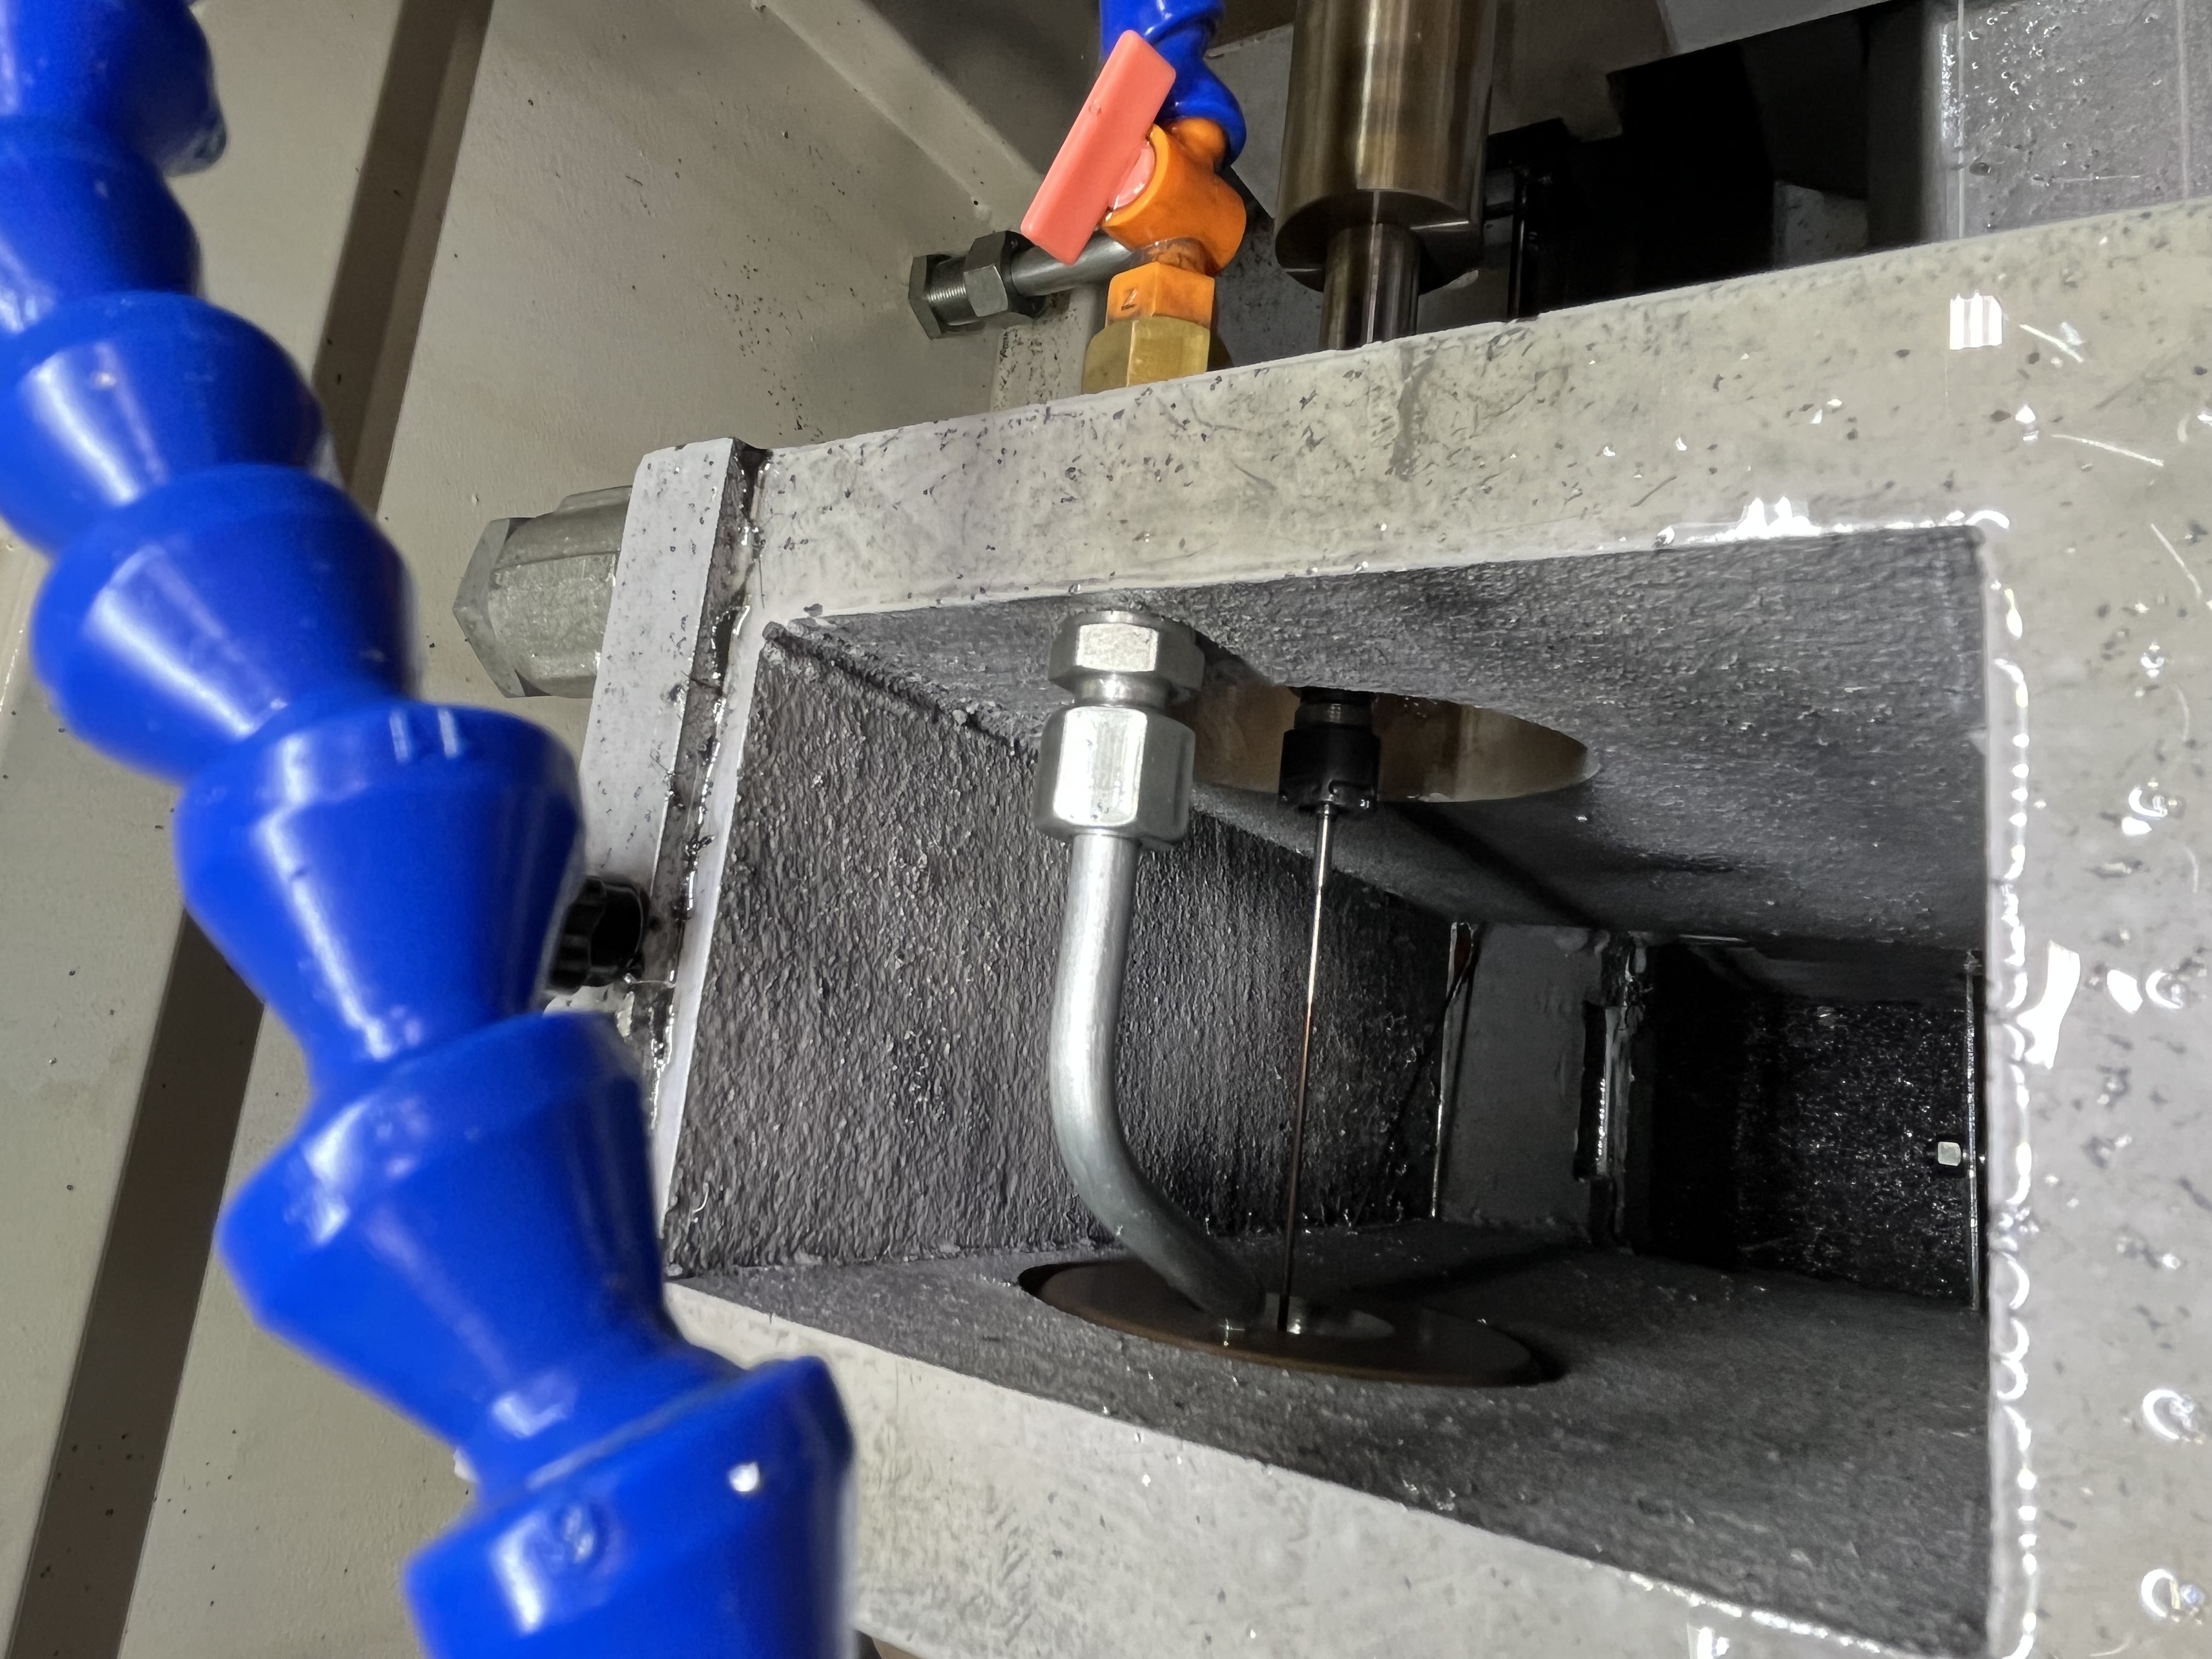
Coolant pressure is the single most critical parameter in gun drilling. I have seen a 15% drop in pressure double the chip packing frequency and cut tool life in half. Getting the pressure right matters more than speed or feed on every job I run.
Pressure Requirements by Diameter
Small drills need high pressure because the coolant hole area shrinks faster than the drill diameter. A 2 mm drill has less than one-tenth the coolant hole area of a 6 mm drill, so the pressure must be much higher to move the same volume.
| Drill Diameter | Minimum Pressure | My Recommended Range | Coolant Hole Area (mm²) |
|---|---|---|---|
| Under 2 mm | 2500 psi | 2800 - 3500 psi | 0.5 - 0.8 |
| 2 - 3 mm | 2000 psi | 2500 - 3000 psi | 0.8 - 1.8 |
| 3 - 6 mm | 1500 psi | 1800 - 2500 psi | 1.8 - 5.0 |
| 6 - 12 mm | 1000 psi | 1200 - 1800 psi | 5.0 - 20 |
| 12 - 25 mm | 800 psi | 1000 - 1500 psi | 20 - 80 |
| 25 - 40 mm | 500 psi | 800 - 1200 psi | 80 - 200 |
| Over 40 mm | 400 psi | 600 - 1000 psi | Over 200 |
I aim for 15% margin above the minimum pressure on every job to account for pump wear and filter loading over the production run. A 0.5 mm drop in pressure at the tool tip doubles the chip packing risk — I have measured this on a 6 mm gun drill in 4140 steel at 1800 psi.
Pressure by Material
The material changes the pressure requirement because different materials produce different chip forms.
| Material | Pressure Multiplier vs Steel | Why |
|---|---|---|
| Mild steel (1018, A36) | 1.0 (baseline) | Short, broken chips clear easily |
| Alloy steel (4140, 4340) | 1.2 - 1.5 | Tougher chips need more force to evacuate |
| Stainless steel (304, 316) | 1.5 - 2.0 | Stringy, sticky chips need high velocity |
| Aluminum (6061, 7075) | 0.7 - 0.9 | Light chips clear at lower pressure |
| Cast iron (gray) | 0.6 - 0.8 | Powder chips need less pressure |
| Titanium | 1.5 - 2.0 | Ribbon chips pack easily — high pressure critical |
| Inconel | 2.0 - 2.5 | Most difficult chip evacuation |
A 12 mm gun drill in steel needs 1000-1500 psi minimum. The same drill in 316 stainless needs 1500-2000 psi. I learned this the hard way when I broke three drills in one shift running stainless at steel pressures.
How to Set Coolant Pressure
I use a systematic setup process for coolant pressure on every new job.
- Look up the pressure range for the drill diameter and material using the tables above. Start at the middle of the range.
- Check the pressure at the tool tip, not at the pump gauge. The pressure drop through the coolant system can be 100-300 psi depending on hose length and fittings. I install a pressure tap at the spindle for critical jobs.
- Run a test hole at 50% feed rate and full coolant pressure. Watch the chip exit. Chips should flow steadily and continuously.
- Check chip form on the test hole. Short C-shaped chips are ideal. Needle chips or powder mean pressure is too low.
- Adjust pressure up in 100 psi increments if chips are not clearing cleanly.
- Record the pressure reading at the tool tip for future reference on repeat jobs.
I check coolant flow volume with a bucket and stopwatch once a month. The pressure gauge can read fine while the pump is cavitating or the filter is partially clogged. Flow volume is the real indicator.
What Low Pressure Causes
Low coolant pressure creates a cascade of problems that all end with a broken drill.
| Symptom | Root Cause | Result |
|---|---|---|
| Chips pack in the flute | Pressure too low to push chips past the guide pads | Drill seizes and twists off |
| Surface finish worsens | Chips recutting in the bore | Ra increases by 2-3x, scrap parts |
| Oversized hole diameter | Chips pushed between pad and bore wall | Diameter grows 0.02-0.05 mm oversize |
| Drill wanders off position | Uneven chip packing pushes the drill sideways | Position error of 0.1 mm per 100 mm depth |
| Guide pad wear accelerates | Chips act as abrasive between pad and bore | Pad life drops from 500 holes to 50 holes |
| Tool vibration increases | Insufficient damping from coolant flow | Chatter marks on bore surface |
I scrapped a $2,000 titanium part because I ignored the low-pressure warning signs. The pressure gauge showed 1200 psi — within range for the 10 mm drill. But the return flow was weak. The chips packed at 200 mm depth and the drill snapped off. After that, I installed a flow meter alongside the pressure gauge.
Pump Types for Gun Drilling
The pump type determines the pressure and flow available at the tool tip. Not all high-pressure pumps are suitable for gun drilling.
| Pump Type | Max Pressure | Flow Rate | Best For | Cost Range |
|---|---|---|---|---|
| Vane pump | 1000 - 2000 psi | 10 - 40 L/min | Small drills under 6 mm | $2,000 - $5,000 |
| Piston pump | 1000 - 3000 psi | 20 - 100 L/min | General gun drilling | $5,000 - $15,000 |
| Progressive cavity | 500 - 1500 psi | 30 - 200 L/min | Large drills over 25 mm | $8,000 - $20,000 |
| Booster pump | 1000 - 3000 psi | 10 - 50 L/min | Retrofitting existing machines | $4,000 - $8,000 |
| Dedicated gun drilling unit | 1000 - 4000 psi | 20 - 150 L/min | Production gun drilling | $20,000 - $50,000 |
I run a piston pump on my main gun drilling machine. It delivers 2500 psi at 40 L/min, which covers the 3-20 mm diameter range where I do most of my work. For a VMC retrofit, I recommend a booster pump that takes the machine coolant at 300 psi and boosts it to 1500 psi.
Pressure vs Flow: What Matters More
Flow moves the chips. Pressure pushes the coolant through small drill holes. Both matter, but flow is more important for chip evacuation once the minimum pressure is met.
I calculate the minimum flow rate as 2 liters per minute per millimeter of drill diameter. A 10 mm drill needs 20 L/min minimum. If the flow drops below this, chips accumulate in the bore regardless of the pressure reading.
Key Takeaways
- Small drills under 3 mm need 2500+ psi — do not compromise on pressure for small diameters.
- Material changes the pressure requirement by 2x — stainless and Inconel need much higher pressure than steel.
- Measure pressure at the tool tip, not at the pump — expect 100-300 psi drop through the system.
- Low pressure causes chip packing, oversize holes, drill wander, and accelerated pad wear.
- Install a flow meter alongside the pressure gauge — flow volume is the real indicator of performance.
- Piston pumps are the best balance of pressure, flow, and cost for most gun drilling applications.