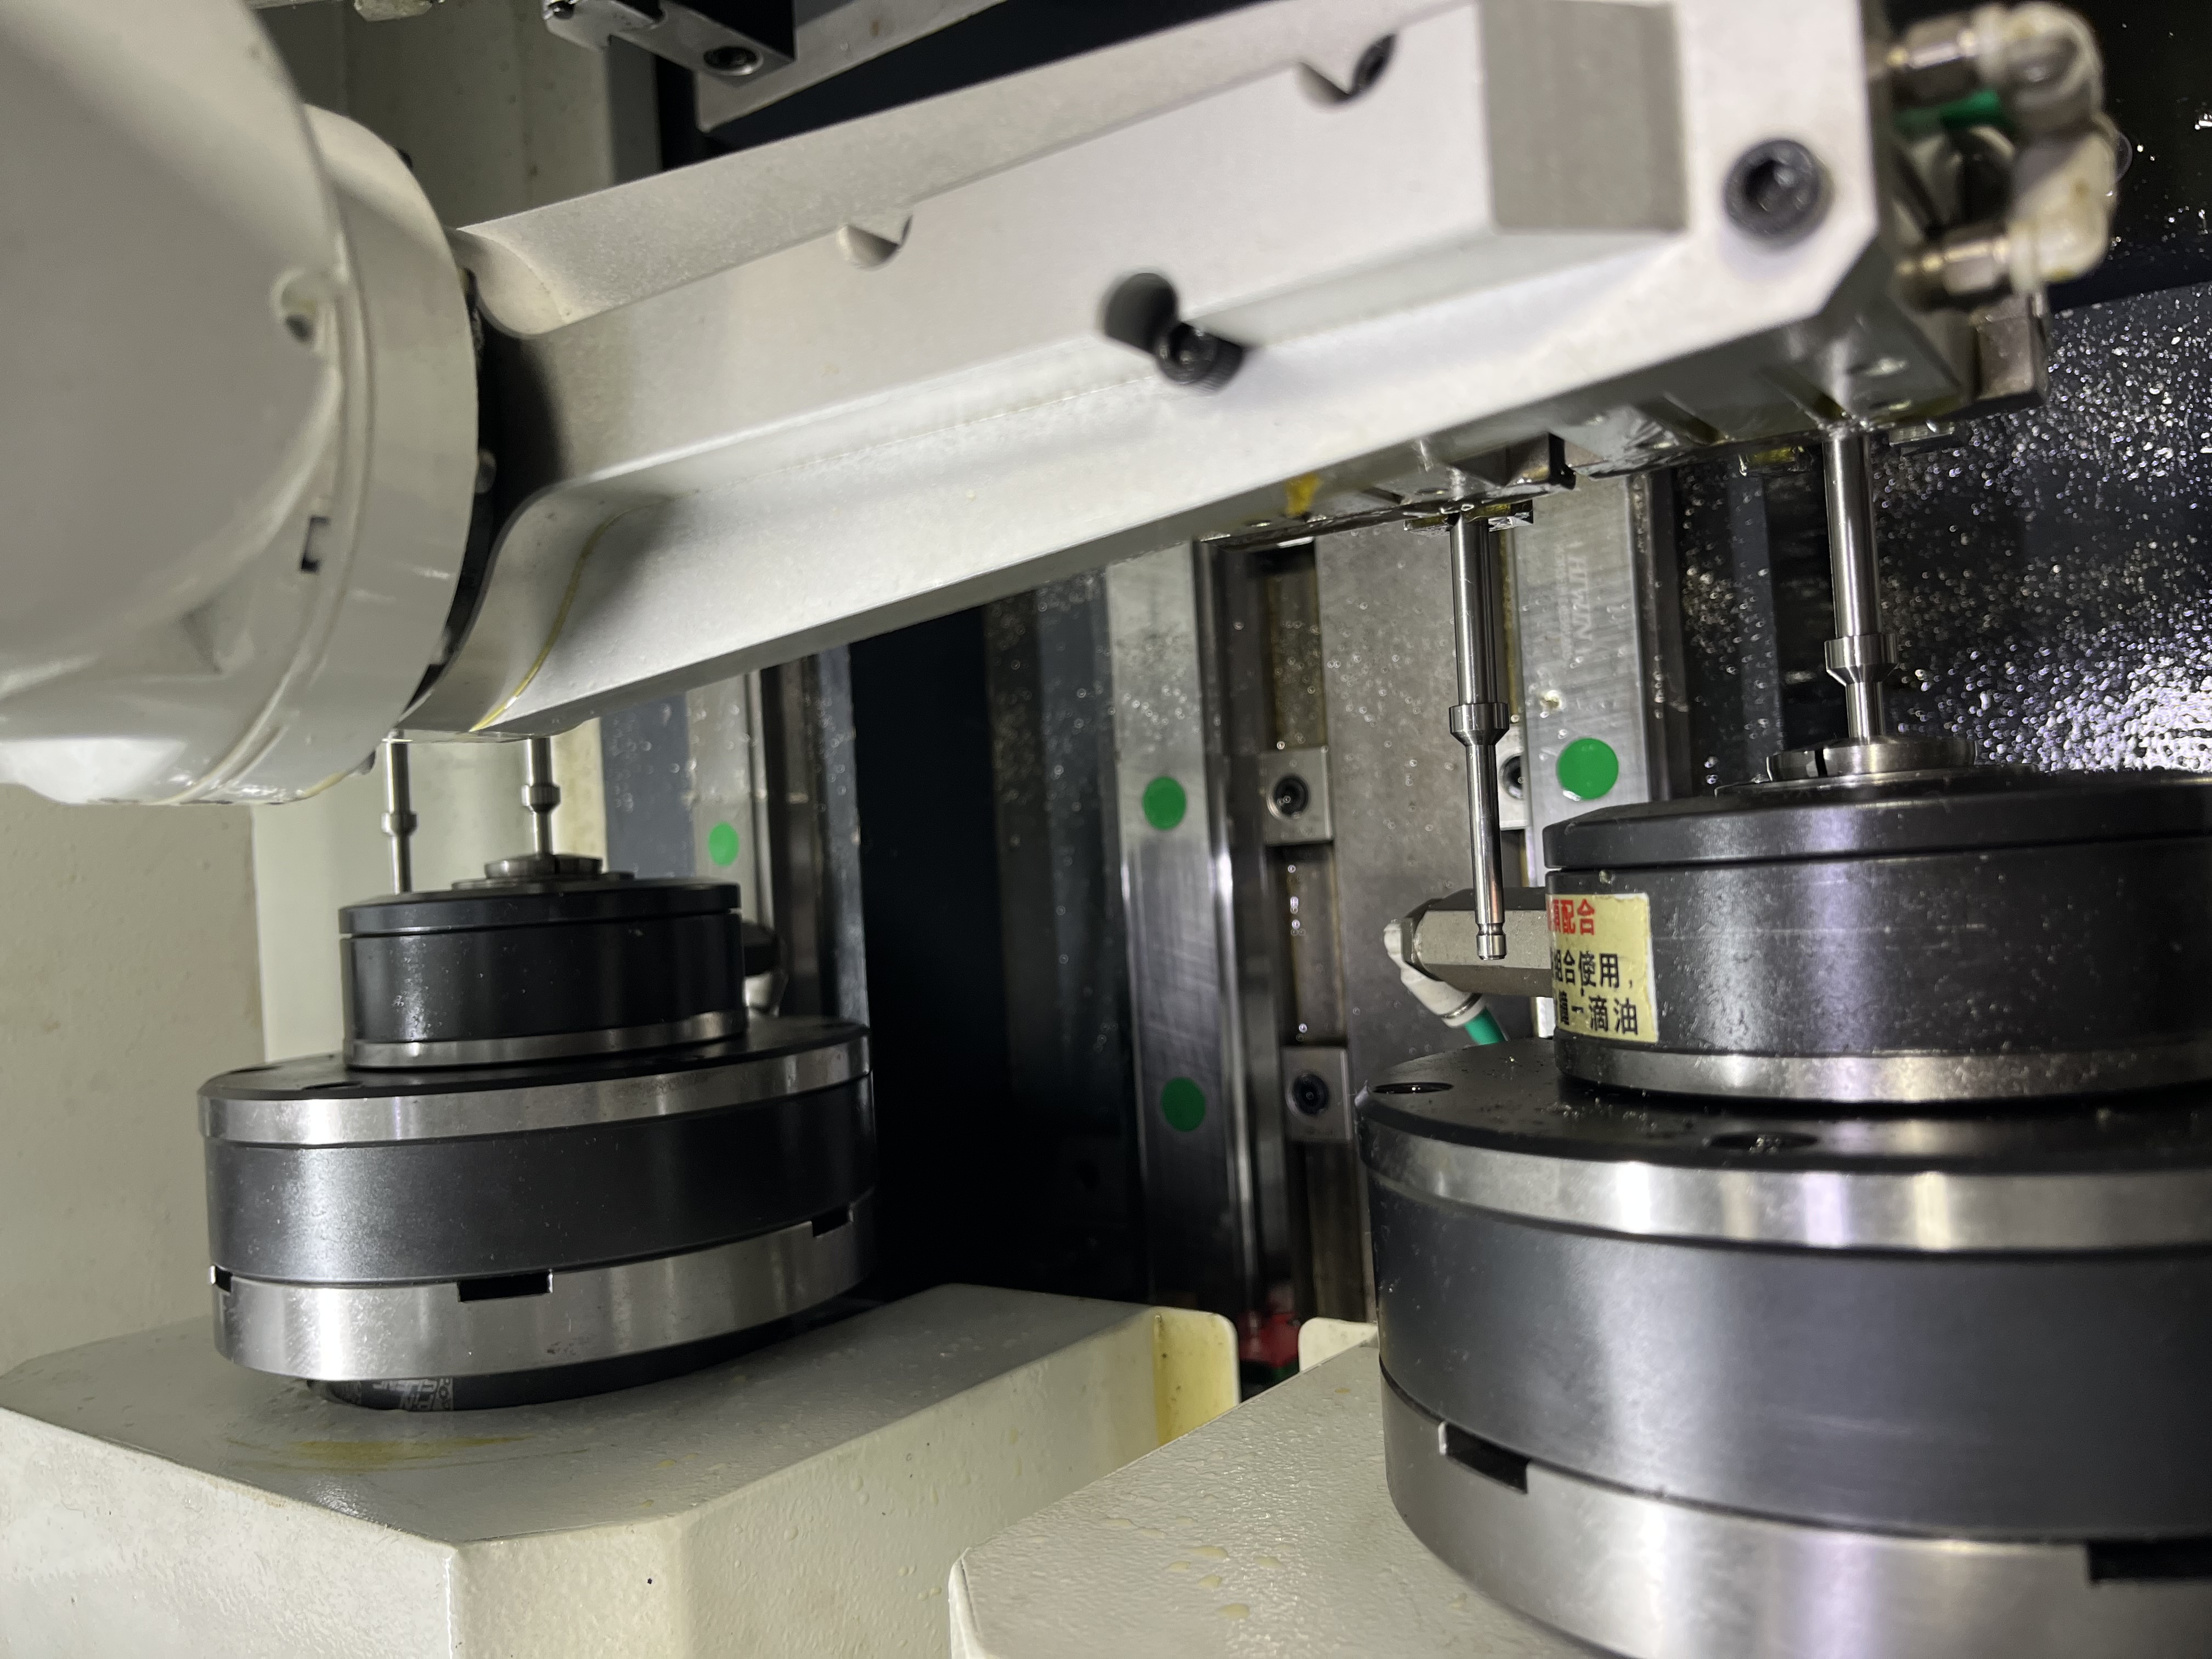
Why Layout Matters More for Deep Holes
A deep hole drilled in the wrong position is scrap. The deeper the hole, the more material I waste when I miss the location. A 500mm hole missed by 2mm at the entry end might be off by 5mm at the exit end, and the entire workpiece is lost.
The geometry of deep holes amplifies layout errors. A 0.5mm error at the entry point becomes a much larger error at the exit, especially for long holes. The critical dimension is often the hole position at the exit face, where the hole needs to connect with a cavity or another hole.
Manual Layout for Single Parts
For prototype or repair work, I use the manual layout method. I start by cleaning the part face and applying layout fluid. The blue dye gives me a clean surface to mark.
I use a height gauge set on a surface plate to scribe the centerline coordinates. I set the height gauge to the print dimension plus half the part thickness for the center, then scribe a line. I repeat for the perpendicular axis and mark the intersection with a center punch.
| Hole Location Tolerance | Layout Method | Tools | Setup Time |
|---|---|---|---|
| +/- 0.5mm | Scribed lines + center punch | Height gauge, scriber | 15 min |
| +/- 0.2mm | Coordinate punching | Optical center punch | 30 min |
| +/- 0.05mm | DRO positioning | DRO, edge finder | 45 min |
| +/- 0.01mm | CMM + spotting | CMM, carbide scribe | 60 min |
The punch mark needs to be within 0.1mm of the design coordinate. I check the mark against the scribed lines with an optical comparator before drilling. If the mark is off, I re-punch or re-layout the area.
CNC Program Verification
For production work, the CNC program positions the holes automatically. But I have caught enough programming errors to never trust the program blindly. I always check the first part off the program before running the batch.
| Check | Method | What I Look For |
|---|---|---|
| X-Y position | CMM first hole | Within 0.05mm of print |
| Z depth | Depth mic or probe | Within 0.1mm of print |
| Hole diameter | Bore gauge | Within spec |
| Angular alignment | Sine bar + indicator | Within 0.05 degrees |
| Entry perpendicularity | Square + feeler gauge | Under 0.02mm gap |
I found a program error once that had a wrong fixture offset. The first hole was 15mm from where it should have been. If I had not checked the first part, I would have scrapped 50 valve bodies worth $200 each. The CMM check saved $10,000.
Angled Hole Layout
Angled holes add another dimension of error. A one-degree error in the entry angle produces a lateral error of about 1.7mm per 100mm of depth. For a 400mm deep angled hole, a one-degree error puts the exit point 7mm off target.
| Angle Error | Offset per 100mm Depth | Offset at 400mm | Offset at 800mm |
|---|---|---|---|
| 0.25 deg | 0.44mm | 1.74mm | 3.49mm |
| 0.50 deg | 0.87mm | 3.49mm | 6.98mm |
| 1.00 deg | 1.75mm | 6.98mm | 13.96mm |
| 2.00 deg | 3.49mm | 13.96mm | 27.93mm |
I verify the angle setup with a sine bar and a dial indicator before drilling. I set the part on the sine bar, set the angle, and indicate the face to confirm it is parallel to the machine axis. I check both the primary angle and the compound angle if the hole is angled in two planes.
Intersecting Hole Layout
When two holes need to meet inside the part, I calculate the intersection depth from both entry faces. The calculation accounts for the hole diameters, angles, and the entry point positions.
I verify the intersection with a test block when the tolerance is under 2mm. I drill a test block of the same material, section it at the intersection plane, and measure the actual intersection point. This catches any error in the angle setup or the entry position before I drill the production part.
For critical intersections in aerospace work, I program a mid-hole inspection. I drill to 80% of the calculated intersection depth, retract the drill, and insert a probe through the intersecting hole to check the distance to the bore wall. I adjust the final depth based on the probe reading.
Digital Layout Methods
Modern layout methods use digital tools instead of scribes and layout fluid. I have shifted to a digital approach for most of my layout work.
The most efficient method is to use the CNC machine itself for layout. I install a center-drill or a spotting drill in the spindle, jog to the first coordinate using the machine’s DRO, and make a light center mark. Then I move to the next coordinate and repeat. This eliminates manual scribing and measurement.
For parts that need coordinate verification before machining, I use a portable CMM arm. The arm measures the part features and compares them to the CAD model. Any positional error shows on the screen immediately.
| Layout Method | Accuracy | Time for 10 Holes | Cost of Equipment |
|---|---|---|---|
| Manual scribing | +/- 0.1mm | 45 min | $200 |
| Machine DRO spotting | +/- 0.02mm | 10 min | Included with machine |
| Portable CMM arm | +/- 0.01mm | 20 min | $15,000-30,000 |
| Optical center punch | +/- 0.05mm | 30 min | $500 |
| CNC program + CMM verify | +/- 0.005mm | 15 min (first part) | $100,000+ CMM |
Datum Selection for Layout
The datum surfaces I choose for hole layout affect the accuracy of every hole position. I always select datums that are machined surfaces with good flatness, not cast or raw surfaces.
For rectangular parts, I use the bottom face and one side face as the reference datums. I indicate these surfaces before laying out the first hole. The indicator reading should be within 0.02mm over the full length of each datum surface.
For cylindrical parts in a lathe setup, the centerline is the primary datum. I indicate the outside diameter at both ends of the part to verify it is concentric with the spindle axis. An OD runout of more than 0.03mm means I need to adjust the chuck or re-machine the gripping surface.
Checking Depth Control
Depth control for deep holes is as important as positional accuracy. A hole that is at the correct X-Y coordinate but 5mm too deep or too shallow is still a non-conforming part.
I set the Z zero from the part face at the hole entry point. If the hole entry face is not perpendicular to the spindle axis, the depth reading varies at different points around the drill entry. I indicate the entry face for perpendicularity before setting Z zero.
For blind holes with a depth tolerance of +/- 0.5mm or tighter, I use a tool setter probe to measure the drill length before the cycle. The probe compensates for the drill length variation between regrinds.
Key Takeaways
Accurate hole layout starts with the right measurement tools for the tolerance. I check the first part off every program on the CMM before running production. Angled holes need angle verification with a sine bar, not just a protractor. For intersecting holes, a test block saves me from scrapping expensive parts.