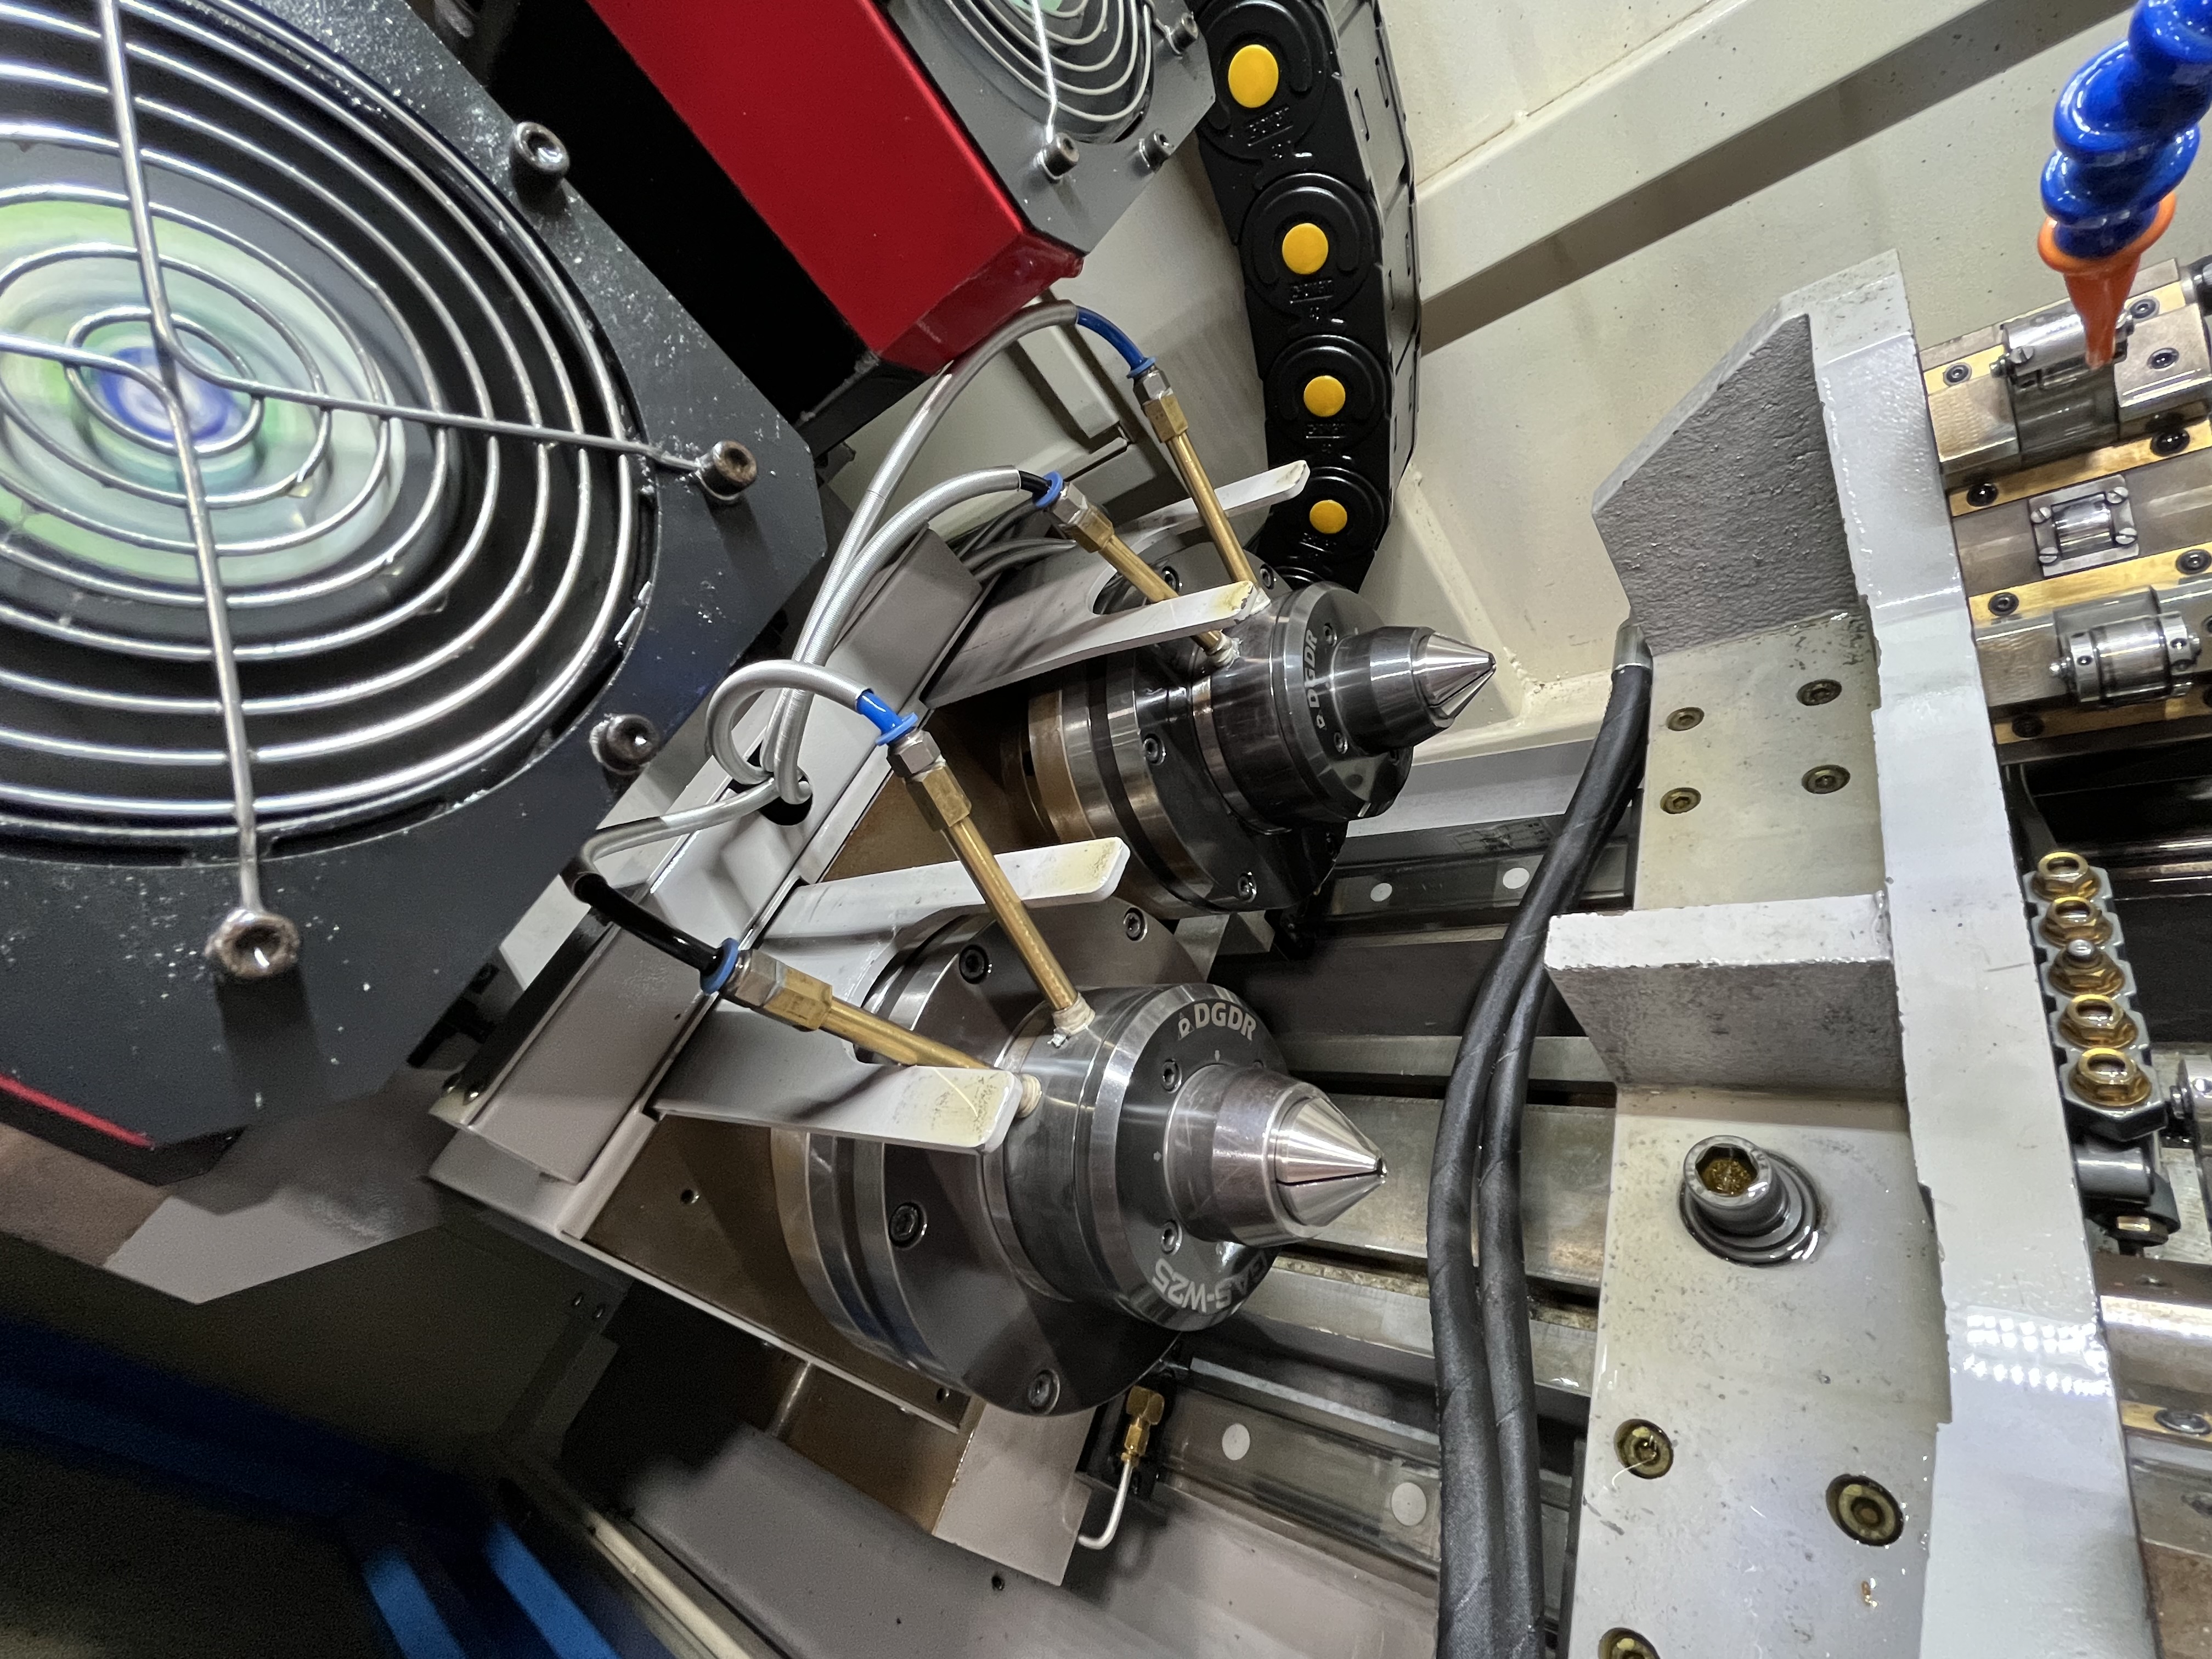
I spent the first several years of my career running continuous feed on every deep hole job that came across my machines. It felt efficient — keep the tool moving, keep the chips flowing, keep the cycle time low. I never questioned it until a nasty string of drill breakages on a 316 stainless job forced me to dig into what was really happening at the bottom of the hole. What I found changed how I think about peck drilling entirely.
Peck drilling — cycling the tool in and out of the cut to break chips and clear the flutes — gets dismissed as a productivity killer. And sometimes it is. But there is a region of the process envelope where continuous feed is actually the higher-risk choice, and pecking is the safer, more repeatable path. The trick is knowing which side of that line you are on.
When Pecking Is Necessary
Continuous feed works beautifully when chips break cleanly, coolant reaches the cutting edge, and the hole depth stays shallow enough that chip evacuation is not a fight. Once you cross about 3× diameter in depth with a twist drill, or about 50× diameter with a gun drill, those assumptions start breaking down.
Peck drilling becomes necessary in three specific scenarios:
Chip jamming. Long, stringy chips that cannot evacuate naturally will pack in the flutes, increase torque exponentially, and eventually cause the tool to seize. I have seen a 12 mm twist drill snap at 8× diameter because a continuous ribbon of stainless steel wrapped itself tight enough to stall the spindle. A peck cycle would have broken that ribbon into manageable segments.
Coolant starvation. In holes beyond about 5× diameter, flood coolant struggles to reach the cutting zone against the flow of returning chips. Each peck retraction allows fresh coolant to flood the hole and resaturate the cutting edges. On a through-tool coolant setup, pecking gives the coolant pressure a chance to re-establish after a chip block clears.
Work-hardening materials. Austenitic stainless steels, nickel-based superalloys, and titanium all work-harden under friction. If the drill dwells in the cut generating heat without progressing cleanly, the surface work-hardens and the next pass has to cut through that harder layer. A sharp peck cycle that breaks the chip and clears the cutting edge before temperature climbs too high avoids this trap.
When none of these conditions apply — and you have good chip control, adequate coolant delivery, and a forgiving material — continuous feed is the faster, simpler choice.
When Pecking Wastes Time
There is a real cost to pecking that goes beyond the obvious cycle-time penalty. Every retract and re-enter cycle adds non-cutting travel that can easily double or triple the actual time in the hole. On a 100 mm deep hole with a 2 mm peck depth and full retract, you may spend 60 percent of the cycle moving air instead of cutting metal.
Pecking also introduces a mechanical wear pattern that continuous feed does not. Each re-entry cycle loads the cutting edges on the way down, especially if the drill tip does not align perfectly with the previous hole bottom. On a rigid machine with a solid setup this is minor, but on a lathe with a tailstock drill holder or a shaky workholding arrangement, those repeated engagement shocks can chatter the hole oversize and accelerate edge chipping.
For shallow holes under 3× diameter with good coolant access, pecking is pure overhead. For gummy materials that form a burr at each retraction point, pecking can leave witness marks that ruin surface finish. And on carbide tooling that is sensitive to thermal cycling, each retract cools the cutting edge, then re-entry heats it again — a thermal fatigue cycle that, over thousands of pecks, can reduce tool life measurably.
Peck Cycle Parameters
Getting peck drilling right means setting three numbers correctly: peck depth, retract distance, and dwell time. Get any one wrong and you undermine the whole strategy.
Peck Depth
Peck depth is the most critical parameter. The rule of thumb I use is that the peck depth should never exceed 50 percent of the drill diameter for a twist drill, or about 25 percent of the drill diameter for a gun drill. This keeps the chip column short enough that it clears reliably.
| Drill Diameter Range | Recommended Peck Depth (Twist) | Recommended Peck Depth (Gun Drill) |
|---|---|---|
| Under 3 mm | 0.5 – 1.0 mm | 0.3 – 0.5 mm |
| 3 – 8 mm | 1.0 – 3.0 mm | 0.5 – 1.5 mm |
| 8 – 20 mm | 3.0 – 8.0 mm | 1.5 – 4.0 mm |
| Over 20 mm | 5.0 – 12.0 mm | 3.0 – 6.0 mm |
If chip packing is still a problem at these depths, reduce the peck depth rather than increasing retract distance — more, shorter pecks clear chips better than fewer, longer ones.
Retract Distance
Full retract (clearing the flutes entirely) is almost never needed. A partial retract of 2 – 5 mm is usually enough to break the chip and allow coolant to reach the cutting zone. Full retract should be reserved for the worst chip evacuation cases — long-stringy chip materials with poor coolant delivery.
On a CNC machining center with rigid tap/peck cycles, use the d parameter (retract amount) at about 1.5× the drill diameter for partial retract, or leave it at a full retract value only when you see chips not clearing.
Dwell
Dwell is a short pause — typically 0.1 to 0.5 seconds — at the bottom of the peck before retraction. Its purpose is to let the drill face cut through any built-up edge or work-hardened layer before the tool pulls back. I use dwell only on materials that work-harden (stainless, Inconel, titanium) and skip it entirely on aluminum, brass, and mild steel. Adding dwell when it is not needed just burns cycle time and can generate unnecessary heat.
How Pecking Affects Tool Life
This is where opinions diverge most. Some machinists swear pecking extends tool life because it prevents chip packing and thermal buildup. Others argue that the repeated engagement shock and thermal cycling of pecking shortens tool life compared to a smooth, continuous cut.
My experience after tracking tool consumption across several production runs is that both camps are right — it depends on the dominant failure mode in your specific job.
When pecking extends tool life:
- The dominant failure mode is edge chipping from chip re-cutting. Pecking clears chips, so the edge stays sharp.
- The dominant failure mode is built-up edge (BUE) from heat softening at the cutting zone. Pecking lets coolant in, keeping temperatures down.
- The drill is prone to wandering or deflection in the hole. Pecking resets the drill path at each re-entry, reducing cumulative deviation.
When pecking reduces tool life:
- The dominant failure mode is flank wear from abrasive materials. The extra non-cutting time in the cut from peck re-entry adds abrasion cycles.
- The tool is carbide and sensitive to thermal shock. Large thermal swings from repeated coolant flooding during retract can cause micro-cracking.
- The machine or setup lacks rigidity. Each re-entry shock can chip the corner of the drill.
If I am drilling low-carbon steel with adequate coolant and a rigid machine, I get longer tool life with continuous feed. If I am drilling 304 stainless at 8× diameter on a CNC lathe, pecking gives me more holes per edge.
Materials That Require Pecking
Some materials practically demand a peck cycle. Others rarely need it. Here is my cheat sheet:
| Material | Pecking Required? | Typical Peck Depth | Notes |
|---|---|---|---|
| Aluminum 6061 | Rarely | — | Continuous feed with good chip breaker geometry works well |
| 1018 / A36 Mild Steel | Occasionally | 1.0 – 2.0× D | Only needed past 4× D with twist drills |
| 4140 / 4340 Alloy Steel | Often | 0.5 – 1.0× D | Gummy at lower hardness; peck to break chips |
| 303 Stainless | Often | 0.5× D | Breaks chips well if peck depth is short |
| 304 / 316 Stainless | Nearly always | 0.25 – 0.5× D | Work-hardens; short pecks are mandatory past 3× D |
| Inconel 718 | Always | 0.15 – 0.3× D | Every peck must clear the cutting edge |
| Titanium 6Al-4V | Always | 0.25 – 0.5× D | Heat buildup is the enemy; pecking keeps it cool |
| Brass / Bronze | Rarely | — | Chips naturally; continuous is preferred |
| Cast Iron | Rarely | — | Chips are short and brittle; continuous is fine |
| Copper (pure) | Always | 0.25 – 0.5× D | Extremely gummy; long ribbons must be broken |
This table is not a substitute for testing on your own setup — spindle power, coolant pressure, and workholding rigidity all shift these recommendations. But it is a reliable starting point.
Peck vs Continuous Feed Comparison
Here is a direct comparison based on controlled tests I ran on a Mazak HCN-5000 machining center with a 10 mm carbide twist drill at 5× diameter in 316 stainless. Feed rate was held constant at 0.08 mm/rev, spindle at 2500 RPM.
| Factor | Continuous Feed | Peck Drilling (2 mm peck, 3 mm retract) |
|---|---|---|
| Cycle time per hole | 25 seconds | 52 seconds |
| Tool wear (flank, 100 holes) | 0.22 mm | 0.18 mm |
| Surface finish (Ra) | 1.6 μm | 1.2 μm |
| Chip evacuation | Poor — packed flutes required cleaning every 5 holes | Excellent — no manual clearing needed |
| Torque variation | High — spikes up to 180% of nominal | Stable — within 15% of nominal |
| Hole straightness deviation | 0.04 mm over 50 mm | 0.02 mm over 50 mm |
The 108 percent cycle time increase is significant. But when I factored in the downtime for clearing packed chips on the continuous-feed runs — roughly 4 minutes per 10 holes — the real-world productivity gap narrowed to about 15 percent. On a job that packs chips badly enough, pecking can actually be faster overall.
Internal Links
This topic connects closely to chip breaking feed strategies, where I cover the feed modulation techniques that can sometimes replace pecking entirely for chip control. If you are running continuous feed and struggling with stringy chips, read that article first — a feed-rate override at the right moment may save you from adding a peck cycle.
For the coolant side of this equation, see gun drilling coolant pressure. The single biggest reason pecking helps in deep holes is that it resets the coolant column. If you can solve coolant delivery at depth through pressure and nozzle design, you may reduce or eliminate the need to peck.
Key Takeaways
- Peck drilling is not inherently good or bad — it is a tool for specific problems: chip jamming, coolant starvation, and work-hardening materials.
- The cycle-time penalty of pecking is real, but it is often offset by reduced downtime from chip clearing and fewer scrapped parts.
- Peck depth should be 25–50 percent of drill diameter for twist drills, less for gun drills. Too deep a peck defeats the purpose.
- Partial retract (2–5 mm) is almost always sufficient. Full retract wastes time and should be reserved for severe chip evacuation problems.
- Dwell belongs only on work-hardening materials. On forgiving materials, it adds heat and cycle time with no benefit.
- Tool life improves with pecking when the dominant failure is chip-related. Tool life suffers with pecking when the dominant failure is abrasion or thermal shock.
- Materials above the “often” line in the material table should always be peck-tested during process development. Start with conservative parameters and open them up once chip control is proven.
- Before adding a peck cycle, check whether feed-rate modulation or coolant pressure improvements can solve the chip problem without interrupting the cut. Pecking is a fallback, not a first choice.