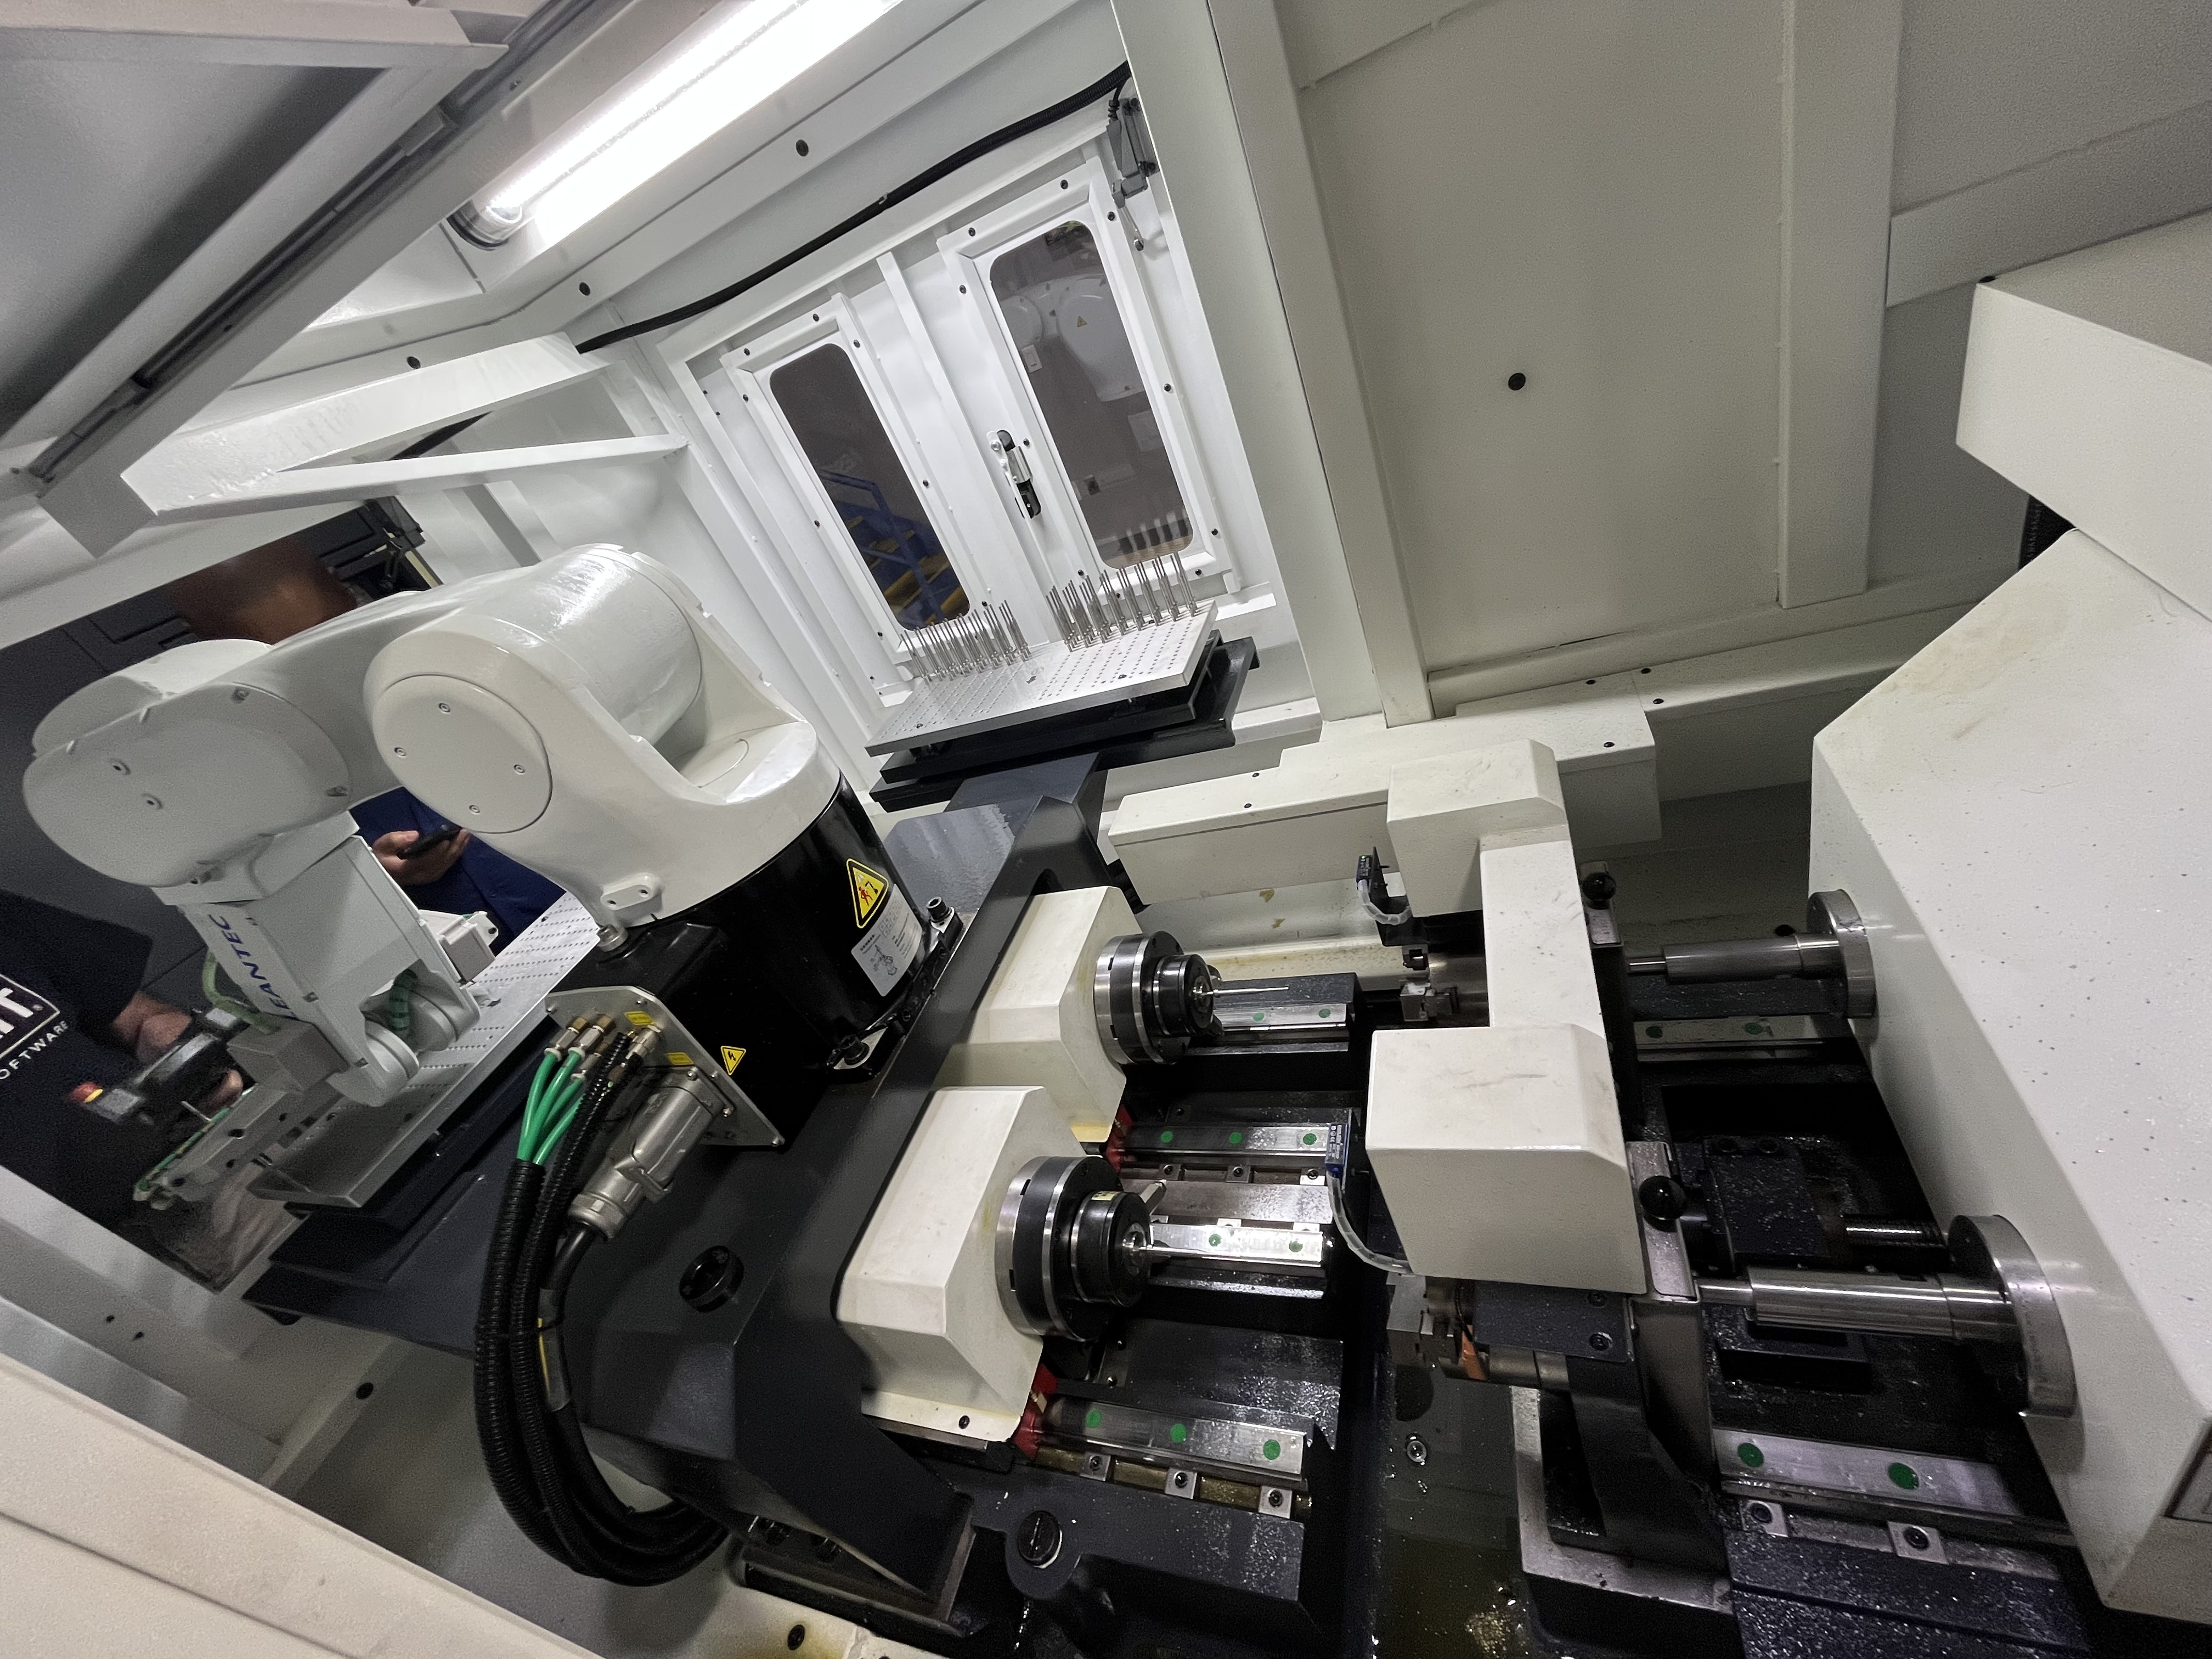
I use a contact profilometer with an extended probe for measuring surface roughness inside deep holes. The probe reaches into the bore and traces the surface profile along a measurement line. Getting a reliable reading in a deep, narrow hole takes the right equipment and a consistent procedure.
Equipment for Deep Bore Roughness Measurement
A standard profilometer with a short probe arm works fine on shallow, accessible surfaces. Deep holes need extension rods that carry the stylus into the bore. I use a profilometer with modular extension rods in 100 mm, 300 mm, and 500 mm lengths. Anything deeper than 500 mm requires custom extensions, and the accuracy starts to drop off.
| Probe Type | Maximum Depth | Typical Accuracy | Cost Range | My Use Case |
|---|---|---|---|---|
| Standard probe | 50 mm | +/- 2 percent | Included | Short bores and setup verification |
| 300 mm extension | 300 mm | +/- 3 percent | $800-1,200 | Most gun drill bores |
| 500 mm extension | 500 mm | +/- 3 percent | $1,200-1,800 | Medium-length BTA bores |
| Custom extension rod | 2000 mm | +/- 5 percent | $2,500-4,000 | Long cylinder barrels |
For bores over 500 mm deep, I add a support steady rest that centers the extension rod in the bore. Without the support, the rod deflects under its own weight and the stylus skips across the surface, producing a false reading. The steady rest has nylon pads that do not scratch the bore surface. I learned this lesson the hard way — I rejected three good parts before realizing the extension rod was sagging.
Measurement Methods Comparison
There are several ways to measure surface roughness in deep holes. I have used all of these methods and here is how they compare in practice:
| Method | Best For | Strengths | Weaknesses | Typical Accuracy |
|---|---|---|---|---|
| Contact profilometer | Most deep bores | Direct reading, standard compliant | Needs good access, slow setup | +/- 2-5% |
| Replication (casting) | Blind holes, complex geometry | Reaches anywhere, no access limits | Indirect, material cost, curing time | +/- 5-10% |
| Comparison samples | Production floor quick check | Instant, no equipment, zero cost | Subjective, limited range | +/- 20% |
| Optical / laser scanner | Large bores, non-contact | Fast, no probe wear | Expensive, needs clear optical path | +/- 3-5% |
| Pneumatic gauging | Small bores, production | Fast, self-cleaning | Limited to specific roughness ranges | +/- 5% |
I use replication for blind holes and cross-bores where the profilometer cannot reach. The technique uses a plastic casting compound that cures in 5-10 minutes. I pull the cast out and measure it on a standard profilometer. It is not as accurate as direct measurement, but it gets me close enough for quality verification.
Ra/Rz Conversion and What the Numbers Mean
I get asked about Ra-to-Rz conversion all the time. The relationship is not fixed — it depends on the surface profile shape. For gun-drilled surfaces, I typically see Rz = 4 to 7 times Ra. For BTA surfaces, the ratio is wider, roughly Rz = 6 to 10 times Ra.
| Surface Type | Typical Ra | Typical Rz | Ra/Rz Ratio | What It Tells Me |
|---|---|---|---|---|
| Gun drilled steel | 0.4 - 0.8 μm | 3.0 - 6.0 μm | 6-8x | Normal cutting action |
| Gun drilled aluminum | 0.3 - 0.6 μm | 2.0 - 4.0 μm | 5-7x | Good chip evacuation |
| BTA drilled steel | 0.8 - 3.2 μm | 6.0 - 20.0 μm | 7-10x | Higher peaks from multi-cutter head |
| Honed surface | 0.1 - 0.4 μm | 1.0 - 3.0 μm | 5-8x | Cross-hatch pattern from stones |
| Scratched bore (defect) | 0.5 - 1.0 μm | 8.0 - 15.0 μm | 10-16x | Single deep scratch inflates Rz |
I check Rz alongside Ra because Rz captures the peak-to-valley height that affects seal performance. A bore might show a good Ra of 0.5 um but have a single deep scratch that gives an Rz of 15 um, which will leak under pressure. I have seen this happen on hydraulic cylinder bores more times than I want to count.
Measurement Procedure I Follow
My measurement procedure follows a fixed sequence to ensure consistent results. Variation in procedure causes more measurement errors than equipment variation:
- Clean the bore thoroughly with a clean cloth and solvent. Chips or debris in the bore will skew the reading.
- Set the cutoff length to 0.8 mm for gun-drilled surfaces and 2.5 mm for BTA surfaces.
- Set the evaluation length to 5x the cutoff length per ISO 4288.
- Take the first measurement at 25 percent of the bore depth from the entry.
- Take the second measurement at the mid-point of the bore.
- Take the third measurement at 75 percent of the bore depth from the entry.
- Record the worst of the three readings as the official result.
I have found that roughness varies with depth in most deep holes. The entry section often measures smoother because the coolant is fresh and the tool is sharp. The mid-section is typically the roughest point in gun drilling because that is where vibration is highest and chip rubbing is most aggressive. In BTA drilling, the roughest section is usually near the exit where the tool wears most.
Common Measurement Errors and How to Avoid Them
I have seen these errors repeatedly in shops I visit. Here is my list of the most common mistakes:
| Error | Symptom | Root Cause | My Fix |
|---|---|---|---|
| Stylus skipping | Readings jump randomly | Extension rod deflection | Use steady rest for bores over 500 mm |
| Wrong cutoff length | Ra reads too high or low | Cutoff mismatch with surface type | Match cutoff to expected roughness per ISO 4288 |
| Debris in bore | Spikes in roughness profile | Incomplete cleaning | Solvent flush + clean cloth pass before each reading |
| Stylus wear on setup | Readings drift downward over time | Stylus hitting bore edge during insertion | Retract and reinsert carefully using guide sleeve |
| Wrong probe alignment | Asymmetric readings | Probe not parallel to bore axis | Verify alignment with level indicator on extension |
| Stroke length variation | Non-repeatable readings | Operator changes traverse length | Lock traverse length in profilometer settings |
| Temperature drift | Readings change with machine warmup | Coolant temperature affects part dimensions | Measure at stable temperature, log part temp |
Quick Checks With Comparison Samples
For fast shop-floor checks, I use surface roughness comparison samples. These are reference blocks machined to known Ra values ranging from 0.2 to 6.3 um. I compare the bore surface visually and by fingernail drag against the samples.
This is subjective but fast, taking about 10 seconds compared to 2-3 minutes for a full profilometer setup. I use the comparison check on every part during production and reserve the profilometer for first-article inspection and spot checks. Any bore that looks marginal by comparison gets a profilometer measurement.
The comparison samples work best in the Ra 0.4-1.6 um range, which covers most gun-drilled surfaces. Below 0.2 um the surface looks the same to the naked eye and I rely on the profilometer exclusively.
How Surface Defects Show Up in Measurements
A surface roughness reading that jumps suddenly between two consecutive parts often indicates a developing tool problem. I track roughness readings in a simple spreadsheet. If the Ra creeps up by more than 0.1 um over five parts, I inspect the drill for wear.
I once ignored a creeping Ra trend because each individual part was within spec. The drill finally chipped at part 47 and scrapped the part. The roughness chart had been warning me for 20 parts. Now I act on trends, not just pass-fail results.
I have written about this in more detail in my article on process monitoring with surface roughness trends. It is a simple technique that catches tool problems before they become scrap events.
Key Takeaways
- Measuring surface roughness in deep holes is more equipment-intensive than measuring open surfaces, but the same principles apply.
- I measure at three locations along the bore, use comparison samples for production checks, and always watch the trend rather than individual readings.
- The Ra-to-Rz ratio varies by process — gun drilling gives 6-8x, BTA gives 7-10x. A high ratio indicates a scratched surface.
- The most common measurement error is extension rod deflection. Use a steady rest for any bore deeper than 500 mm.
- The roughness trend has saved my tooling budget more times than I can count. Track it in a spreadsheet and act on the trend, not just the pass-fail result.