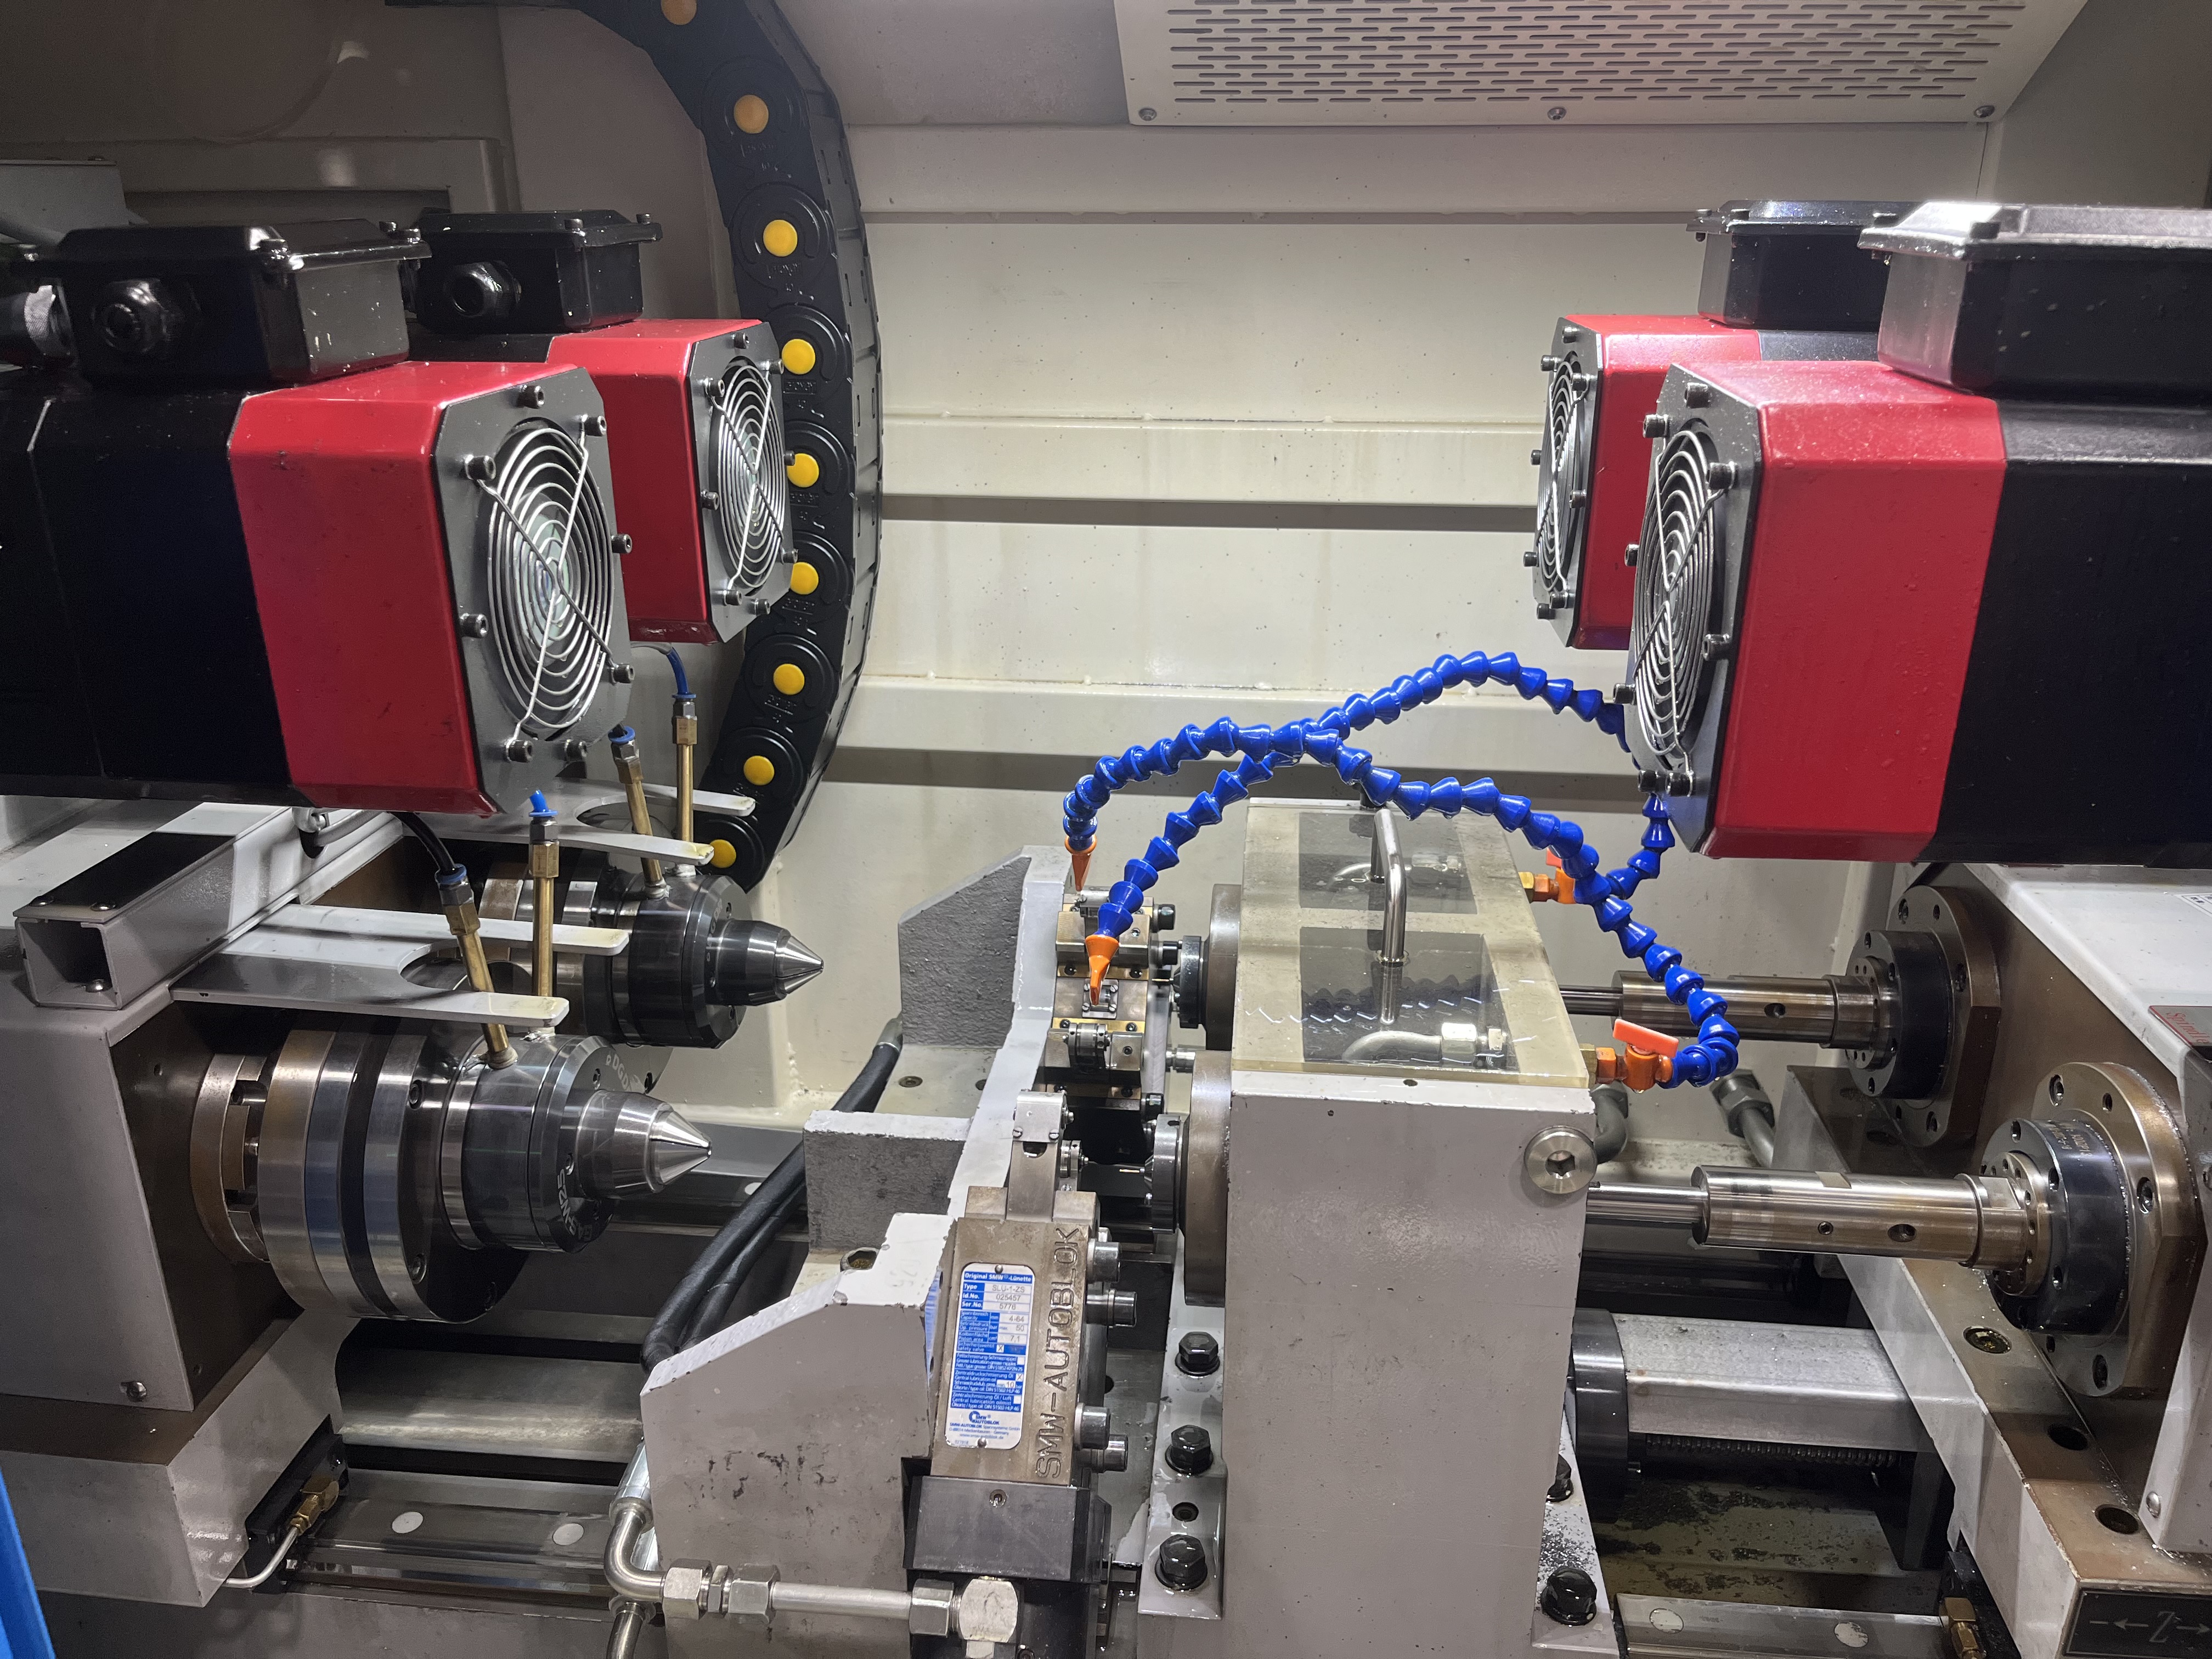
A customer brought in a shaft that had been welded and needed a through-hole drilled. The weld ran across the center of the shaft at about mid-length. The shaft was 4140 steel, about 80mm in diameter and 1.5 meters long. The weld was a full-penetration butt weld joining two sections of shaft. The customer had welded it using a TIG process with ER70S-6 filler rod. The customer had welded it, stress-relieved it, and then decided they needed a 20mm through-hole for a hydraulic passage.
I told the customer that drilling through a weld was risky. The weld material is harder than the base metal. The heat-affected zone next to the weld has a different microstructure that can deflect the drill. The residual stresses from welding can cause the shaft to move during drilling, which can break the drill or cause the hole to wander. I also explained that even if the drill made it through, the surface finish in the weld zone would likely be unacceptable for a hydraulic seal surface.
The customer said they understood the risks and would pay for any broken tools. I got that in writing before I touched the machine. I also asked them to sign a separate statement acknowledging that the surface finish in the weld zone may not meet the print spec. I have learned that verbal agreements on high-risk jobs do not hold when a 500-dollar gun drill breaks. A signed work authorization with a clear statement of tool replacement responsibility saved me from a dispute on a previous job and I have used it ever since.
Assessing the Weld and Planning the Approach
I started by hardness-testing the weld zone. I used a portable Rockwell tester and took readings at five locations across the weld. I recorded each reading on a sketch of the shaft so I could map the hardness profile. The base metal was 4140 at 28 HRC. The weld deposit tested at 42 HRC. The heat-affected zone varied between 35 and 40 HRC depending on the distance from the weld centerline. The hardness gradient was steep, which meant the drill would transition from 28 HRC to 42 HRC within a few millimeters. That is a significant jump of 14 HRC points. A gun drill designed for 28 HRC material will see drastically increased edge wear and potential chipping when it hits 42 HRC material.
I also checked the weld alignment with a dial indicator. I rotated the shaft by hand and watched the needle. The weld had about 0.15mm of runout. That meant the drill would enter the weld off-center and exit the weld into base material with an asymmetric load. That asymmetry is what breaks drills. The cutting edges load unevenly and one edge chips while the other edge carries the full load. I have seen this pattern on every interrupted cut I have ever attempted in deep hole drilling.
I recorded all of these measurements in a job setup sheet before I started machining. I wanted a record of the as-found condition in case the customer questioned the difficulty of the job later. Documentation matters on high-risk jobs.
Here is the parameter comparison I worked out before starting:
| Parameter | Normal 4140 | Weld Zone | Change |
|---|---|---|---|
| Spindle speed (RPM) | 2,000 | 1,500 | -25% |
| Feed rate (mm/min) | 60 | 30 | -50% |
| Coolant pressure (bar) | 80 | 100 | +25% |
| Coolant flow (L/min) | 40 | 50 | +25% |
| Expected tool life (meters cut) | 15 | 7.5 | -50% |
| Estimated time per 100mm | 1.5 min | 3.3 min | +120% |
I reduced the feed by 50% through the weld zone and increased the coolant pressure by 25%. The lower feed reduces the mechanical load on the cutting edges. The higher coolant pressure improves chip evacuation through the weld zone where chips tend to pack differently due to the hardness variation. I also reduced the spindle speed by 25% to keep the surface speed appropriate for the harder material.
The expected tool life reduction of 50% was my best estimate based on the hardness difference. In practice, the tool life reduction was closer to 60% because of the asymmetric loading from the weld runout. I accounted for this in the job quote by including a second drill in the cost estimate even though I hoped to complete the job with one drill.
Setting Up the Machine and Workpiece
The setup required extra attention compared to a standard drilling job. I used three steady rests instead of the usual two. One steady rest was positioned on each side of the weld to support the shaft locally and prevent deflection as the drill passed through the hard zone. The third was near the drill entry point to stabilize the shaft at the point of cut. I spent 30 minutes aligning the steady rests and checking runout at each one. The total indicated runout at the weld was 0.05mm after alignment, down from the original 0.15mm.
I also checked the guide bush alignment relative to the shaft centerline. I used a test bar to confirm the spindle-to-bush alignment was within 0.02mm. Any misalignment in the setup would have been amplified when the drill hit the hard zone, causing the drill to bend or the edge to chip. I do not take shortcuts on setup for high-risk jobs. The extra 30 minutes of setup time was the best investment I made on this job.
I discussed the plan with the operator who would run the machine. I wanted him to understand what to watch for and when to stop the machine if something went wrong. I told him to watch the coolant pressure gauge and the chip color. If the pressure dropped by more than 5 bar or the chips turned dark brown or black, he was to stop immediately and call me. I did not want him trying to save a drill by pushing through a problem. A stopped machine with a stuck drill is a bad situation. A stopped machine with a pulled drill is a good situation.
I also set up a second coolant hose with a magnetic base so the operator could flood the drill entry point externally if needed. On a normal job this would not be necessary, but on this job I wanted every option available. I prepared for the worst case and hoped for the best case. That mindset has served me well on every high-risk job I have taken.
I also had a spare gun drill of the same size ready in the tool crib. If the first drill broke, I did not want to lose time waiting for a replacement to be delivered. The spare was a used drill that I had sharpened and inspected the day before. It would not be ideal for a production job but it would get the hole through if needed.
The Execution
I started drilling from the end farthest from the weld. I wanted the drill to be fully engaged and stabilized in the base material before it hit the weld zone. Entering a hard zone with a short engagement is more likely to cause skidding or deflection. The first 700mm of drilling was through solid base material at normal parameters. The drill cut smoothly and the chips were consistent.
The drill passed through the first 700mm of base material smoothly. Chips were consistent and light blue. Coolant pressure was stable at 80 bar. Then the drill hit the heat-affected zone. I watched the coolant pressure spike by 5 bar as the chips changed character. The normal chips were light blue and tightly curled. The weld-zone chips came out dark blue and fragmented with a rough texture. That told me the cutting edge was seeing elevated temperature and the material was significantly harder.
I reduced the feed manually from 30 mm/min to 25 mm/min as soon as I saw that pressure spike. I did not wait for the machine to finish the programmed reduction. In my experience, reacting immediately to chip changes saves more drills than any programmed cycle. The machine control can only respond to what it senses. I can respond to what I see.
The drill passed through the weld zone over the next 15 minutes. The feed rate was painfully slow. Every few minutes I checked the coolant pressure and the chip color. The pressure stayed around 100 bar and the chips stayed fragmented but consistent. I did not push it. I let the drill take its time. The shaft was not going anywhere and the customer was not watching the clock.
After the drill cleared the weld zone and entered the base material on the far side, the chips returned to normal within about 50mm of travel. The coolant pressure dropped back to 80 bar. The feed returned to the programmed 30 mm/min. The drill was through the worst part. The remaining drilling was uneventful and took another 20 minutes at standard parameters.
I did not speed up the feed after the weld zone even though the material was softer. I kept the reduced feed for another 100mm past the weld to ensure the drill was fully stabilized before returning to normal parameters. This cautious approach added 5 minutes to the cycle but prevented any risk of the drill grabbing when transitioning from hard to soft material.
Post-Job Inspection
The drill made it through. I pulled the drill and checked the bore with a bore gauge and a straightness measurement bar. The hole was within straightness tolerance — 0.08mm per meter, which was better than the 0.1mm spec. The diameter was 20.05mm at the entry, 20.08mm through the weld zone, and 20.04mm at the exit. All within the 20.00 to 20.10mm tolerance.
The surface finish was rougher through the weld zone at Ra 2.0um compared to Ra 0.8um in the base material. The weld zone section of the bore had visible tool marks and a slightly wavy pattern from the hardness variation. The customer was happy with that. They planned to hone the bore anyway so the rough finish in the weld zone did not matter.
I inspected the drill after the job. The cutting edges had visible chipping on one side. The chipped edge had a 0.5mm section where the carbide had fractured. The opposite edge showed accelerated wear but no chipping. That confirmed my theory about asymmetric loading from the weld runout. The drill was worn about twice as much as it would have been from drilling the same length in solid base material. I measured the edge radius with a comparator and it was 0.08mm on the damaged edge versus 0.03mm on a new drill. That drill was relegated to roughing duty after this job.
The time impact was significant. Drilling through the weld zone took about three times longer per millimeter than drilling through base material. The total cycle time went from an estimated 45 minutes to 75 minutes. The customer paid for the extra time based on the work authorization we had signed. I submitted the actual cycle time with a detailed explanation and they paid the invoice without question. They appreciated the transparency and the upfront communication about risks.
After this job, I updated my job-quoting template to include a separate line item for weld-zone drilling with a 2x time multiplier and a tool-replacement contingency. I have used that template twice since for similar jobs and it has saved me from underquoting both times.
I also added a section to my shop’s job-risk checklist. Any job involving a weld now requires hardness testing, runout measurement, and written customer approval before we start. That checklist lives on the wall next to the scheduling board. Every operator knows to check it before setting up a weld-zone job.
Key Takeaways
- Drilling through a weld is possible but the risk is real. Get written agreement on tool replacement before starting.
- Reduce feed by 40 to 50 percent through the weld zone and increase coolant pressure. Do not try to maintain production parameters.
- Test the hardness of the weld and the heat-affected zone before setting parameters. Guessing leads to broken drills.
- Check runout at the weld. Asymmetric loading from misalignment will chip the cutting edges faster than hardness alone.
- Watch the chips in real time. Color and shape changes tell you when the weld zone starts and ends.
- Plan the drilling direction so the drill enters the weld zone fully stabilized in base material.
- Accept that tool life will be cut in half or worse. Budget for that when quoting the job.
- If the weld is on the exit side of the bore, do not attempt it without a pilot bushing. Exiting through a weld is where drills snap.
- Spend extra time on setup for high-risk jobs. A 30-minute alignment check is cheap insurance against a broken drill.
- Communicate the plan with the operator clearly. They need to know what to watch for and when to stop.