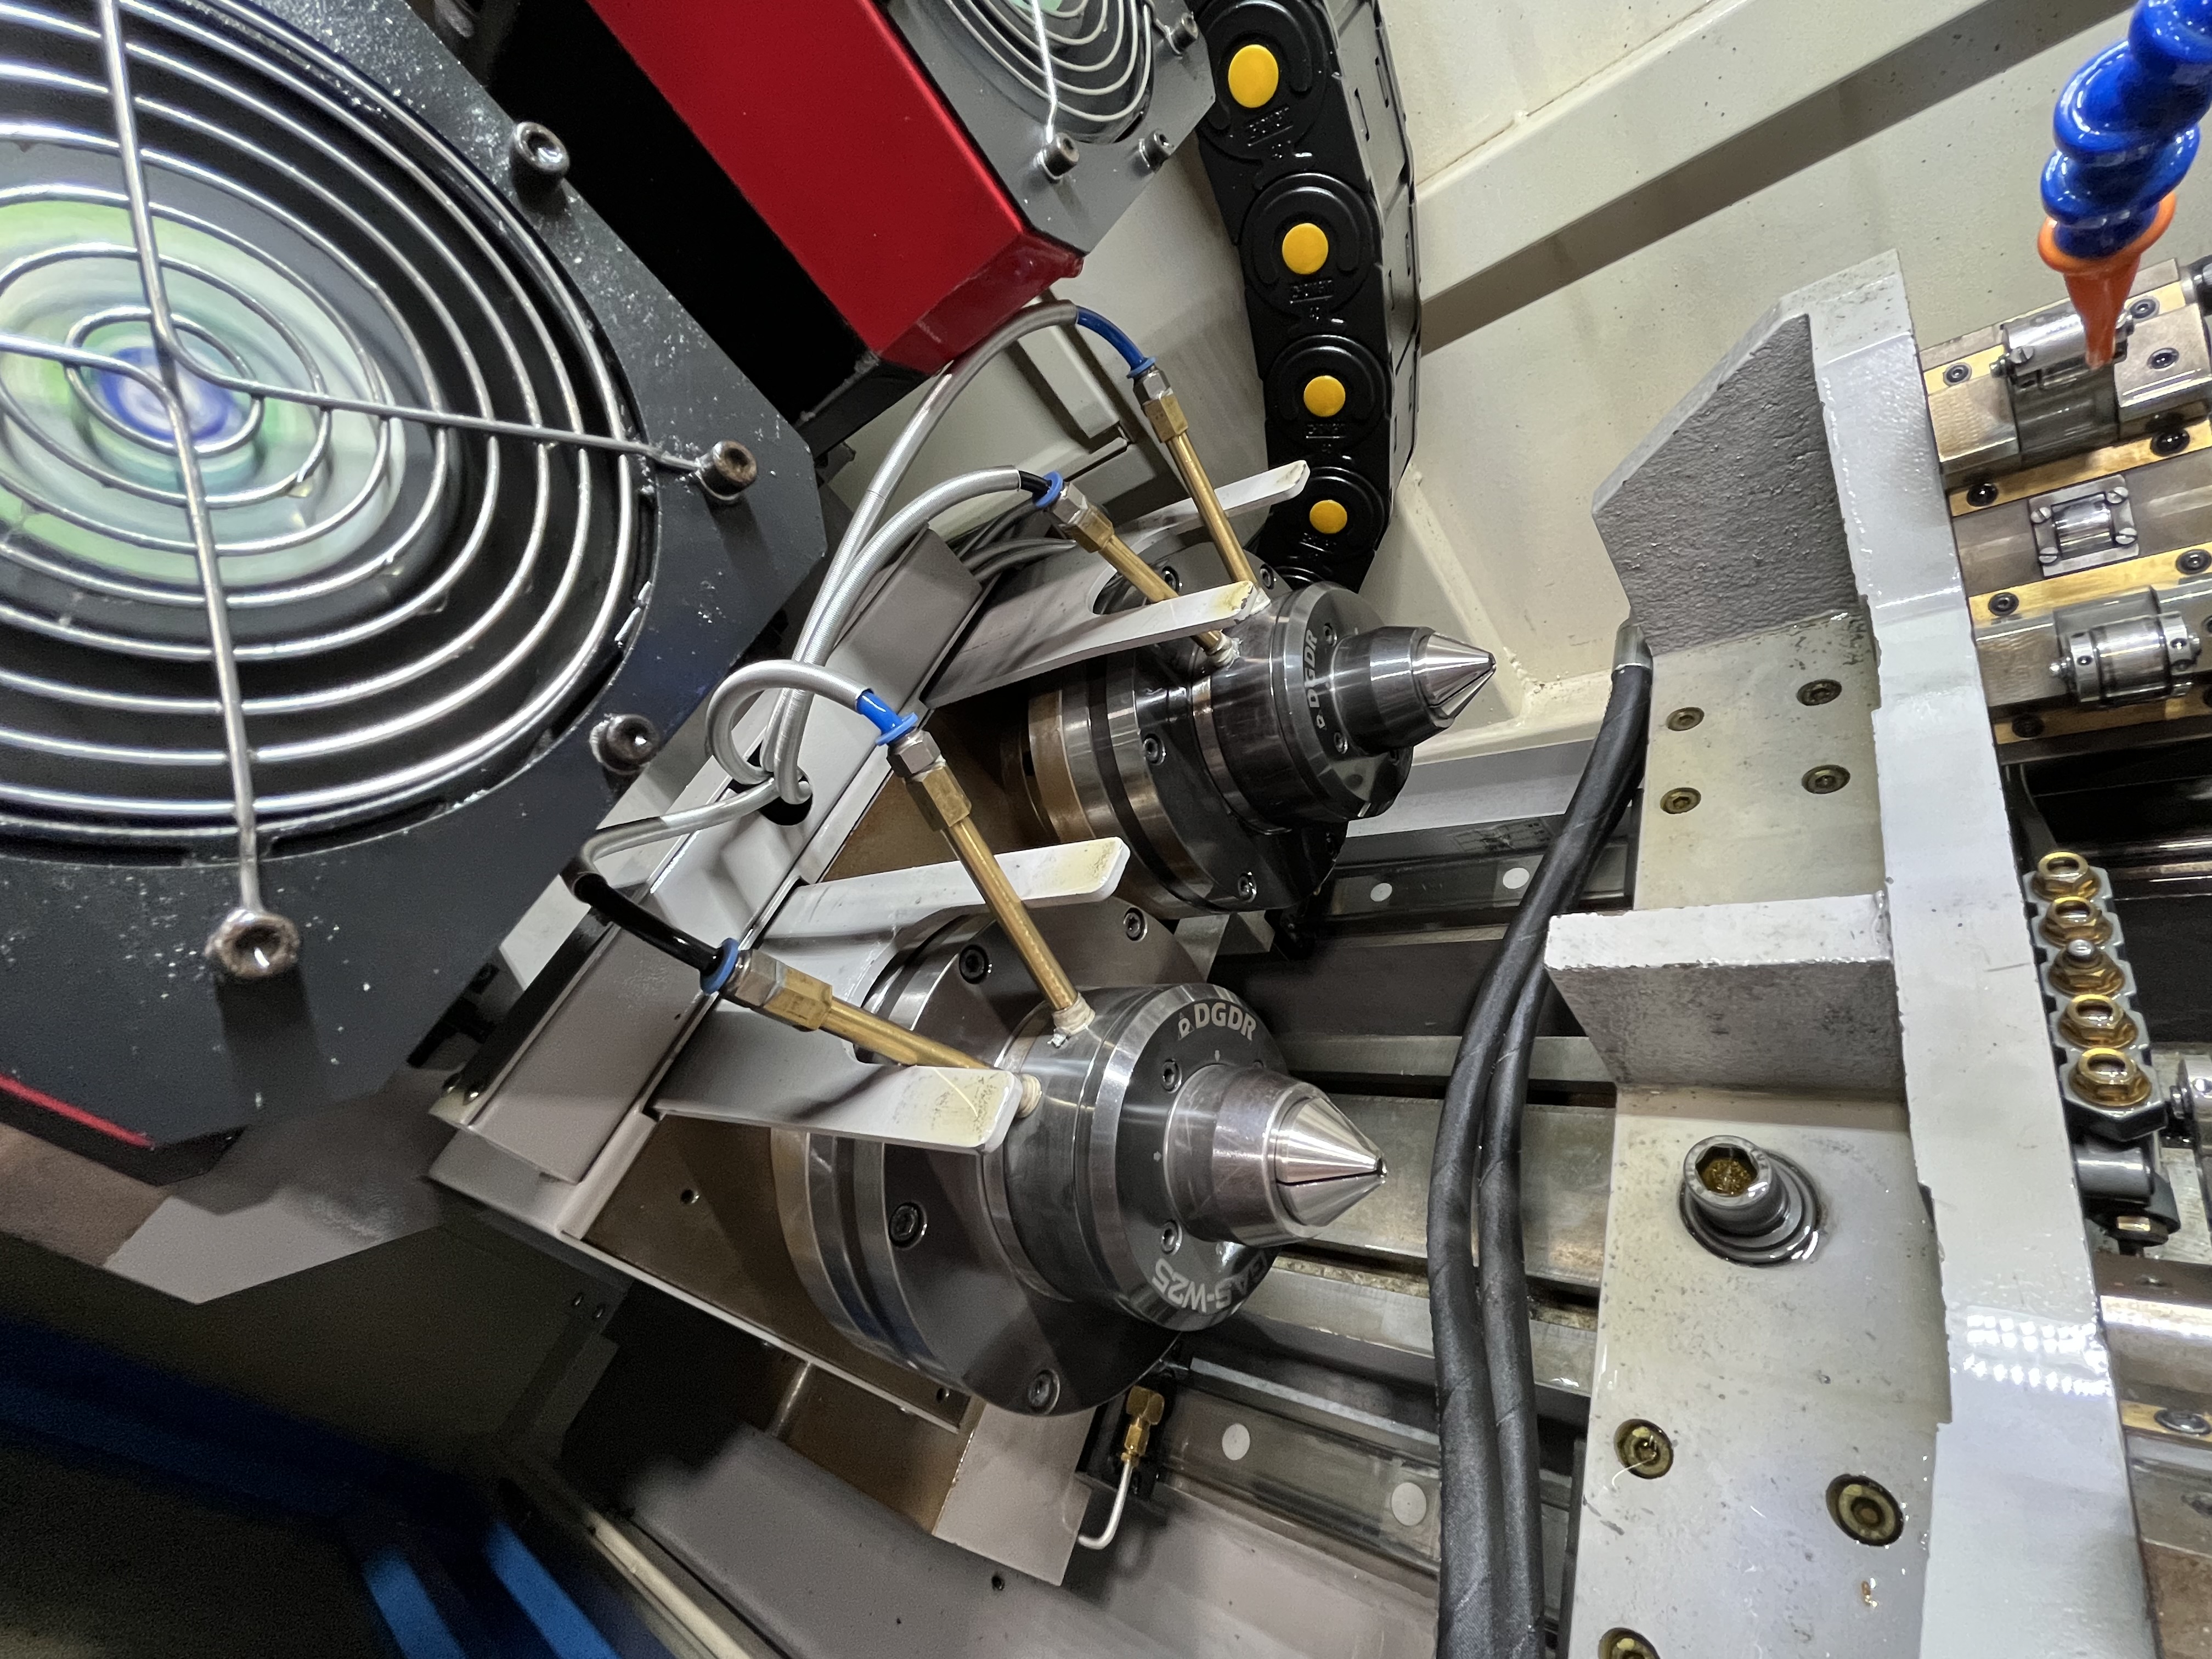
I keep gun drills that are past their prime for finished holes and use them for roughing work. When a gun drill has been reground a few times or has minor edge wear, it still has life left for less demanding jobs. I have been doing this for years and it saves my shop thousands of dollars annually. The system is simple but it requires discipline to maintain. I check the tool rack at the end of every shift to make sure drills are returned to the correct section. A misplaced drill defeats the purpose of the system.
I have found that the discipline of maintaining the grading system pays off in other ways too. The regular inspections mean I catch wear patterns early. If I see multiple drills wearing the same way, I investigate the root cause. Sometimes it is a coolant issue. Sometimes it is a material batch problem. The data from the grading system helps me spot these patterns before they become production problems.
A new 20mm gun drill costs around 350 dollars. After three or four regrinds, the drill geometry changes enough that I cannot guarantee a Ra 0.8um finish or hold 0.1mm straightness. But that same drill can still cut a hole straight enough for a roughing pass or for a job with loose tolerances. The drill does not know it is old. It just cuts. I am throwing away value if I scrap a drill that still has 30 to 50 percent of its useful life left.
The key is knowing when to move a drill from the finishing rack to the roughing rack. I have developed a set of criteria based on measured performance, not on appearance. A drill can look perfect and still produce bad holes because of microchipping on the cutting edge that you cannot see without a microscope. I learned this the hard way after scrapping a part because a drill that looked fine was producing an out-of-tolerance bore. That scrapped part cost me 300 dollars in material and rework time. It taught me to measure every downgrade decision.
I also track how many holes each drill has cut. I mark the hole count on the drill history card. When a drill reaches 200 holes on a given grade, I inspect it more frequently. For high-volume production jobs, I check the drill after every 50 holes instead of every 100 holes once it passes the 200-hole mark. This prevents surprises and lets me plan downgrades instead of reacting to failures. A planned downgrade is better than an emergency drill change in the middle of a job.
When I Move a Drill to Roughing
I use four criteria to decide when a drill graduates to roughing duty. First, the surface finish drops below Ra 1.2um on a known stable material. I test this by drilling a test bar in 1045 steel and measuring the finish with a profilometer. If the finish is above Ra 1.2um, the drill is not suitable for finishing work.
Second, the diameter variation over the length of the bore exceeds 0.05mm. I measure the bore diameter at the entry, midpoint, and exit. If the variation between these points exceeds 0.05mm, the drill is not holding size consistently and should be downgraded.
Third, the drill has been reground more than four times. Each regrind removes material from the carbide tip and changes the geometry slightly. After four regrinds, the tip geometry is noticeably different from the original and the drill performance becomes unpredictable.
Fourth, I can see visible edge chipping under 10x magnification. I inspect every drill after each job with a magnifying loupe. Small chips on the cutting edge that are invisible to the naked eye become obvious at 10x.
Here is the grading system I use on my tool rack:
| Grade | Label Color | Condition | Typical Remaining Life | Suitable For |
|---|---|---|---|---|
| A | Green | New or first regrind | 100% | Finish work, tight tolerances |
| B | Blue | Second or third regrind | 60 - 80% | Production work, standard tolerances |
| C | Yellow | Fourth regrind or minor wear | 30 - 50% | Roughing, abrasive materials, training |
| D | Red | Heavy wear or chipped edge | 10 - 20% | Emergency only, non-critical parts |
| Scrap | — | Broken or severe chipping | 0% | Recycle |
Every operator in the shop knows this system. They do not have to guess whether a drill is good enough for a job. They look at the label and make the call. I trained every operator on the system when I implemented it and I review it with new hires on their first day.
Where I Use Roughing Drills
Roughing drills are perfect for several specific applications in my shop. I use them for pre-drilling before a finishing pass when the straightness spec is tight and I want to take two passes. The roughing drill takes the first 80 percent of the stock and the finishing drill cleans up with a light cut that produces excellent straightness and finish. This two-pass approach extends the life of my finishing drills significantly.
I use them for drilling in known abrasive materials like cast iron or high-silicon aluminum. These materials wear cutting edges fast and do not demand a pristine finish. A grade C drill is ideal here because it would wear out a new drill just as fast, but I would rather wear out a drill that costs me nothing in terms of remaining value. The roughing drill takes the abuse and the finishing drill stays sharp for the jobs that need it.
I use them for training new operators. A new operator will make mistakes. They will push the feed too hard, let the coolant pressure drop, or forget to peck properly. I would rather have them learn on a grade C drill that I was going to scrap anyway than on a 350-dollar new drill. The lessons cost less this way and the new operator is not afraid to make mistakes and learn from them.
I have a specific training drill set aside for this purpose. It is a grade C drill that I let the trainee use for their first 20 holes. After that, they graduate to a grade B drill and eventually to a grade A drill for their first solo finishing job. The progression gives them confidence and protects the tooling budget at the same time.
I also use roughing drills for one-off prototype jobs where the tolerances are loose and the material is unknown. I do not want to risk a new drill on a material I have never cut before. The roughing drill tells me how the material behaves and if it breaks, I have not lost a new drill.
I have one more use for roughing drills that I discovered by accident. When a job requires a through-hole and the exit side is not visible, I use a roughing drill for the final 50mm of the bore. If the drill grabs on exit, a roughing drill is less likely to chip than a brand-new drill because the cutting edges are already slightly rounded. That trick has saved me from drill breakage on exit several times.
Here is a cost comparison from last year:
| Drill Usage | New Drills (dollars) | With Roughing Program (dollars) | Savings |
|---|---|---|---|
| Training scrap | 1,750 | 350 | 1,400 |
| Abrasive material jobs | 2,800 | 700 | 2,100 |
| Roughing passes | 4,200 | 1,400 | 2,800 |
| Prototype and one-off jobs | 1,400 | 350 | 1,050 |
| Total | 10,150 | 2,800 | 7,350 |
That 7,350 dollars in savings came from nothing more than keeping drills in service longer and using them for appropriate work. The labeling system cost about 50 dollars to set up. The return on that investment is obvious.
The Labeling System That Makes It Work
The whole system falls apart without clear labeling. I use color-coded zip ties on the drill shank. Green for grade A, blue for grade B, yellow for grade C, red for grade D. The color is visible from across the tool crib. No one has to read a tag or decode handwriting. I chose zip ties because they are cheap, durable, and easy to replace when a drill changes grade.
I also write the drill history on a card in the tool drawer. The card shows the original purchase date, the number of regrinds, and the date it was downgraded to each grade. This tells me how long drills last in different applications and helps me make better purchasing decisions. For example, I now know that drills used in 4140 steel last about 40 percent longer than drills used in 4340 steel. That information helps me cost jobs more accurately.
I keep the roughing drills in a separate section of the tool rack. The rack has three sections labeled Finish, Production, and Roughing. The operator knows to grab from the Roughing section for jobs with loose tolerances, abrasive materials, or training. The Finish section is for the tight-tolerance jobs that need every bit of accuracy a new drill can deliver. The Production section is for standard production work where the tolerances are moderate.
I have had zero issues with someone accidentally grabbing a roughing drill for a finishing job since I implemented this system. The color coding and physical separation make it nearly impossible to make that mistake. Before the system, I had two jobs scrapped because an operator grabbed the wrong drill from a mixed rack. The cost of those two scrapped jobs was more than the annual cost of the labeling system.
I also conduct a quarterly audit of the drill rack. I check that every drill has the correct color label and that the history card matches the physical condition of the drill. This audit takes about 30 minutes but it keeps the system accurate. A labeling system is only useful if the labels are correct.
Key Takeaways
- A drill that cannot hold finish tolerance can still cut chips. Move it to roughing instead of scrapping it.
- Color-coded labeling is worth the five minutes it takes to set up. It prevents mistakes and saves time.
- Track drill usage by application. The data tells you which jobs are hard on tooling and helps you cost jobs more accurately.
- Use old drills for training. New operators will break things. Make it cheap to learn.
- Over a year, keeping used drills in service saves thousands of dollars in tooling costs. I track this number and show it to management. It justifies the time spent on the system.
- The initial cost of labeling and organization is about 50 dollars. The annual savings are over 7,000 dollars. That is a 14,000 percent return in year one.
- Separate your racks physically, not just on paper. An operator reaching for a drill in a hurry will grab from the right rack if the racks are in different locations.
- Inspect drills with magnification after every job. Microchipping is invisible to the naked eye but it affects the bore quality.
- Document drill history. Knowing how long a drill lasts in each application helps with purchasing decisions and job costing.