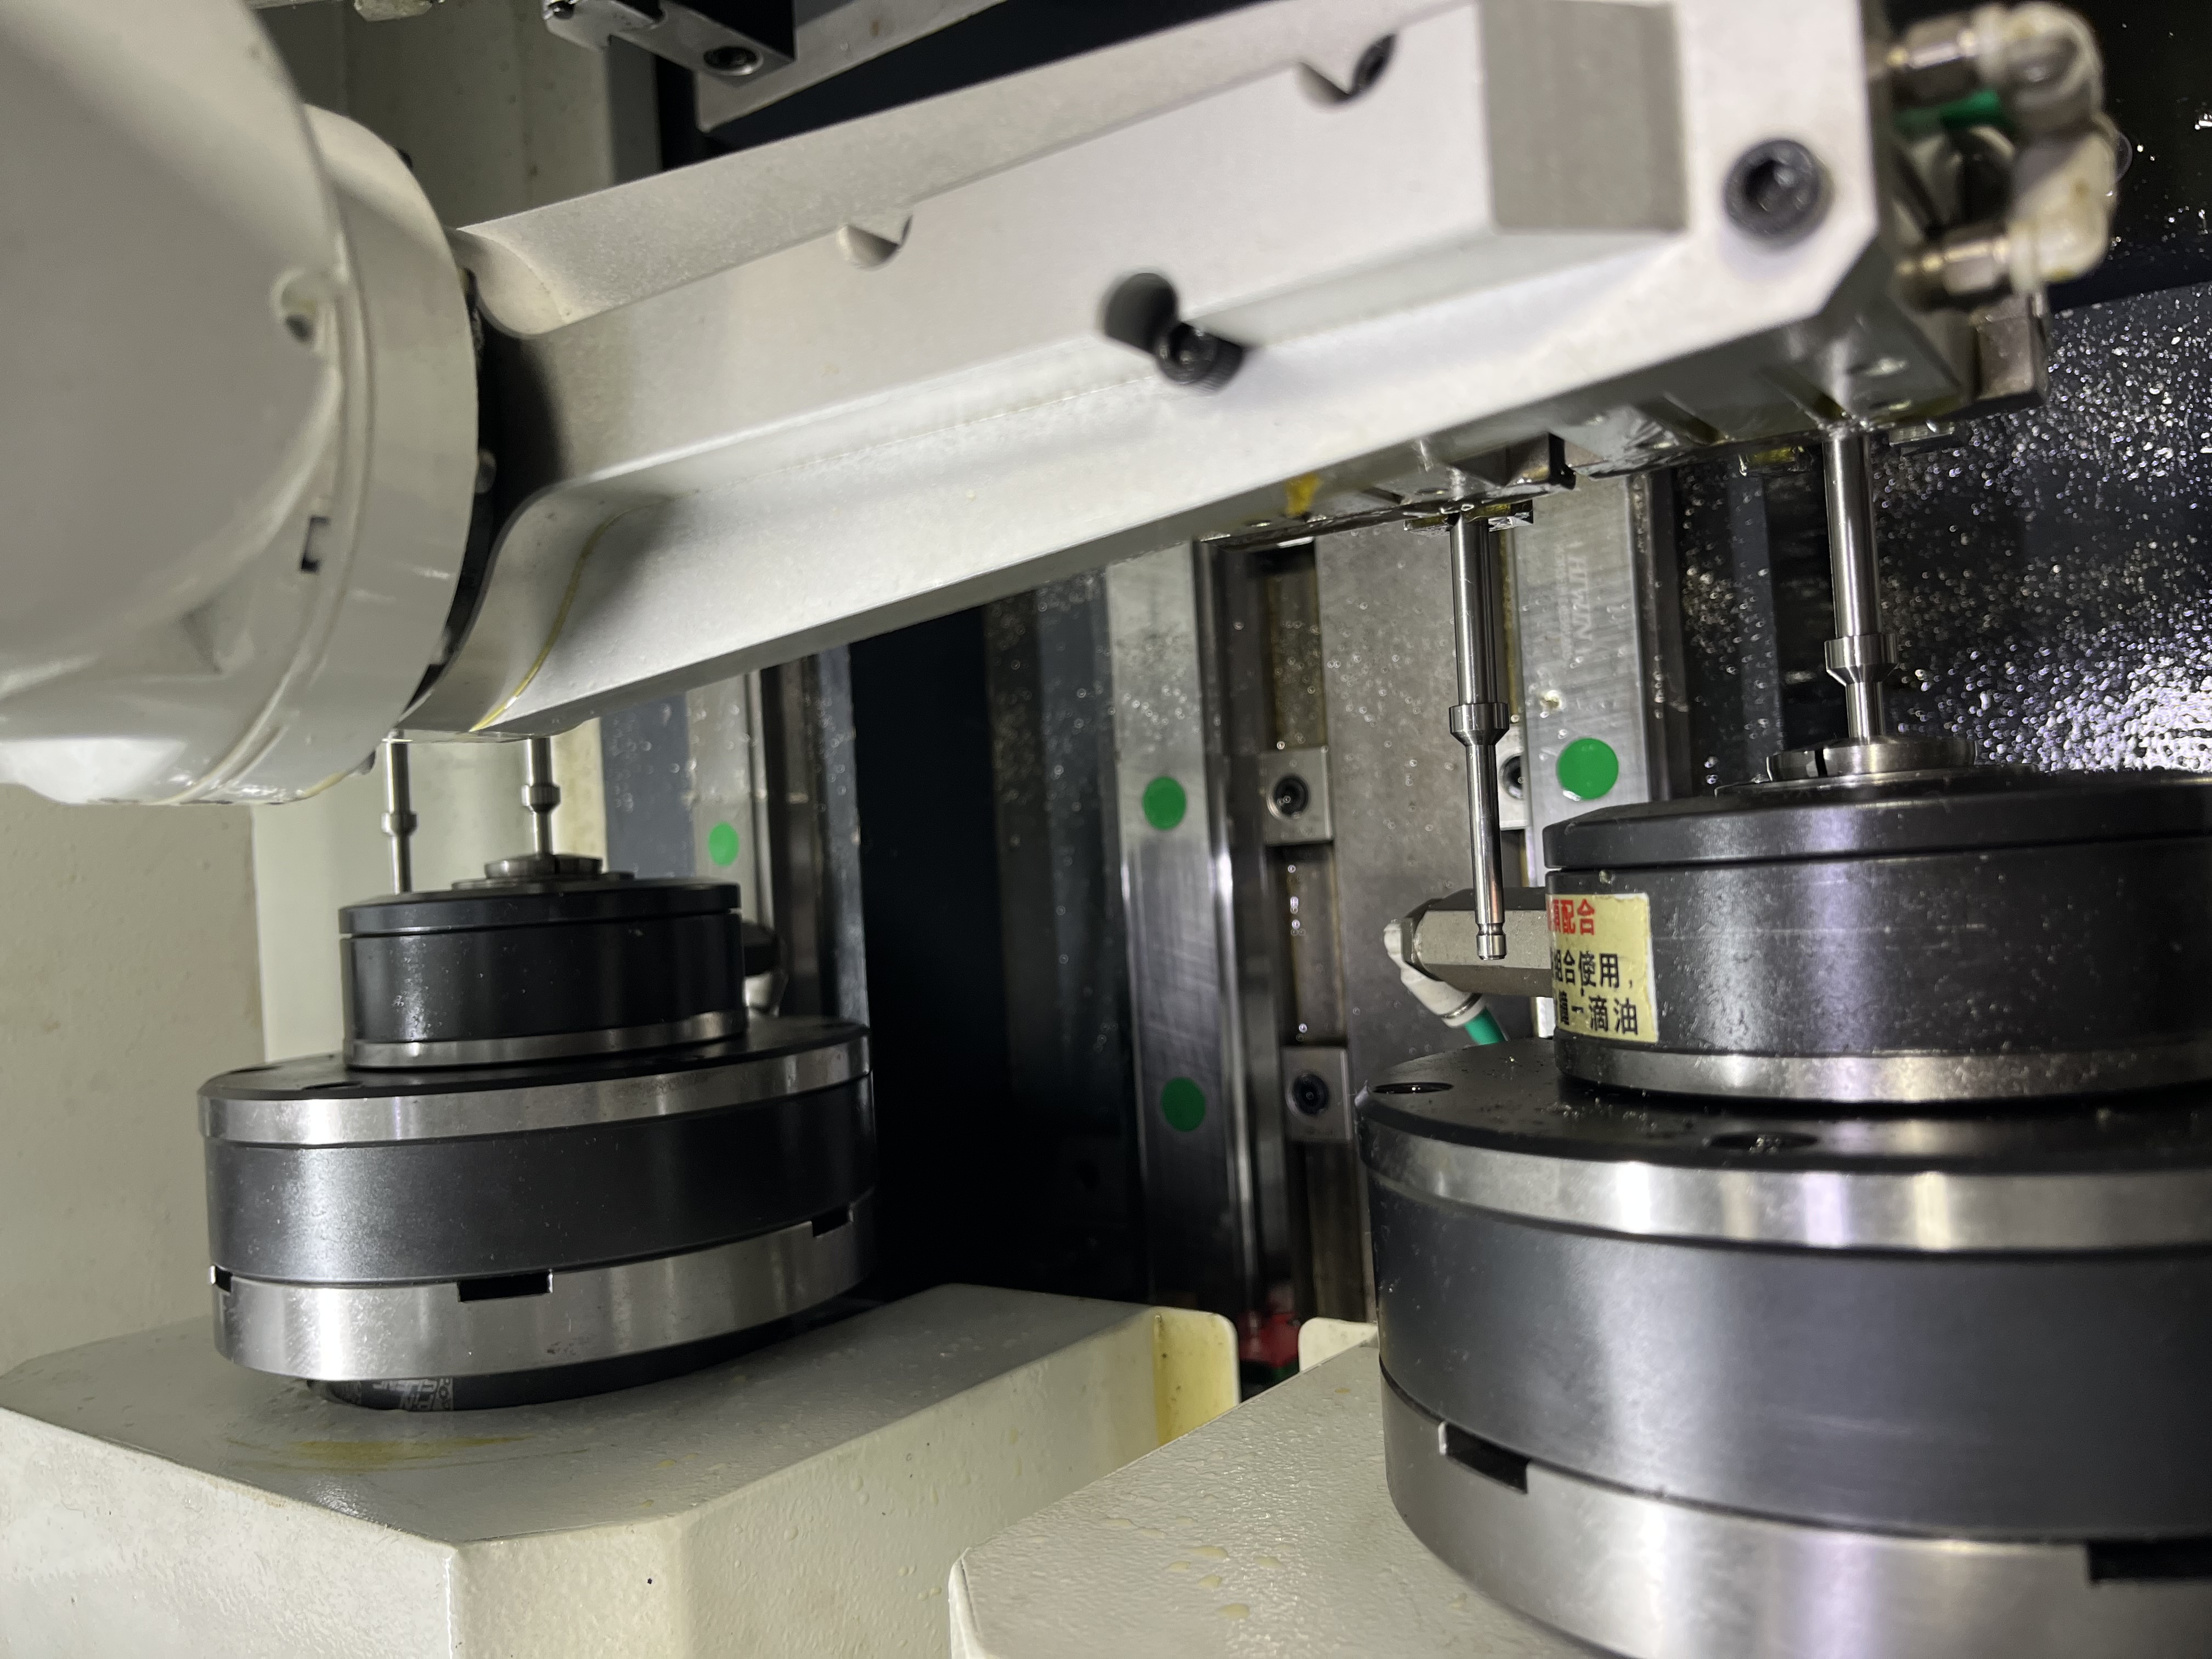
I drilled a bore that came out 2mm off position. The part was a hydraulic cylinder barrel forged from 4140 steel, about 700mm long with an outside diameter of 180mm. The bore was supposed to be 80mm diameter through the full length, positioned within 0.2mm of the centerline. When I put the part on the CMM after the first drilling pass, the CMM reported the bore centerline was 2.1mm offset from the print position at the mid-length point and 2.4mm offset at the far end.
I had made a setup error. I had indicated the outside diameter of the forging at the drive end but I had not checked the concentricity of the forging at the tailstock end. The forging was not straight. The outside diameter was running out by about 1.5mm over the 700mm length. I had centered the drive end perfectly but the tail end was off by the full amount of the forging runout. The drill followed the misaligned entry point and the bore drifted further off position as it progressed through the part.
I replayed the setup steps in my head after the CMM report came back. I remembered that I had been in a hurry that morning. The machine was booked solid for the week and I had a two-hour window to set up the job before the next operator needed the machine. I had rushed through the dial indicator check. I indicated the drive end, saw it was within 0.02mm, and assumed the rest of the forging was concentric. I did not rotate the part to check the runout at the tailstock end. That shortcut cost me the rest of the day and nearly cost the shop $3,000.
Assessing the Repair Options
The barrel was a high-value part. The raw forging cost $2,200 and the machining and heat treatment before the drilling step added about $800 in labor and processing. Total value at risk was roughly $3,000. The lead time for a replacement forging was eight weeks. Scrapping the part was technically possible but the customer had a delivery deadline in four weeks.
I considered three options. First, I could bore the existing hole to a larger diameter and press in a sleeve, then weld the sleeve in place and re-drill. Second, I could weld the entire bore closed and re-drill from scratch. Third, I could scrap the part and start over. I talked to the shop welder, a guy named Dave who had been welding for about twenty-five years and had done some salvage work on hydraulic cylinders before.
Dave said the sleeve option would work but the bore wall thickness was only 50mm and a press-fit sleeve would reduce the wall below the minimum design requirement. He recommended filling the bore with weld entirely and re-drilling. He warned me that weld shrinkage could pull the part out of round and that heat from the welding could distort the bore position further if we did not manage the thermal cycle carefully.
| Repair Option | Estimated Cost | Lead Time | Success Probability | Wall Thickness After Repair |
|---|---|---|---|---|
| Sleeve and re-drill | $900 | 3 days | 70% | Reduced by 10mm (not acceptable) |
| Full weld fill and re-drill | $600 | 5 days | 85% | Full original thickness |
| Scrap and replace | $3,000 | 8 weeks | 100% | N/A — new part required |
We decided on the full weld fill. The numbers made the decision. At $600 and five days, the weld repair cost 20 percent of the replacement value and took less than 10 percent of the lead time.
The Welding Process
Dave set up the barrel on a rotator so he could weld in the flat position. He used a gas metal arc welding process with ER70S-6 filler wire, which matched the mechanical properties of the 4140 base material reasonably well for a non-structural repair. He preheated the barrel to 150 degrees Celsius using induction heaters wrapped around the outside diameter. The preheat was critical because welding on cold 4140 can produce martensite in the heat-affected zone, which would be brittle and could crack under the drilling stresses.
Dave filled the bore in layers. Each layer was about 3mm thick. He laid the weld beads in a consistent spiral pattern, rotating the barrel after each pass. He kept the interpass temperature between 150 and 200 degrees Celsius. He did not let the part cool down between layers. The entire welding process took about four hours for the full depth of 700mm.
After the welding was complete, we stress-relieved the barrel in a furnace at 620 degrees Celsius for two hours, then slow cooled it in the furnace to room temperature. The stress relief took about twelve hours total. I was worried that the part would warp during the stress relief cycle, but the CMM check after the furnace showed the outside diameter was still within 0.3mm of nominal roundness.
Re-drilling and Inspection
I faced off the entry and exit surfaces of the barrel on a lathe to remove the weld build-up and create a clean start surface. I indicated the outside diameter at both ends and this time I checked the concentricity at four points along the length. The forging was still slightly bowed, about 0.3mm of runout, but I accounted for that by centering the part to the average centerline rather than to one end.
I set up the gun drilling machine with the same 80mm diameter drill I had used the first time. I used a fresh guide bushing and new seals in the rotary union. I ran the drill at the same parameters: 1800 RPM and 0.08mm per revolution feed. The drill entered the weld material, which cut slightly differently than the original 4140. The weld material had a hardness of about 25 HRC compared to the base material at 30 HRC. The difference was small enough that the drill handled it without issue.
The bore came out at the correct position. The CMM showed the centerline was within 0.15mm of the print position at both ends and at the mid-length point. The surface finish was 1.2 micrometers Ra, which was within the 1.6 micrometer specification. The straightness was 0.03mm per meter, well inside the 0.05mm per meter requirement.
The part passed full inspection and shipped on schedule. The customer accepted it without any conditions. They did not ask about the repair and I did not volunteer it. The part has been in service for about three years now with no reported issues.
Looking back, I view the weld repair as a success not just because it saved the part, but because it taught me that salvage is a legitimate engineering option when done correctly. It is not a bodge. It is a calculated process with known risks and known success rates.
The Cost Analysis of Salvage Welding
After that job, I tracked every weld repair I did over the following two years. I have done nine more bore weld repairs on parts ranging from 40mm to 120mm diameter. Eight of the nine were successful. The one failure happened on a thin-walled part that distorted during welding and could not be straightened. That part had to be scrapped anyway.
| Metric | Value |
|---|---|
| Total weld repair attempts | 10 (including the first) |
| Successful repairs | 9 |
| Average cost per repair | $550 |
| Average replacement cost | $3,400 |
| Average savings per repair | $2,850 |
| Total savings over 2 years | $25,650 |
| Success rate | 90% |
The numbers convinced me that weld repair is a viable salvage technique for high-value deep hole parts when done with proper process control. The key factors are preheat, interpass temperature control, consistent weld pattern, and post-weld stress relief. Skipping any of those steps drops the success rate significantly.
The Customer Communication Lesson
I debated whether to tell the customer about the repair. The print did not require any disclosure of rework. The part met all dimensional and material specifications after the repair. The weld fill was in a non-structural area of the bore that did not see cyclic loading in service. I decided not to mention it because disclosing a weld repair would have triggered a full requalification process at the customer’s quality department, which would have taken about six weeks and defeated the purpose of the fast repair.
I have thought about that decision since then. In hindsight, I think I made the right call for that specific situation, but I have a different rule now. If the repair affects a feature that sees pressure, cyclic loading, or any safety-critical function, I disclose it. If the repair is cosmetic or in a non-critical area, I document it internally and move on. The rule is simple: if the part could hurt someone if the repair fails, the customer needs to know.
Key Takeaways
- Weld repair of deep hole bores is not a first-choice option, but it beats scrapping a $3,000 part when the lead time for a replacement is eight weeks.
- The welding process control matters more than the welding skill. Preheat temperature, interpass temperature, weld pattern consistency, and post-weld stress relief are the difference between a salvage and a scrap.
- The part can distort during welding even with careful heat control. I always budget for at least 0.5mm of distortion and check the outside diameter roundness before re-drilling.
- Re-drilling through weld material cuts slightly differently than through the original forging, but the difference is manageable if the weld hardness is close to the base material hardness.
- I keep a running spreadsheet of every weld repair I do. The data tells me that a 90 percent success rate on bore weld repairs saves the shop roughly $25,000 every two years compared to scrapping and replacing.
- Not every part can be saved. Thin-walled parts distort too easily. But for thick-walled hydraulic cylinders and structural components, weld repair is a reliable tool I keep in my back pocket for the jobs where the alternative is a long lead time and a large cost.
How I Prevent the Same Error Now
I changed my setup procedure after that mistake. Before I drill any long part, I now check the runout at both ends of the workpiece and at two intermediate points along the length. I record the runout values on the setup sheet. If the total runout exceeds 0.3mm over the length of the part, I recenter to the average centerline rather than centering to one end and hoping the rest is straight.
I also added a step to the inspection process for the first article. I check the bore position at three depths: near the entry, at mid-length, and near the exit. If the bore is drifting, I catch it before I have drilled a full batch of parts. The first-article inspection takes about fifteen minutes. It would have caught the 2mm offset after the first part instead of after the setup error was already baked in.
The cost of the first-article inspection is about $30 in machine downtime. The cost of the weld repair was $600. The cost of scrapping the part would have been $3,000. A $30 inspection step that prevents a $600 to $3,000 problem pays for itself quickly. I have built that into every job I run now, even for parts I have run before.