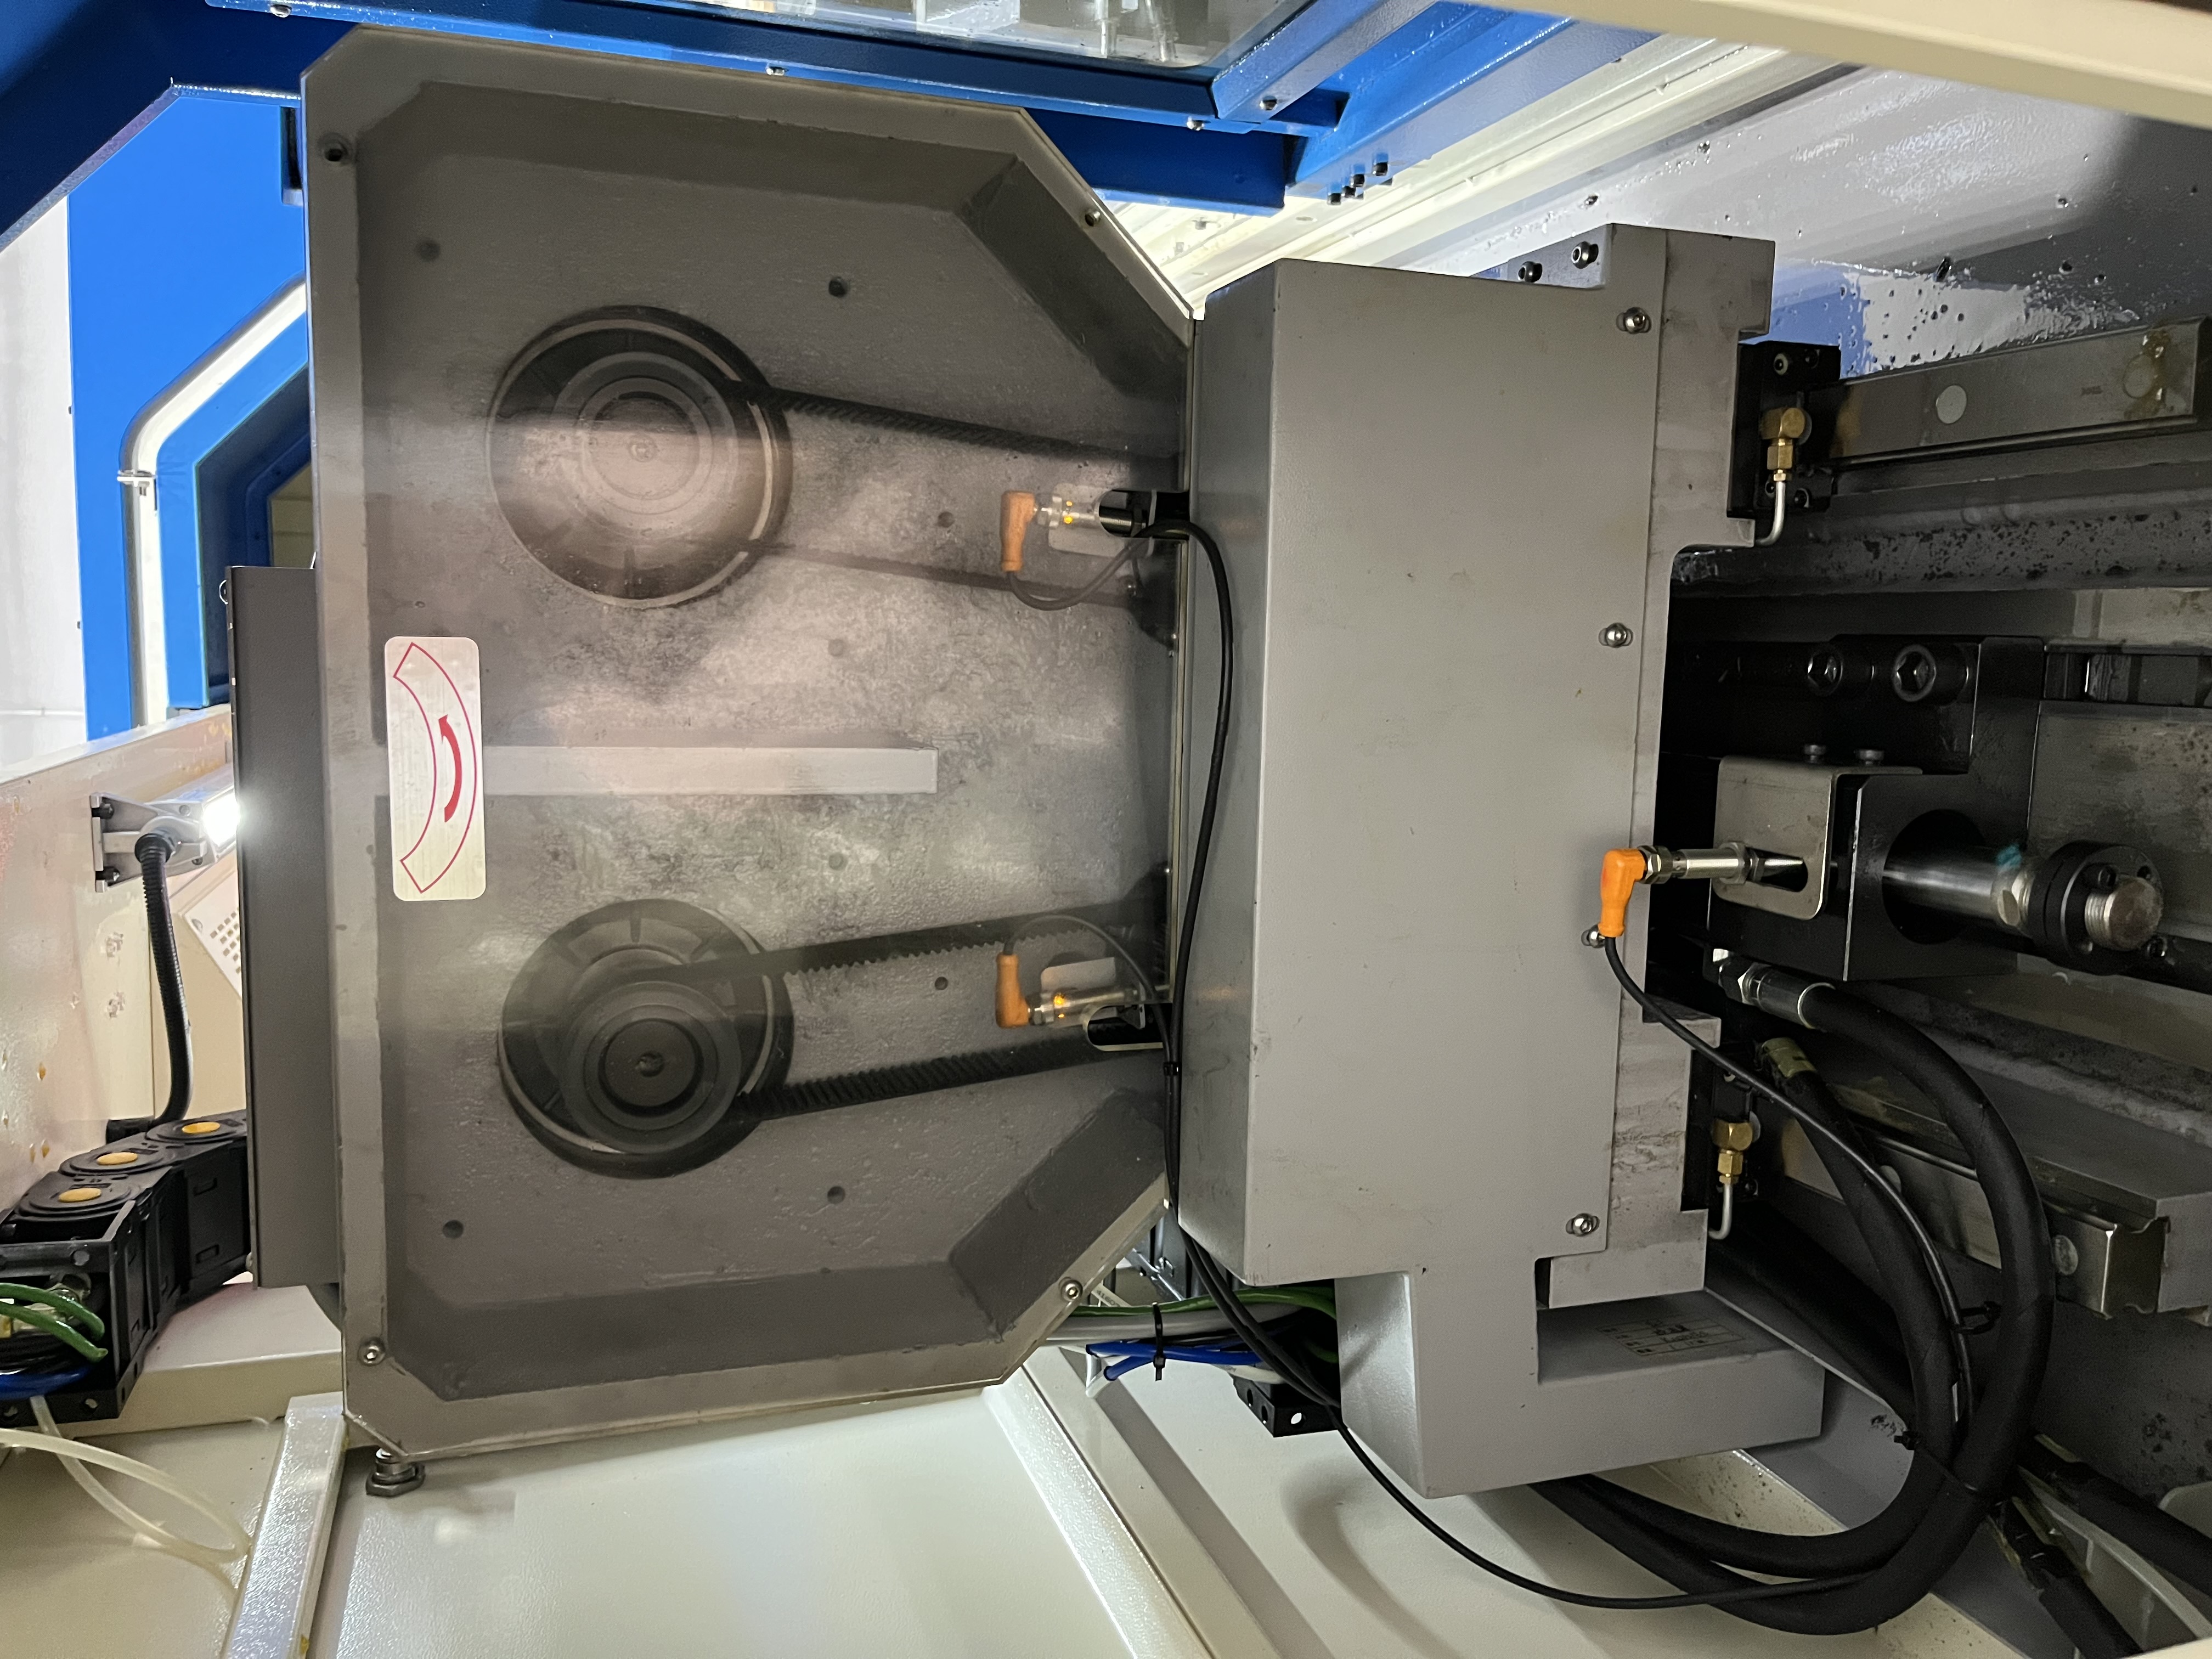
I’d set up a job on the day shift — a 16 mm gun drilling job in 4140 steel. The setup was running perfectly. I went home feeling good about the day’s work.
At midnight, my phone rang. It was the night shift operator. The machine was making a strange noise and the surface finish was poor. Could I come in and look at it?
The Setup I Thought Was Perfect
Let me describe what I had done that morning. The job was a batch of hydraulic spools, each requiring a 16 mm through-hole in 4140 pre-hardened steel at about 32 HRC. The bore depth was 480 mm, giving a depth-to-diameter ratio of 30:1. I had selected a new carbide-tipped gun drill, checked the guide bushing clearance with a feeler gauge, set the coolant pressure to 75 bar, and dialed in the feed at 0.06 mm/rev with a spindle speed of 4000 RPM.
The first five parts came out perfect. The bore surface finish was holding at 0.4 Ra. The chips were consistent needle shapes. The machine sounded smooth. I clocked out at 3:30 PM confident that the night shift would run the next forty parts without intervention. I even wrote a brief note on the whiteboard: “Job running good. Watch coolant level.”
That whiteboard note was the extent of my handover documentation.
The Midnight Drive Back
When I got the call at midnight, I was already in bed. The night shift operator was a newer hire, about six months on the floor. He described the sound as a “low grinding noise” that started about halfway through the bore on part number seven. The surface finish on that part measured 0.8 Ra, double what it should have been. He had stopped the machine after part eight and called me.
I drove back to the shop in twenty minutes. The machine was idling with the coolant still running. I grabbed a flashlight and inspected the guide bushing. The bore of the bushing measured 16.08 mm. A new bushing should be 16.02 mm. The bushing had worn past its useful limit, and the extra clearance was allowing the drill to deflect off-center. That deflection caused the grinding noise and the poor surface finish.
I should have caught the bushing wear during the morning setup. The bushing had been on the machine for about six months of daily use across multiple jobs. In hindsight, there were signs — the chips from the fifth part had a slight curl variation that I attributed to material inconsistency. That curl variation was the drill starting to wander inside the bushing clearance.
Fixing the Immediate Problem
I replaced the guide bushing with a new one from the crib. The replacement took about fifteen minutes. I checked the clearance with a feeler gauge: 0.01 mm, which was within spec. Then I jogged the spindle to confirm the drill passed through the bushing without binding. I restarted the job on part nine and watched the first bore complete. The chips were back to normal needle shapes. The surface finish measured 0.38 Ra.
I stayed until 2 AM to make sure the job was stable. The night shift operator ran the remaining parts without issue. I went home and got about four hours of sleep before the next day shift.
The Setup Checklist I Created
The next morning, I sat down and wrote a setup checklist that covered every inspection point I had ever missed or seen someone else miss. I printed it on a laminated card and posted it next to the control panel of every deep hole drilling machine in the shop.
| Setup Check Item | Method | Acceptable Range |
|---|---|---|
| Guide bushing ID vs. drill diameter | Feeler gauge | 0.005 to 0.020 mm clearance |
| Coolant pressure at the rotating union | Pressure gauge at union | Within 5% of target |
| Coolant filtration level | Visual check of filter housing | No visible debris in return flow |
| Drill tip condition (chisel edge) | 10x loupe inspection | No chips > 0.1 mm at cutting edge |
| Rotating union temperature | Hand touch after 5 min run | Warm but not hot (below 50 C) |
| Chip shape from first bore | Visual at chip tray | Needles or loose washers only |
| Spindle runout at the bushing | Dial indicator | Less than 0.005 mm TIR |
| Workpiece clamping force | Torque wrench on bolts | Per work-holding spec |
I also added a handover logbook next to each machine. The day shift operator writes down the parts count, any parameter changes, the condition of the tool, and the coolant pressure reading at the end of the shift. The night shift operator reads the logbook and signs off before starting production. This forces a real handover instead of a shouted comment across the aisle.
How the Checklist Evolved
The first version of my checklist was too long. It had twenty-two items. Operators complained it took too long to complete. I trimmed it to the twelve most critical checks after a month of feedback. Then I added checkboxes for each item and a section for notes at the bottom.
About six months in, I added a column for the measured value, not just a pass-fail checkbox. That change helped when troubleshooting because I could look back at the previous setup’s numbers and see a trend — for example, guide bushing clearance creeping from 0.008 mm to 0.015 mm over six weeks, which told me the bushing was approaching end of life before it caused a failure.
Handover Standards I Now Enforce
The midnight call changed not just my personal habits but also how the entire shift team communicates. I worked with the production manager to create a standard handover template that every operator fills out at the end of their shift. The template includes the current parts count, the tool condition rating on a scale of one to five, the coolant pressure reading at the union, any parameter changes made during the shift, and a notes section for unusual observations.
The handover form is printed on a carbonless two-part sheet. The day shift operator keeps the yellow copy in a binder, and the night shift operator gets the white copy taped to the machine control panel. The binder stays at the machine for thirty days, so if a problem shows up a week later, I can look back at the handover notes from the day the problem started. That traceability has helped me diagnose at least three recurring issues that would have been invisible without the written record.
I also added a mandatory sign-off line on the form. The incoming operator signs to confirm they read the handover and understand the job status. That signature creates accountability. If the incoming operator starts the job without reading the notes and the machine crashes, the root cause is not the day shift setup — it is the missed handover.
Key Takeaways About Guide Bushing Life
The bushing that failed that night had been on the machine for six months. I looked up the manufacturer’s recommended service life for that bushing type and found it was rated for 5,000 linear meters of drilling. My bushing had about 4,800 meters on it. It was right at the end of its rated life, and I had no way of knowing because nobody was tracking cumulative drilling distance per bushing.
I set up a simple tracking system after that. Every time a bushing is installed, I write the date and the drill diameter on a tag tied to the bushing nut. For each job, I calculate the total drilling length by multiplying the number of bores by the bore depth. I add that to a running total written on the machine’s setup board. When the total approaches 80 percent of the manufacturer’s rated life, I order a replacement bushing so it is ready before the current one wears out.
| Bushing Material | Typical Life (linear meters) | 80% Warning Point | Replacement Interval (typical use) |
|---|---|---|---|
| Carbide (solid) | 15,000 | 12,000 meters | 6-8 months |
| Carbide-tipped steel | 8,000 | 6,400 meters | 4-6 months |
| Through-hardened steel | 5,000 | 4,000 meters | 3-4 months |
| Nitrided steel | 3,000 | 2,400 meters | 2-3 months |
I share this tracking data with the other operators on my shift. Guide bushing wear is predictable and preventable. The only thing that causes unexpected bushing failures is the absence of tracking.
Key Takeaways
- A handover note on a whiteboard is not a handover. A written logbook with measured values is a handover.
- Guide bushings wear gradually. Measure the clearance at every setup, not just when you install a new bushing.
- A setup checklist should fit on one page. Twenty items is too many, five is too few. Ten to twelve is the sweet spot.
- Include measured values in the checklist, not just checkboxes. Trends are more informative than pass-fail.
- A midnight phone call costs two hours of productivity. A five-minute checklist costs nothing.
- The night shift operator deserves the same information I would want if I were running the job. I write my handover notes for that audience, not for a supervisor.
- If a chip change seems minor during setup, investigate it anyway. The minor change is usually the first symptom of a problem that will show up fully during the next shift.
- Track cumulative drilling distance on guide bushings. Manufacturer life ratings are accurate when you use them.
- A carbonless two-part handover form with a sign-off line costs ten cents per sheet. A scrapped part from a missed handover costs hundreds of dollars.