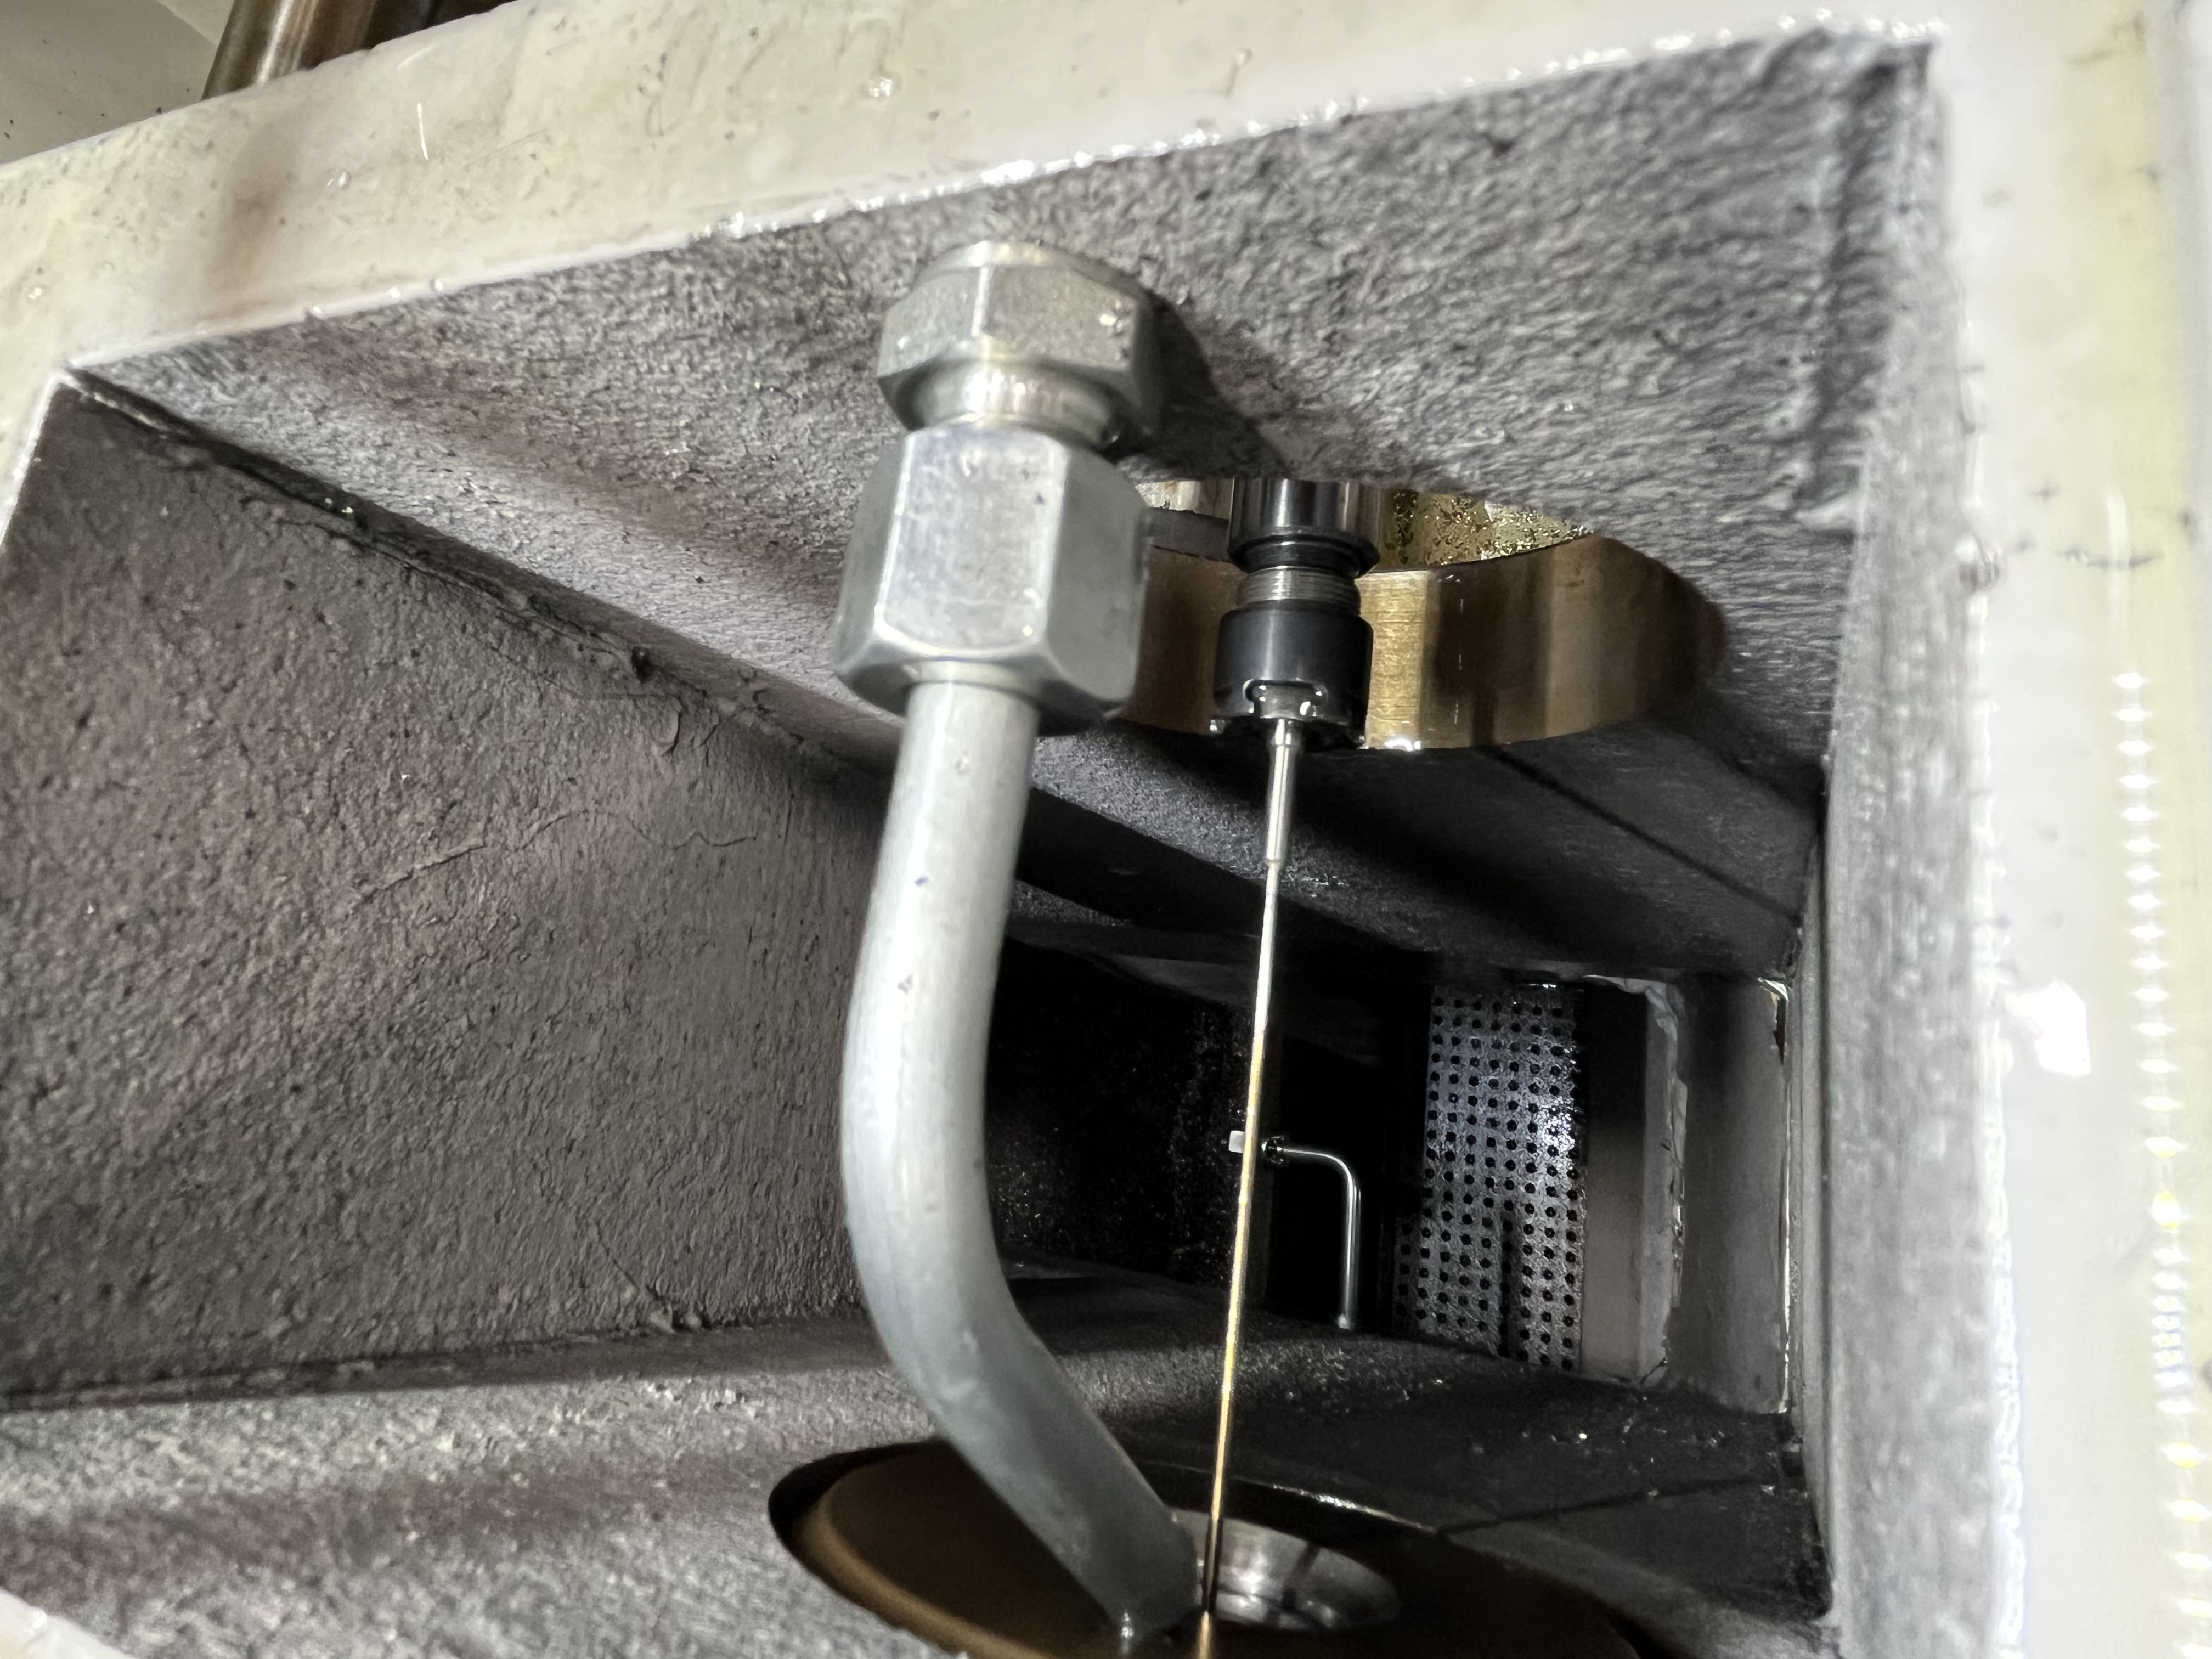
A customer sent me a print for what looked like the simplest job I had seen in months. It was a 4140 steel shaft, 600mm long, with a 20mm through-hole drilled axially from end to end. The print had no tight tolerances. The bore diameter was 20mm plus 0.5mm minus zero. The position tolerance was 0.5mm. The surface finish was 3.2 micrometers Ra. I had drilled hundreds of similar holes in 4140 over the previous five years. I quoted it as a standard gun drilling job at $85 per part for a batch of thirty-six pieces.
The Setup and Initial Runs
I set up the job on the same gun drilling machine I used for most of my 4140 work. I installed a 20mm diameter single-flute gun drill with a carbide tip and a total length of 800mm. I set the guide bushing clearance to 0.02mm, which is standard for that diameter. I aligned the bushing to within 0.02mm of the spindle centerline. I set the spindle speed to 3000 RPM, which gave me a cutting speed of about 188 meters per minute, and I set the feed rate to 0.05mm per revolution.
The first part ran perfectly. The drill entered the shaft, cut through the full 600mm length, and exited with good chip evacuation throughout. The bore measured 20.1mm diameter, straight within 0.02mm per meter, and the surface finish was 1.8 micrometers Ra. I inspected it, signed off on the inspection sheet, and put it on the finished parts rack.
The second part ran the same way. Good chips, steady spindle load at around 15 percent, clean exit. The bore dimensions matched the first part within 0.02mm. I was running ahead of schedule. I figured the whole batch would be done in three days instead of the four I had quoted.
The third part started normally. I watched the first 100mm of cut and saw standard chip formation. I walked away to check a setup on another machine. When I came back, the machine had stopped with a spindle overload alarm. The drill had broken at about 400mm depth.
The Failures and Troubleshooting
I replaced the drill with a new one of the same geometry and ran the fourth part. It broke at the same depth, 400mm, with the same failure mode. The spindle load climbed steadily from 100mm to 400mm, then spiked and the drill snapped at the shank. I inspected the broken drill tip under a microscope. There was no visible wear or chipping. The fracture surface showed a clean torsion failure, which meant the drill had seized in the hole and twisted off.
I started a systematic troubleshooting checklist. I checked the coolant pressure at the spindle rotary union and it read 72 bar, which was within the normal range of 65 to 80 bar. I checked the coolant filters and found no blockages. I checked the guide bushing for wear and found it within tolerance. I checked the spindle alignment with a test bar and found it within 0.02mm. I checked the material hardness with a portable hardness tester on a scrap piece from the same bar and it read 35 HRC.
| Parameter | First Two Parts (OK) | Parts 3 and 4 (Failed) | Specification |
|---|---|---|---|
| Spindle speed | 3000 RPM | 3000 RPM | 2800-3200 RPM |
| Feed rate | 0.05 mm/rev | 0.05 mm/rev | 0.04-0.08 mm/rev |
| Coolant pressure | 72 bar | 72 bar | 65-80 bar |
| Material hardness | 28 HRC | 35 HRC | 28-32 HRC per print |
| Chip form | Short, broken segments | Long, stringy ribbons | Broken segments |
| Spindle load at 400mm | 15% | 38% | Below 20% |
| Drill condition | Good | Fractured at shank | No defects expected |
I pulled the material certification from the incoming inspection file. The cert showed the heat treatment batch as “quench and tempered to 28-32 HRC.” I called the material supplier and asked them to re-check the cert against the actual bars they had shipped. The supplier confirmed that they had mixed two batches during loading. The bars on the top of the pallet were from the correct heat treatment lot at 28 HRC. The bars underneath, which I was now running, were from a different lot that had been tempered at a lower temperature and tested at 35 HRC.
The Fix
The harder material required different cutting parameters. At 35 HRC, the shear strength of 4140 is about 15 percent higher than at 28 HRC. The shear strength increase comes from the higher proportion of tempered martensite in the microstructure. When 4140 is quenched and tempered at a lower temperature, the carbide precipitates are finer and more numerous, which increases the resistance to plastic deformation. The drill must overcome that resistance at every rotation.
I calculated the torque at the drill tip using the formula: torque equals specific cutting force times chip cross section times drill radius. For 4140 at 28 HRC, the specific cutting force is roughly 2,500 Newtons per square millimeter. At 35 HRC, that value rises to about 2,900 Newtons per square millimeter. The chip cross section at 0.05mm per revolution feed and 20mm diameter is about 1.0 square millimeter. The torque at 28 HRC is about 25 Newton-meters. At 35 HRC with the same feed, it jumps to about 29 Newton-meters. The drill’s torsional capacity was about 30 Newton-meters before plastic deformation started. We were running at the edge of the drill’s capability. The cutting forces increase proportionally, which means the drill sees higher torque at the same feed rate. The torque at the drill tip is a function of feed rate times material shear strength. To keep the torque within the drill’s capacity, I needed to reduce the feed rate.
I reduced the feed from 0.05mm per revolution to 0.03mm per revolution, a 40 percent reduction. I also reduced the spindle speed from 3000 RPM to 2500 RPM to lower the cutting temperature and reduce thermal softening of the cutting edge. The adjusted parameters gave me a material removal rate of about 2.4 cubic centimeters per minute, compared to the original 5.9 cubic centimeters per minute. The machine time per part increased from about 4 minutes to about 8 minutes.
I ran a test part with the new parameters. The drill made it through the full 600mm without any spindle load increase. The chips came out as short, broken segments. The bore diameter was 20.1mm, the same as the first two parts. The surface finish was 2.1 micrometers Ra, slightly higher than before but still within the 3.2 micrometer specification.
I ran the remaining thirty-two parts with the adjusted parameters. Every part completed without a drill break. The extra machine time added about two hours per day, pushing the completion to five days instead of three, but the batch was completed without any more failures.
| Parameter | Before Fix (Broken Drills) | After Fix (Successful) | Change |
|---|---|---|---|
| Spindle speed | 3000 RPM | 2500 RPM | -17% |
| Feed rate | 0.05 mm/rev | 0.03 mm/rev | -40% |
| Material removal rate | 5.9 cm³/min | 2.4 cm³/min | -59% |
| Time per part | 4 min | 8 min | +100% |
| Drill life per part | 1 drill per 2 parts | 1 drill per 36 parts | +1800% |
I submitted an invoice for the additional machine time to the customer. They approved it after I explained the material issue. The total cost overrun was about $1,100, which was modest compared to what it would have cost if I had scrapped the batch and started over with new material.
The Supplier Resolution
I called the material supplier the same day I found the hardness discrepancy. The supplier’s quality manager asked me to send photos of the material cert, the bars with the batch numbers visible, and the hardness test results. He confirmed the next day that their shipping department had loaded bars from two different heat treat lots onto the same pallet. The top layer matched the cert. The bottom three layers did not.
The supplier offered to replace the off-spec bars at no cost and to cover the cost of the two broken drills. I accepted the drill replacement but I told them I would keep the bars since I had already adjusted the parameters and run them successfully. The supplier appreciated that I did not send the bars back, since return freight for 600mm long bars is expensive. They gave me a credit of $350 on my next order.
I updated the supplier’s approved vendor list with a note about the mixed batch incident. I now request that each heat treat lot be banded separately on the pallet with a color-coded tag. The supplier agreed to that request and has followed it since. I have not had a mixed batch issue from them again.
The Process Change
That job changed how I handle material certification. I now check the material cert against the print specification before I set up any job, even for materials I have run a hundred times before. I compare the hardness range, heat treatment specification, and chemical composition against the print requirements. It takes about two minutes.
I also added a spot hardness check as a step in my setup procedure. I use a portable Leeb hardness tester on the first part from each bar or bundle before I start drilling. If the hardness is outside the expected range, I stop and check the cert before proceeding. The hardness tester cost about $1,200 and takes about thirty seconds per measurement. I ran the numbers: the 35-d drill breaks at $85 per drill plus $400 in lost machine time per incident. The $1,200 tester paid for itself after the first three incidents it prevented.
I have caught three material variation issues since implementing the spot hardness check. One was a 4140 bar that came in at 38 HRC instead of the specified 28-32 HRC. Another was a stainless steel bar where the supplier had substituted a different grade. The third was a case-hardened bar that had case depth variation along the length. All three were caught before a drill entered the material.
The total cost of those three incidents if they had gone undetected would have been roughly $4,500 in broken drills and lost machine time. The total cost of the hardness checks was about $30 in operator time. The return on that $1,200 hardness tester has been about 15 to 1 in the first year alone.
Key Takeaways
- A material hardness difference of 7 HRC turned a routine job into the hardest of the year. I lost two drills and about $900 before I found the root cause.
- The material cert is not always accurate. Suppliers can mix batches during loading, and the cert may reflect the intended heat treatment rather than the actual delivered material.
- I check the material cert against the print before every job now, even for materials I have run before. It takes two minutes and costs nothing. The alternative is broken drills, scrapped parts, and missed deadlines.
- A portable hardness tester paid for itself within the first three months on the floor. I consider it essential equipment for any shop running deep hole drilling jobs on heat-treated materials.
- When a job that runs fine for two parts starts breaking drills on the third part, the first thing I check is the material, not the machine. The machine rarely changes between parts. The material does.
- Adjusted cutting parameters can compensate for harder material, but the machine time increases and the production rate drops. The correct answer is to reject off-spec material at receipt, not to compensate for it during production.
- I shifted my mindset from “make the part no matter what” to “verify the inputs before starting.” The material, the coolant, the tool, and the machine setup are inputs I can verify in ten minutes. A drill break takes hours to fix. I put my verification time where it prevents the most downtime.