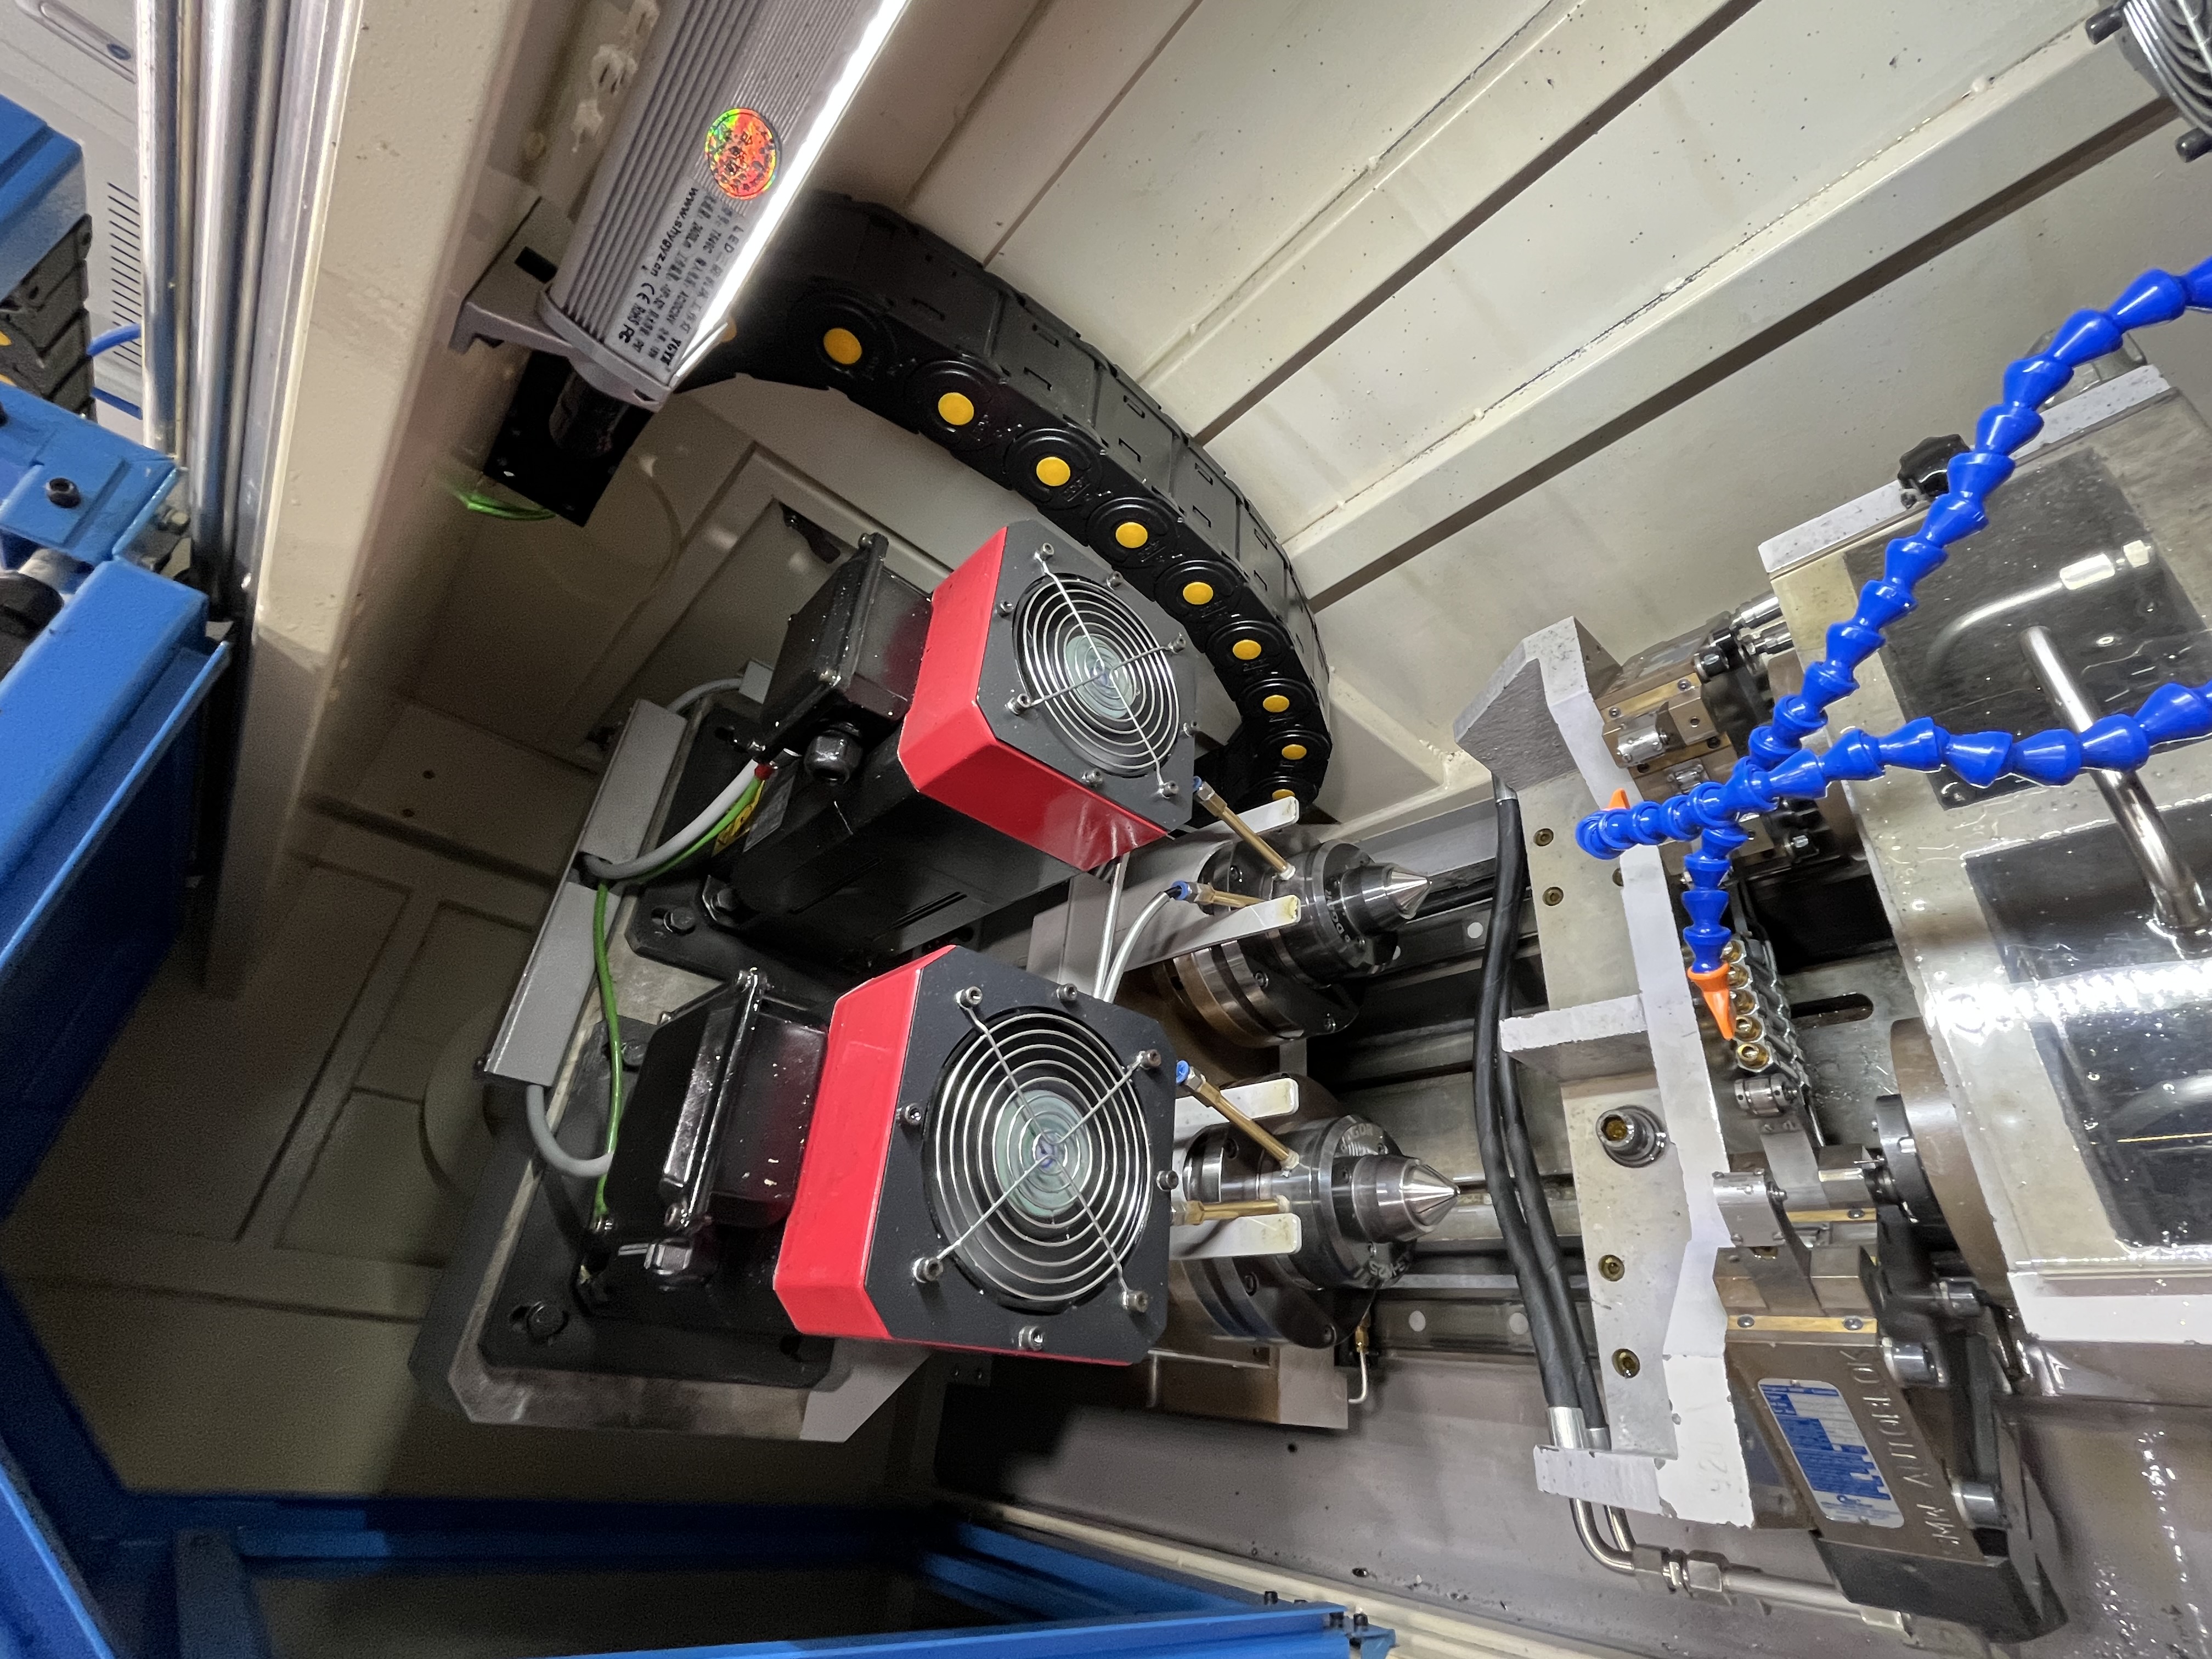
The First Setup: Misalignment
I had a job drilling a 20mm bore through a 300mm stainless steel block. The material was 316L, which is notoriously gummy and work-hardens at the cut zone if the tool rubs instead of shearing. The customer spec called for a positional tolerance of 0.1mm at the exit, a diameter tolerance of H8, and a surface finish of Ra 0.8 microns. Simple, right? I had drilled hundreds of holes through stainless steel. I set up the machine, aligned the guide bushing with the tailstock center, and started cutting.
The drill wandered at entry. I saw the spindle load fluctuate during the first 10mm of penetration. The load should have climbed smoothly as the drill engaged the full diameter. Instead, it jumped from 30% to 70% and back to 40% within the first five seconds. I knew something was wrong before the drill reached 50mm depth. When the bore was finished, I measured the exit position. The bore came out 0.2mm off position at the far end. Scrap.
I checked the alignment with a test bar and a dial indicator. The guide bushing axis was misaligned with the machine spindle by about 0.05mm over the 300mm length. The misalignment was coming from the guide bushing holder. The previous operator had changed the bushing and had not re-tightened the holder bolts to the correct torque. One of the four bolts was loose. The bushing was sitting at a slight angle. That 0.05mm angular error at the entry turned into 0.2mm of positional error at the exit. The trigonometry was straightforward: the error multiplied over the length of the bore.
The Second Setup: Surface Finish
For the second setup, I checked the alignment more carefully and replaced the guide bushing with a new one. I torqued all four holder bolts to the specification in the machine manual. I verified the alignment with a test bar and got 0.01mm over 300mm, which was excellent. I was confident this setup was correct.
The bore was straight this time. The exit position was within 0.03mm of the target. But the surface finish was too rough. The customer spec was Ra 0.8 microns and I was getting Ra 1.2 microns. The bore surface had visible feed marks and a slight waviness pattern that I could feel with my fingernail. The part would fail inspection.
I looked at the chip form first. The chips were coming out as short, broken segments, which is normal for 316L. But some of the chips showed signs of re-cutting: they had scratch marks on both sides, which meant they were being trapped between the drill body and the bore wall. That indicated insufficient coolant pressure to push the chips out of the flute. I checked the coolant pressure gauge at the machine. It read 65 bar. The minimum pressure for that bore diameter and material should have been 80 bar. The coolant filter was partially clogged from a previous job.
I compared the three setups side by side:
| Parameter | Setup 1 | Setup 2 | Setup 3 |
|---|---|---|---|
| Alignment error (mm) | 0.05 | 0.01 | 0.01 |
| Coolant pressure (bar) | 65 | 65 | 90 |
| Drill condition | Used (3 regrinds) | Used (3 regrinds) | New, sharp edge |
| Surface finish (Ra um) | Not measured (scrap) | 1.2 | 0.6 |
| Positional error (mm) | 0.2 | 0.03 | 0.02 |
| Result | Scrap | Out of spec | Passed |
The Third Setup: Bringing It All Together
The third setup addressed the two remaining problems. I changed to a new drill with a sharper cutting edge. The used drill had been through three regrinds, and the edge radius had increased by about 0.02mm from the original geometry. A reground drill works fine for many jobs, but for a surface finish spec of Ra 0.8 microns, the edge sharpness matters. A sharper edge produces a cleaner shear zone, which leaves a smoother surface.
I also turned up the coolant pressure. I replaced the clogged filter element. That restored the pressure to 90 bar at the machine inlet. I verified the pressure at the drill tip by running the coolant through a flow meter. The actual flow rate at 90 bar was 28 liters per minute, which was well above the minimum requirement of 20 liters per minute for a 20mm bore at that depth.
I also did something I should have done before the first setup: I ran a test cut in a scrap block of the same 316L material. I drilled a 100mm deep hole and checked the surface finish before touching the production part. The test hole had a surface finish of Ra 0.55 microns. Good enough.
The hole came out straight, within tolerance, and with a surface finish of Ra 0.6 microns. The spindle load was steady at 55% for the entire cut. The chips were clean, consistent short segments with no signs of re-cutting. The job passed first-article inspection on the first production part.
The job took three times as long as it should have. Two scrapped blocks of 316L, each costing about $200 in material. Two hours of setup time that I had to eat because I quoted the job based on a single setup. But I learned to check the drill condition and coolant pressure before assuming the setup is the alignment problem.
The Setup Checklist I Use Today
I put together a setup checklist after that job. It has five items, and I do not start cutting until all five are verified:
- Machine alignment: test bar check with dial indicator at the spindle and guide bushing. Acceptable error is less than 0.02mm over the full bore length.
- Coolant pressure: verify at the machine inlet and at the drill tip. Minimum pressure for stainless steel is 80 bar for bores under 25mm.
- Drill condition: inspect the cutting edge under magnification. No chipping, no edge radius above 0.01mm for finish-critical jobs.
- Guide bushing: inspect ID for wear, verify clearance with pin gauge. Replace if clearance exceeds 0.005mm for a 20mm drill.
- Test cut: drill a hole in scrap material of the same grade and check diameter, straightness, and surface finish.
This checklist has caught problems before they turned into scrap on at least ten jobs since I started using it. The test cut step alone has saved me three times, including one job where the material was not the grade I ordered.
The Coolant Pressure Variable I Had Neglected
The second setup failure taught me something important about coolant pressure. I had assumed that if the pressure gauge read 65 bar, that was enough. I did not verify the flow rate at the drill tip. The pressure gauge measured the line pressure at the machine inlet, not the pressure at the cutting zone. By the time the coolant traveled through the rotary union, the spindle, the collet, the drill shank, and the drill coolant hole, the pressure at the tip was significantly lower.
I tested this after the job was finished. I installed a pressure gauge at the drill tip adapter and ran the coolant at the same machine inlet pressure. The tip pressure was 42 bar, about 35% lower than the inlet reading. That was below the minimum 50 bar tip pressure required for chip evacuation in a 20mm bore in 316L. The chips were not being flushed out efficiently. They were accumulating in the flute, getting re-cut, and damaging the surface finish.
Here are the pressure drop measurements I took across different sections of the coolant system:
| Measurement Point | Pressure (bar) | Drop from Inlet |
|---|---|---|
| Machine inlet (gauge) | 90 | - |
| After rotary union | 82 | 8 bar |
| After spindle collet | 74 | 8 bar |
| After drill shank | 63 | 11 bar |
| At drill tip (adapter) | 59 | 4 bar |
The total pressure drop was 31 bar from the machine inlet to the drill tip, about 34% loss. I now calculate tip pressure by subtracting 35% from the inlet gauge reading as a rule of thumb. For any job requiring minimum 80 bar at the tip, I set the machine inlet to at least 110 bar to account for system losses.
The Sequence Problem in Troubleshooting
The biggest lesson from this job was not about any single variable. It was about the order in which I checked things. My troubleshooting sequence was wrong. I started with alignment, which was the obvious cause of the positional error. But after fixing alignment, I assumed the remaining surface finish problem was also an alignment issue. I did not check the other variables because I was fixated on the first cause I found.
I now use a branching decision tree for setup troubleshooting. The first branch separates positional errors from surface finish errors. If the position is wrong, I check alignment and bushing condition first. If the surface finish is wrong, I check drill edge condition and coolant pressure first. If both are wrong, I check all four. This sounds obvious in hindsight, but in the moment, my brain locked onto the first cause and stopped looking.
The decision tree approach has saved me at least five jobs since then. I have it laminated and taped to the machine control panel. It lists the most common failure modes for each variable and the order to check them. Any operator on any shift can follow the same logic.
Key Takeaways
- The first setup failed because a loose guide bushing holder bolt caused 0.05mm of angular misalignment, which multiplied to 0.2mm of positional error at the exit
- The second setup fixed the alignment but failed on surface finish because the coolant pressure was too low and the drill edge was dull
- The third setup succeeded because I addressed alignment, coolant pressure, and drill condition simultaneously instead of fixing one variable at a time
- A test cut in scrap material before production catches issues that inspection alone misses
- A written five-item setup checklist, verified before every critical job, prevents the kind of trial-and-error that cost me two scrapped blocks and three hours of wasted time
- Coolant pressure at the drill tip was 35% lower than the machine inlet gauge reading. Always tip pressure, not inlet pressure
- A troubleshooting decision tree, organized by failure mode, prevents the cognitive trap of fixating on the first variable you checked