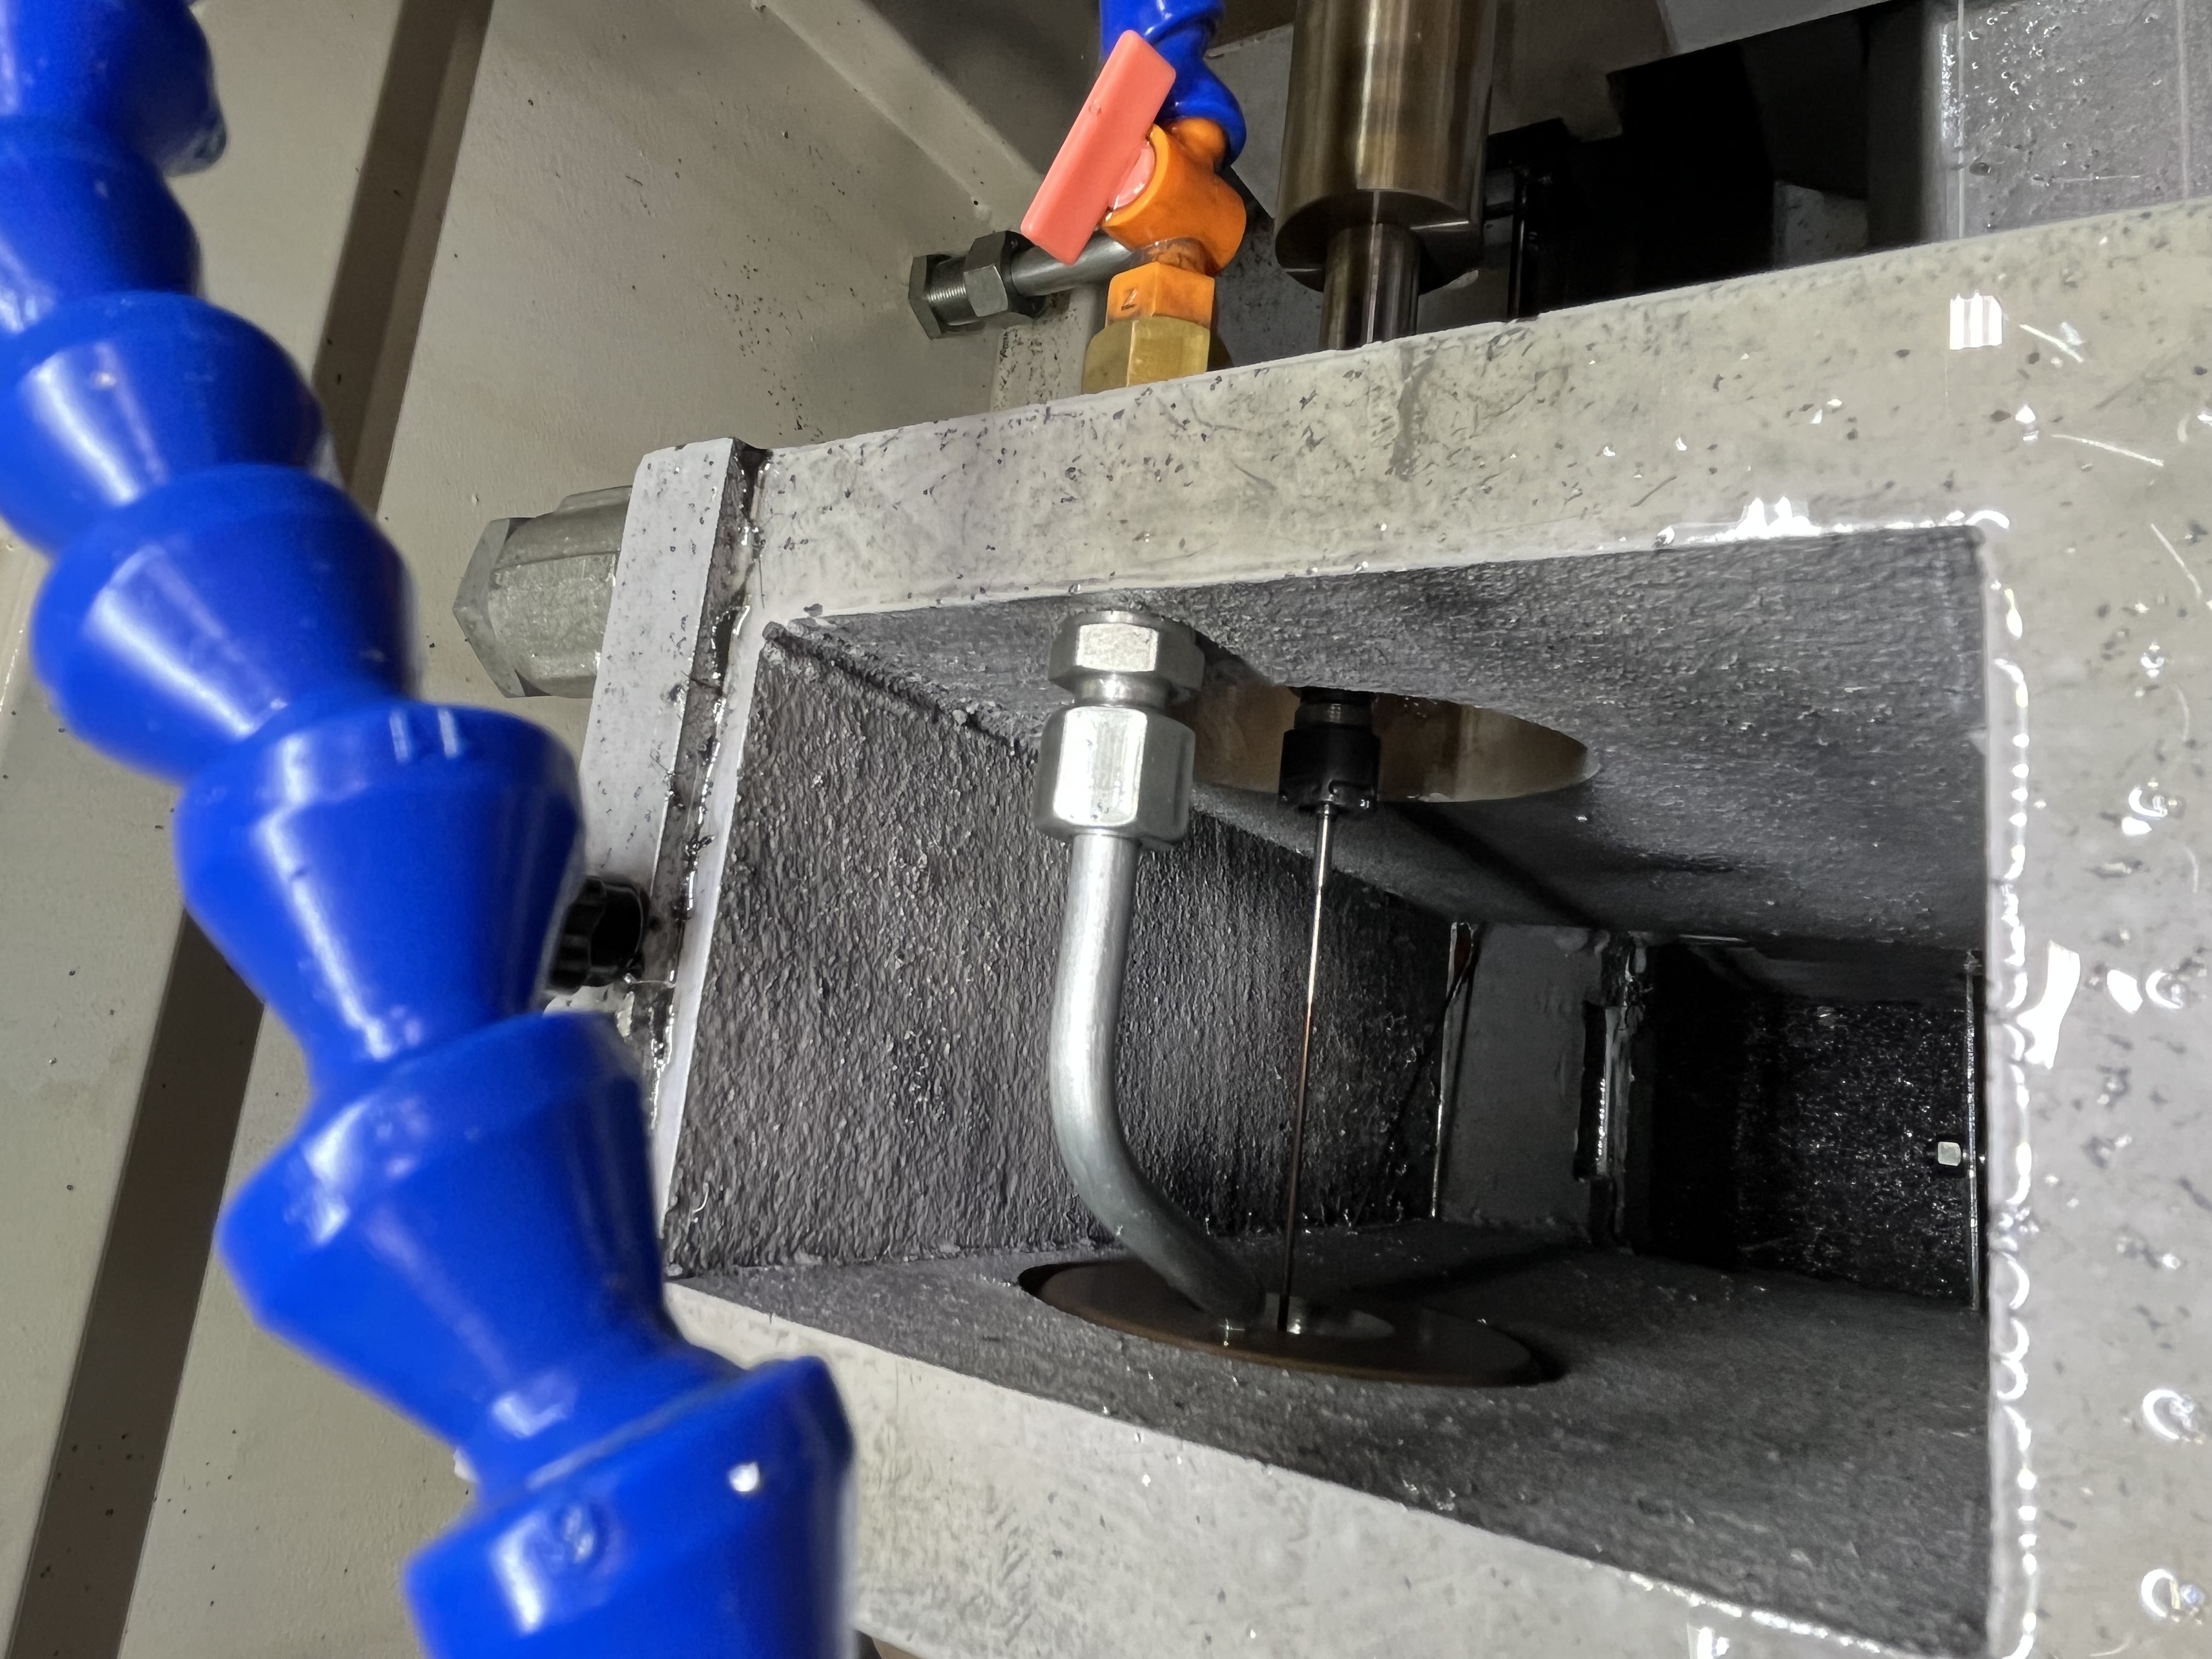
The Fine Dust That Fooled Me
I was drilling a deep hole in 304 stainless steel. The bore diameter was 12mm and the depth was 400mm, giving an L/D ratio of about 33:1. The feed rate was set to 0.03 mm/rev. The chips were coming out of the flute as fine metallic dust. I thought this was a good sign. In my mind, fine chips meant the cut was clean and the material was being removed efficiently. I had read somewhere that small chips are easier to evacuate through the drill flute, so I believed I had selected the right parameters.
The surface finish told a different story. The bore wall had a rough, torn appearance. I could see galling marks where the material had smeared instead of shearing. The tool was wearing fast. I was getting about 2 meters of total drilling length before the edge chipped. For a carbide gun drill in stainless steel, I should have been getting at least 8 to 10 meters.
I spent two weeks fighting this job. I tried different coolant concentrations. I tried different spindle speeds. I tried different peck cycles. Nothing helped. The tool life stayed low and the surface finish stayed poor. I was getting frustrated because I could not find the root cause.
The Counterintuitive Fix
I tried reducing the feed, thinking gentler cutting would reduce tool wear. I dropped the feed to 0.02 mm/rev. The problems got worse. The tool life dropped to 1.5 meters. The surface finish went from bad to worse. The chips turned from dust into almost nothing. The spindle load dropped to about 25%, which told me the tool was not engaging the material properly.
A senior machinist named Dave saw me changing tools for the third time that morning. He asked what feed I was running. I told him 0.03 mm/rev. He shook his head and said, “Try 0.06.” I argued with him. I said the feed was already causing tool wear, and doubling it would destroy the tool instantly. He did not argue back. He just said, “You are rubbing, not cutting. The feed is too low.”
I did not believe him. But I was desperate. I loaded a new tool, set the feed to 0.06 mm/rev, and started the cycle with my hand hovering over the feed hold button.
I increased the feed to 0.06 mm/rev. The chips changed from dust to short segments. The surface finish improved. The tool lasted three times longer. The spindle load increased from 30% to 55%, which told me the tool was finally taking a proper cut. I ran the same job for the rest of the week without a single tool change.
Here is the measured comparison:
| Parameter | Feed 0.02 mm/rev | Feed 0.03 mm/rev | Feed 0.06 mm/rev |
|---|---|---|---|
| Chip form | Almost no chips | Fine dust | Short segments |
| Tool life (meters drilled) | 1.5 | 2.0 | 8.5 |
| Surface finish Ra (microns) | 1.8 | 1.4 | 0.6 |
| Spindle load (%) | 25 | 30 | 55 |
| Coolant pressure (bar) | 70 | 70 | 70 |
| Result | Poor | Marginal | Good |
Understanding the Cutting Physics
After that experience, I went back to the textbook to understand why my gut instinct was wrong. The concept that clarified everything for me is the minimum chip thickness theory. Every cutting tool has a minimum chip thickness below which the tool cannot form a proper shear zone. If the feed per revolution drops below the minimum chip thickness, the tool stops cutting and starts rubbing. Rubbing generates heat, work-hardens the material, and accelerates tool wear.
For a carbide tool cutting stainless steel, the minimum chip thickness is approximately 10% to 15% of the cutting edge radius. A fresh carbide gun drill has an edge radius of about 0.01mm. That gives a minimum chip thickness of about 0.001 to 0.0015 mm. But my feed of 0.03 mm/rev was well above that. So why was I rubbing?
The answer is that the effective feed per edge in a gun drill is not the same as the programmed feed per revolution. A gun drill has a single cutting edge, so the programmed feed per revolution is the same as the feed per edge. But the chip thickness is also affected by the drill geometry. The inner and outer cutting edges have different effective rake angles. At 0.03 mm/rev, the outer edge was cutting but the inner edge near the center was forming a chip below its minimum chip thickness. The inner edge was rubbing, generating heat, and causing the edge to wear prematurely. At 0.06 mm/rev, both edges were cutting above the minimum chip thickness, so the load was distributed evenly.
I learned that a feed rate that is too low is just as bad as one that is too high. The tool needs to cut, not rub. This is especially important in deep hole drilling because the cutting conditions at the inner edge are always worse than at the outer edge. You have to set the feed high enough to keep the whole cutting edge in the shear regime.
How I Set Feed Rates Now
I no longer guess feed rates based on chip appearance. I use a structured approach:
First, I calculate the minimum feed per revolution based on the drill diameter and material. For stainless steel, I use a starting point of 0.005 mm/rev per millimeter of drill diameter. For a 12mm drill, that gives 0.06 mm/rev. For titanium, I use 0.003 mm/rev per millimeter of diameter.
Second, I verify the feed by checking the spindle load. The load should be between 50% and 70% of the machine’s rated capacity. If the load is below 40%, the feed is likely too low and the tool is rubbing. If the load is above 80%, the feed is too high and the tool is at risk of breakage.
Third, I check the chip form. The ideal chip for a gun drill in stainless steel is a short, curled segment about 3mm to 5mm long. Fine dust means the feed is too low. Long, stringy chips mean the feed is too high or the chip breaker geometry is wrong.
Fourth, I measure the surface finish on the first production hole. If Ra is above 1.0 micron for a finish pass, I adjust the feed up or down based on the chip form. I record every parameter change in a logbook so I have data to reference for the next job.
The Cost of Wrong Feed Rates
After I learned this lesson, I calculated what the wrong feed rate had actually cost me over the two weeks I fought the job. The numbers were worse than I expected:
| Cost Item | Value |
|---|---|
| Broken carbide drills (6 tools) | $720 |
| Scrapped test parts (3 blocks) | $450 |
| Lost production time (14 days at partial output) | $4,200 |
| Replacement edge regrinds (4 regrinds) | $320 |
| Total | $5,690 |
All of that cost came from a single mistake: running the feed rate too low. I had been trying to be gentle with the tool. I thought lower feed meant less stress. In reality, the low feed created more heat, more stress, and more wear. The tool was failing because I was not letting it cut properly.
I now track feed rate versus tool life for every material I drill. The data has changed my approach completely. For 304 stainless with a 12mm carbide gun drill, my records show that tool life at 0.03 mm/rev averaged 2.1 meters. At 0.06 mm/rev, it averaged 8.7 meters. At 0.08 mm/rev, it dropped back to 5.2 meters because the chip load became too high for the edge to handle. There is a sweet spot, and it is always higher than my gut tells me.
How I Convince Other Operators
The hardest part of this lesson was not learning it myself. It was convincing other operators that their instincts about feed rate were also wrong. I have had the same conversation with at least six operators who were running feed rates too low. Every one of them argued with me the same way I argued with Dave.
I now take a different approach. Instead of telling them to increase the feed, I show them the data. I pull up the tool life spreadsheet on the shop computer. I point to the row for their material and drill diameter. I show them the tool life at different feed rates. Then I ask them to run one test at the higher feed rate and compare the results themselves. The data wins the argument every time because the numbers are not debatable.
I also show them the spindle load meter. I explain that a load reading below 40% means the tool is not cutting. It is rubbing. Rubbing generates heat. Heat softens the cutting edge. A soft edge wears fast. The logic chain is easy to follow. Once they see the load meter respond to a feed change, the concept clicks.
Key Takeaways
- A feed rate of 0.03 mm/rev in 304 stainless steel produced fine dust chips that I mistook for good cutting. The tool was rubbing, not cutting
- Increasing the feed to 0.06 mm/rev tripled tool life from 2.0 meters to 8.5 meters and improved surface finish from Ra 1.4 microns to Ra 0.6 microns
- The inner cutting edge of a gun drill needs a high enough feed to exceed the minimum chip thickness. Below that threshold, the edge rubs and generates excessive heat
- Low feed is often more destructive than high feed because rubbing work-hardens the material and accelerates tool wear
- I use three verification signals now: spindle load between 50% and 70%, short segmented chips, and surface finish below Ra 1.0 micron
- My gut feeling about chip form was wrong. Fine dust is not a sign of a good cut. It is a sign of rubbing
- I document feed rate and tool life data for every job now. The data removes the guesswork from parameter selection
- The sweet spot for feed rate in 304 stainless with a 12mm carbide drill is around 0.06 mm/rev. Below that, tool life drops. Above that, edge loading becomes the limiting factor