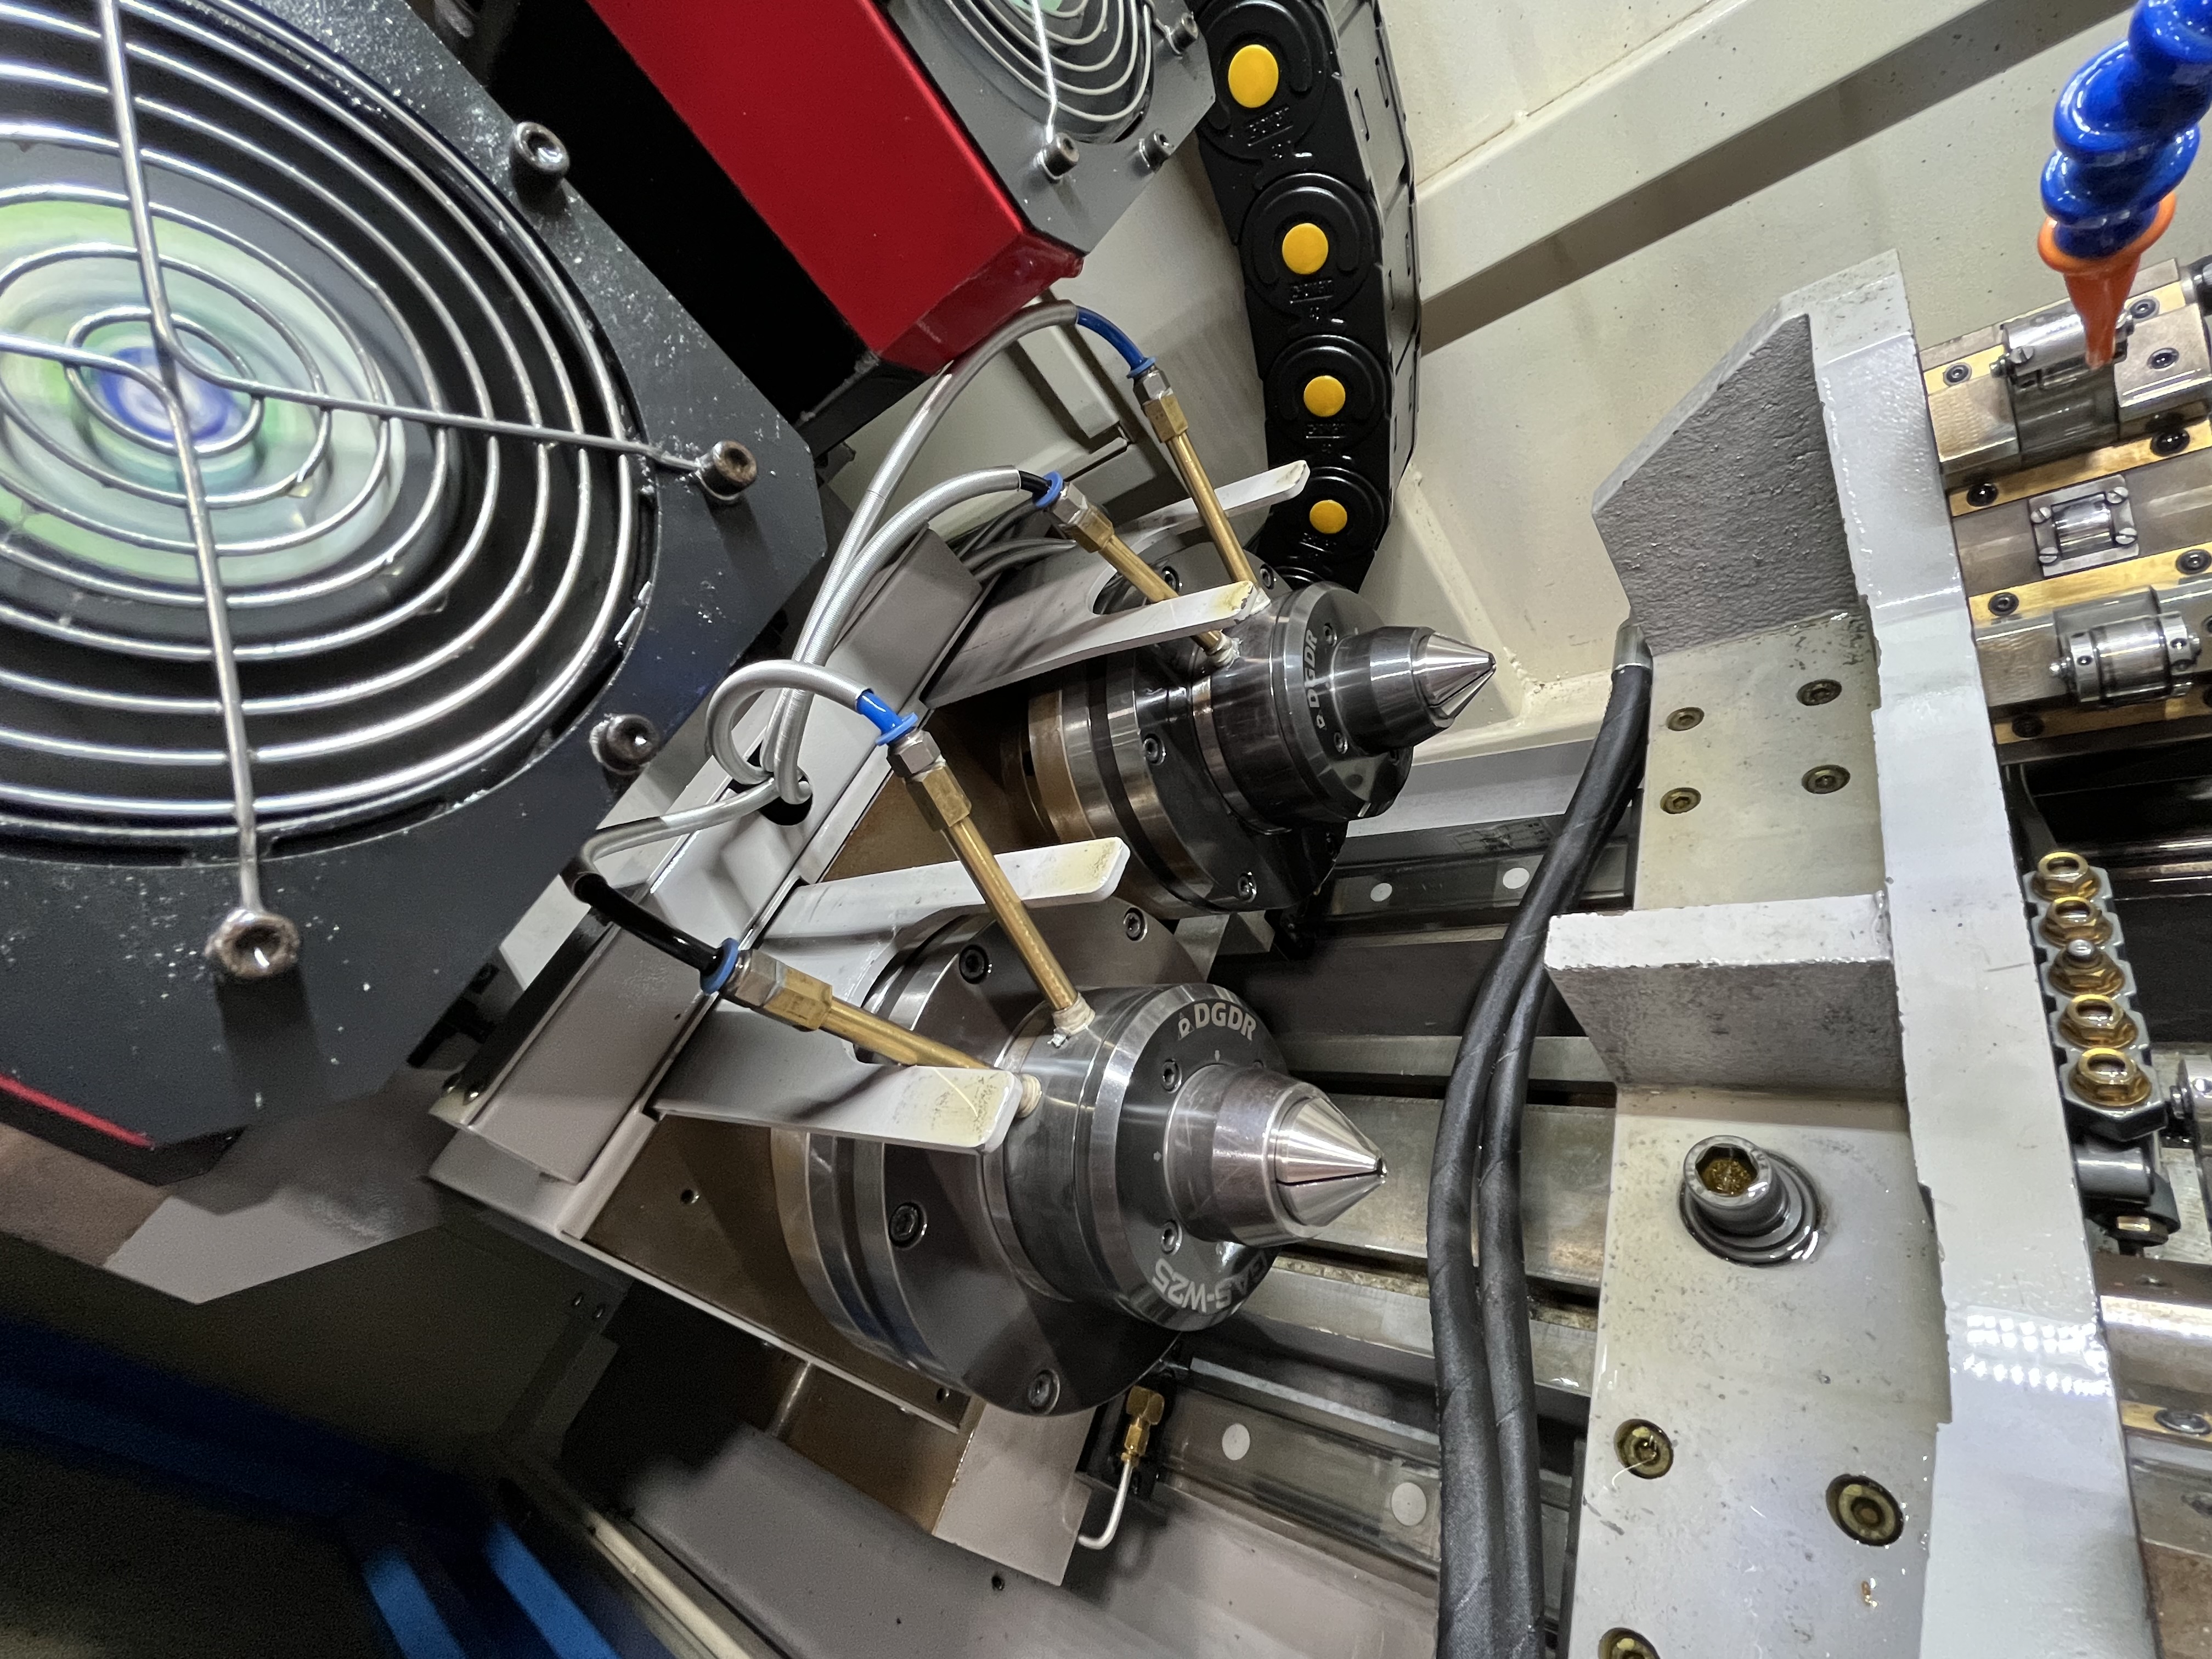
Problem Description
A coolant leak at 80 bar doesn’t stay small for long. I’ve seen a pinhole leak in a high-pressure hose grow to a 5 mm tear within 30 minutes of operation. The leak drops system pressure by 20-30 bar, chip evacuation stops, and the drill starts rubbing. In deep hole drilling, coolant pressure is everything — a leak that drops pressure by even 10 bar can turn a good bore into a scrap part.
Leaks also create safety hazards. A high-pressure coolant stream can inject fluid through skin — a serious injury called hydraulic injection. I treat any leak above 20 bar as an urgent safety issue, not just a maintenance nuisance. I require all operators to wear face shields when the coolant system is pressurized above 20 bar, not just safety glasses.
Leak Source Diagnosis Table
Here is the diagnosis table I use to quickly identify the most likely leak source based on symptoms.
| Symptom | Most Likely Source | Secondary Possibility | Confirmation Method |
|---|---|---|---|
| Drips at spindle housing | Rotary union seal | Machine spindle seal | Run spindle, observe drip location |
| Spray at workpiece entry | Pressure head seal | Worn guide bushing | Inspect seal contact face |
| Puddle under machine table | Hose connection fitting | Coolant line rupture | Check all fittings with tissue paper |
| Pressure drop, no visible leak | Internal coolant line rub | Rotary union internal leak | Pressure test with system off |
| Coolant in machine way oil | Internal coolant line | Pressure head leak past wiper | Check oil sample for milky appearance |
| Mist or fog around cutting zone | Coolant nozzle misalignment | Pressure head spray | Observe nozzle stream pattern |
| Pressure drop when spindle rotates | Rotary union seal | Spindle drawbar seal | Compare static vs rotating pressure |
| Gradual pressure loss over days | Multiple small fitting leaks | Filter bypass valve stuck | System pressure test at shutdown |
I use this table every time a coolant leak is reported. It narrows the search quickly and saves the time spent inspecting every possible source.
Leak Location 1: Rotary Union
The rotary union is the most common leak point on gun drilling machines. It transfers coolant from the stationary supply line to the rotating spindle. The seal faces wear over time, especially when coolant filtration is poor. I take rotary union leaks seriously because they only get worse with time.
I check the rotary union by running the spindle at operating speed with the coolant on and watching for drips at the union housing. A few drops per minute is the early warning sign. If I see a steady stream, the seal is already damaged.
| Sign | Seal Condition | Action | Recommended Follow-up |
|---|---|---|---|
| No visible leak | Good | Continue monitoring | Check weekly |
| 1-5 drops/min | Worn, not yet failed | Plan replacement within 200 hours | Order seal kit, schedule downtime |
| Steady drip | Bad | Replace immediately | Inspect seal face for grooving |
| Stream or spray | Failed | Stop machine, replace now | Check coolant filtration quality |
Rotary union seal life depends on coolant cleanliness. With 20-micron filtration, I get about 2,000 hours between seal replacements. With 10-micron filtration, that extends to 3,000+ hours. I’ve tracked this data across four machines and the correlation is consistent. Modern rotary unions with leakage monitoring — like the OTT-JAKOB 1K-GD-CM with integrated flow sensors — can detect seal wear early and send a signal to the machine control before catastrophic failure.
Leak Location 2: Hose Connections
Hoses flex as the machine axes move. The constant flexing works fittings loose over time. I check every high-pressure hose fitting at the start of each shift by running my hand around the connection — if I feel moisture, I tighten it.
I torque fittings to the manufacturer specification. A 1/4-inch BSP fitting on my machines gets torqued to 35 Nm. Under-torquing leaves a gap. Over-torquing distorts the sealing face and causes leaks. I use a torque wrench on fittings, never just tight by feel.
Hose condition matters too. A hose with abrasion on the outer cover is at risk of bursting. I inspect all high-pressure hoses monthly and replace any with visible wire braid showing or bulging sections. High-pressure hose bursts are dangerous — the whipping hose end can cause injury and the sudden pressure loss can crash the drill into the workpiece.
Leak Location 3: Pressure Head Seal
The pressure head seal contacts the workpiece face to create a sealed chamber for the coolant return. If the workpiece face is rough or out of flat, the seal can’t maintain contact. Coolant sprays out around the work entry point.
I check the workpiece face before every job. If the surface finish is above 3.2 Ra or flatness is worse than 0.1 mm, I face it off before starting the drill. A good seal seat extends pressure head seal life from 500 hours to 2,000 hours. That four-to-one difference makes the facing operation well worth the extra setup time.
Leak Location 4: Coolant Lines Inside the Machine
Internal coolant lines that rub against machine frames develop wear spots. I found one line that had worn through two layers of braided stainless steel against a cable track over six months. The leak was internal and hard to spot until I noticed pressure drop with no external drips.
I inspect all internal coolant lines during scheduled maintenance every 500 hours. I wrap any line that shows rub wear with spiral wrap or split loom tubing. Re-routing lines away from moving components prevents the wear in the first place.
Repair Methods Comparison
| Repair Method | Time Required | Skill Level | Cost | Permanence | Best For |
|---|---|---|---|---|---|
| Replace rotary union seal kit | 2-4 hours | Intermediate | $120-250 | Permanent | Worn or failed seals |
| Tighten loose fitting | 5 minutes | Basic | $0 | Temporary if over-torqued | Loose connections |
| Replace high-pressure hose | 30-60 minutes | Basic | $50-100 | Permanent | Abraded or burst hoses |
| Replace pressure head seal | 1 hour | Basic | $35-65 | Permanent | Worn or damaged seals |
| Weld repair on fitting | 2-3 hours | Advanced (welder) | $80-150 | Permanent | Cracked fittings |
| Replace O-ring on connection | 15 minutes | Basic | $1-5 | Permanent | Leaking O-rings |
| Line rerouting (preventive) | 2-4 hours | Intermediate | $0 (labor only) | Permanent | Lines near moving parts |
Pressure Test Procedure
When I cannot find the leak by visual inspection, I do a system pressure test. Here is the procedure I use:
- Isolate the coolant system from the machine by closing the main supply valve.
- Connect a pressure test pump to the system at a test port — I use a hand pump that can generate 100 bar.
- Pressurize the system to the normal operating pressure — typically 80 bar for my deep hole drilling machines.
- Close the test pump valve and monitor the pressure gauge. A drop of more than 10 bar in 15 minutes indicates a leak.
- Walk the system with a stethoscope probe — the leak makes a hissing sound that is audible through the probe.
- For hard-to-find leaks, I add UV dye to the coolant and inspect with a UV light.
I do this pressure test every 1000 operating hours as a preventive measure, even if no leak is reported. The test has caught developing leaks before they caused production problems.
Preventive Inspection Schedule
| Inspection Item | Frequency | Method | Acceptable | Action if Failed |
|---|---|---|---|---|
| Rotary union drip check | Daily | Visual during spindle rotation | 0 drops/min | Schedule seal replacement |
| High-pressure hose condition | Weekly | Visual for abrasion, bulging, kinks | No wire braid visible | Replace hose |
| Fitting torque check | Monthly | Torque wrench on critical fittings | Within spec | Re-torque to spec |
| Pressure head seal condition | Every job change | Visual for tears, cuts, deformation | Smooth contact face | Replace seal |
| Internal coolant line inspection | Every 500 hours | Visual along full hose length | No rub-through or chafing | Wrap or reroute |
| Full system pressure test | Every 1000 hours | Isolate and pressurize to operating spec | < 10 bar drop in 15 min | Find and fix leak |
| Coolant filtration check | Weekly | Check filter pressure drop | < 10 psi over clean | Replace filter element |
I post this inspection schedule on each machine and the operators initial each item after completion. The coolant system on a deep hole drilling machine sees higher pressure than any other machine in the shop, so the inspection frequency is higher than what I would use on standard CNC machines.
Repair Approach and Spare Parts
I stock a seal kit for each machine’s rotary union, two spare pressure head seals, and 10 meters of replacement high-pressure hose with spare fittings. This inventory covers about 90% of the leaks I encounter. The remaining 10% usually require specialized parts that I order and install during scheduled maintenance.
For seal replacements, I document the seal face condition when I open the union. Grooves or pitting on the seal face tell me the coolant has fines that are acting as lapping compound. If I see seal face wear, I check the filtration system.
For more on coolant system maintenance, see the coolant foaming causes and solutions guide and the ejector drilling troubleshooting guide.
Key Takeaways
- Rotary union seals are the most common leak point — check them daily for drips during spindle rotation.
- The leak source diagnosis table covers 8 symptom patterns and their likely sources to speed up troubleshooting.
- Hose connections loosen from machine movement — check and torque fittings monthly with a torque wrench.
- Rough workpiece faces destroy pressure head seals — face off if surface finish is above 3.2 Ra or flatness exceeds 0.1 mm.
- Inspect internal coolant lines for rub wear every 500 hours — internal leaks are the hardest to detect.
- Stock rotary union seals, pressure head seals, and hose repair parts — this covers 90% of leak repairs.
- The repair methods comparison shows seal replacement costs $120-250 for rotary union seals and $35-65 for pressure head seals.
- Perform a full system pressure test every 1000 hours — a drop of more than 10 bar in 15 minutes indicates a leak.
- Use the preventive inspection schedule covering daily, weekly, monthly, and per-job checks to catch leaks before they cause downtime.