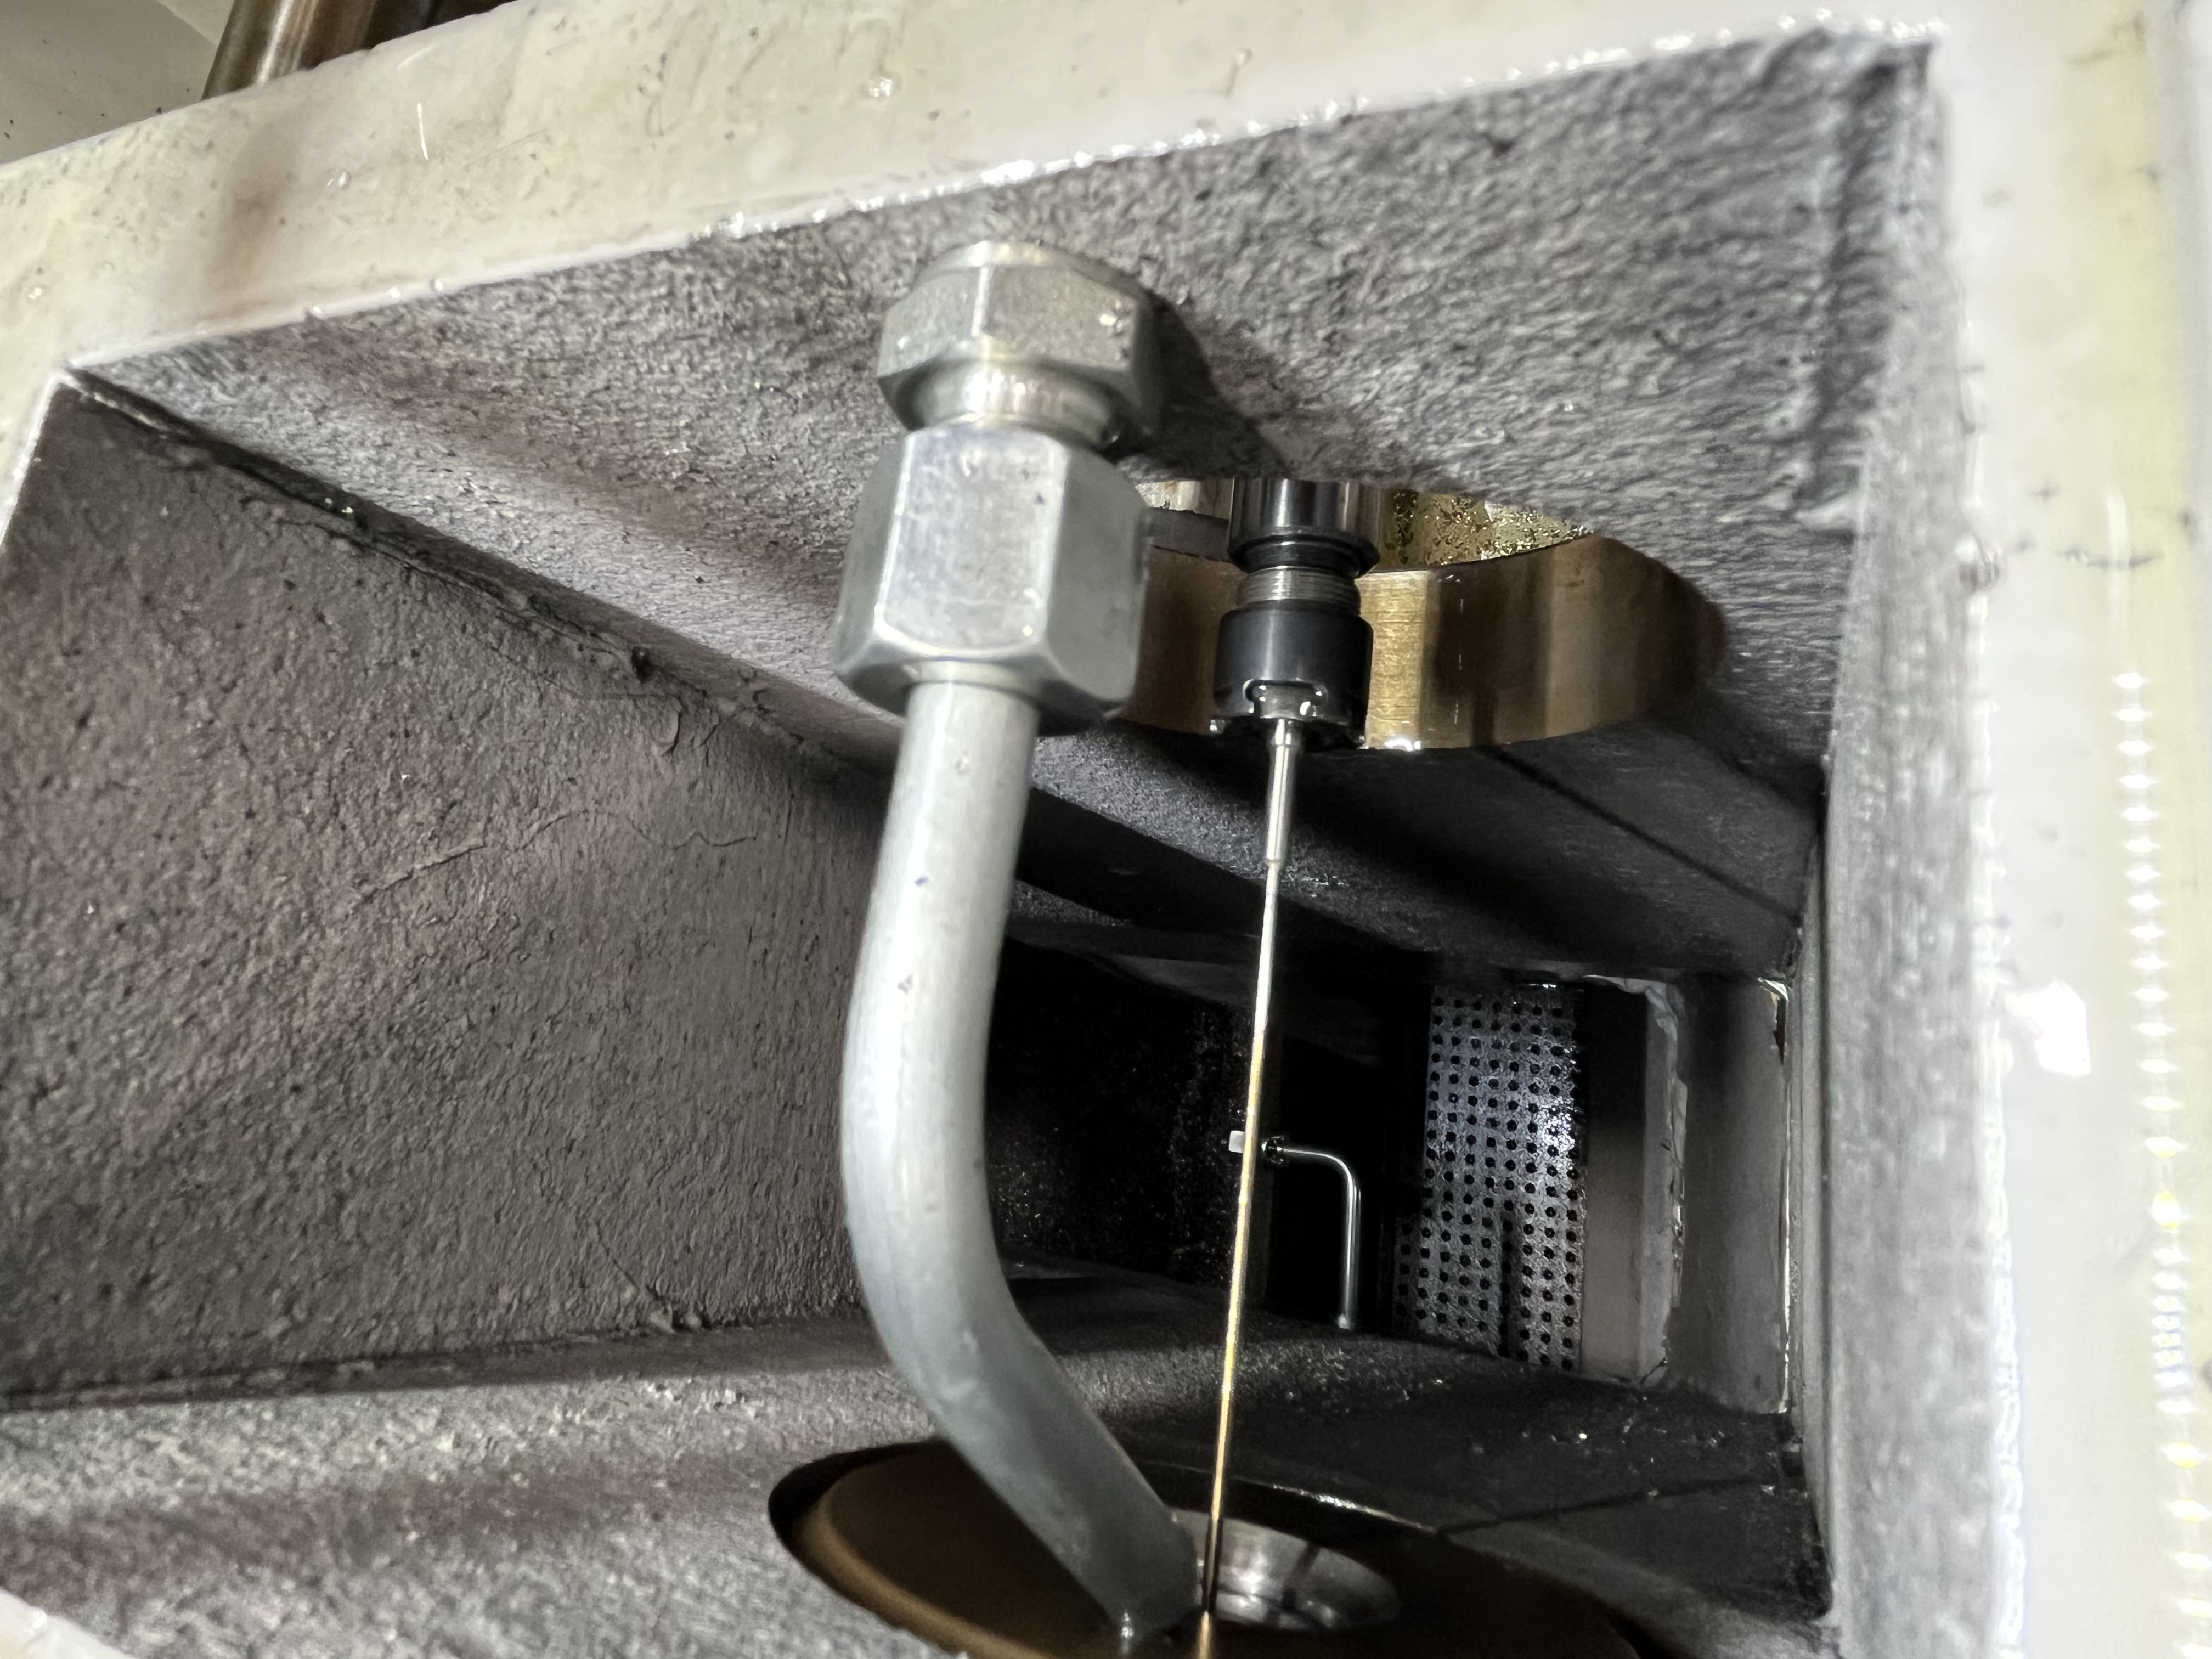
Problem Description
A coolant pump that can’t maintain pressure makes deep hole drilling impossible. I’ve had jobs where the pump dropped from 80 bar to 40 bar mid-cycle and the chips stopped flowing. The drill packed up and snapped within 10 seconds of the pressure drop.
Pump problems show up in three ways: low pressure at the outlet, fluctuating pressure during operation, or no pressure at all. Each pattern points to a different root cause. I follow a systematic approach rather than guessing.
Pump Types Used in Deep Hole Drilling
Before I get into troubleshooting, it helps to understand the pump types you will encounter on deep hole drilling machines. The diagnosis changes depending on the pump design.
| Pump Type | Pressure Range | Best For | Common Failure Modes |
|---|---|---|---|
| Centrifugal multistage | 40-150 bar | High-pressure coolant systems | Worn impellers, seal failure, cavitation |
| Gear pump | 10-70 bar | Low to medium pressure systems | Gear wear, bypass valve sticking, shaft seal leak |
| Piston pump | 100-300 bar | Ultra-high pressure applications | Piston seal wear, valve plate scoring, swashplate bearing failure |
| Screw pump | 10-40 bar | High-flow, low-pressure systems | Screw wear, timing gear failure, bearing wear |
Most deep hole drilling machines use centrifugal multistage pumps for the 40-100 bar range. I see gear pumps on older machines and piston pumps on specialized high-pressure installations above 200 bar.
Step 1: Check the Inlet Strainer
The inlet strainer is the most common failure point. It catches large debris before it reaches the pump. Over time, the strainer clogs and restricts flow. The pump starves and cavitates.
I remove the strainer and inspect it visually. A partially clogged strainer looks dirty but still passes some flow. A fully clogged strainer is packed solid. On one machine, I found the strainer choked with aluminum chips after a filter bag burst.
| Strainer Condition | Pump Behavior | Action |
|---|---|---|
| Clean | Normal operation | Reinstall |
| Partially clogged | Pressure 20-30% low, some fluctuation | Clean or replace |
| Fully clogged | Very low pressure, cavitation noise | Replace immediately |
| Damaged or missing | Debris may have entered pump | Inspect pump internals |
I clean reusable strainers with compressed air or replace disposable ones. I check the strainer condition weekly and replace it at the first sign of clogging. A clean strainer costs pennies compared to a pump rebuild.
Step 2: Measure Discharge Pressure
With the strainer clean, I measure the pump discharge pressure at the pump outlet port. If pressure is low here, the problem is the pump itself — not a downstream restriction.
I compare the measured pressure to the pump curve from the manufacturer. If the pump should deliver 80 bar at the current flow rate but measures 60 bar, the pump is worn. I also check the motor current. A worn pump draws less current because it’s not doing as much work. On a 15 kW motor, a healthy pump draws about 22 amps. If I see 15 amps with low pressure, the impeller is worn or damaged.
| Reading | What It Means |
|---|---|
| Low pressure, low current | Worn impeller or damaged pump internals |
| Low pressure, high current | Blockage downstream — pump is working against restriction |
| Normal pressure, normal current | Problem is downstream of the pump |
| No pressure, no current | Motor not running or coupling broken |
A broken impeller produces low pressure with normal motor rotation. I’ve pulled apart pumps where the impeller had eroded to half its original diameter from years of abrasive fines in the coolant.
Step 3: Diagnose Fluctuating Pressure
Fluctuating pressure means the pump is getting inconsistent flow at the inlet. The most common cause is cavitation — the pump draws air at the inlet because the coolant level is low or the inlet line is restricted.
I check the tank level first. If the coolant surface is below the pump inlet, air gets pulled in. I top up to cover the inlet by at least 100 mm. I also check for vortex formation. If I see a whirlpool at the inlet, I install a baffle plate.
Inlet line restrictions also cause fluctuations. I check for kinked hoses, closed valves, or debris in the inlet line between the tank and the pump.
Surging that occurs specifically when drilling with small-diameter tools has a different cause. When the coolant orifices in a small drill restrict the flow, the pump tries to run at a low-flow condition that it is not designed for. This is common with drills under 6 mm that have coolant holes of 0.02-0.03 inch diameter. The fix is to install a dump valve — a T-line with a needle valve that bypasses some coolant back to the tank. The bypass maintains sufficient flow through the pump to prevent cavitation while keeping the pressure at the tool tip at the required level.
Step 4: Diagnose Zero Pressure
No pressure at the pump outlet usually means the motor isn’t turning the pump. I check the motor starter and verify the motor is receiving power. If the motor runs but the pump doesn’t produce pressure, the drive coupling between the motor shaft and the pump shaft is broken.
I’ve also seen pumps where the impeller shaft sheared at the keyway. The motor spins freely but the impeller doesn’t turn. This requires pulling the pump and inspecting the shaft.
If the breaker has tripped, I check for a motor short to ground by measuring resistance between the motor terminals and ground. A reading below 1 megohm indicates the motor windings are compromised. This can happen when coolant leaks into the motor junction box.
Pressure Test Procedure
I run a formal pressure test every six months to establish the pump baseline condition. The test isolates the pump from the machine and measures its performance against the factory curve.
Procedure:
- Close the isolation valve at the pump outlet and connect a calibrated pressure gauge at the pump discharge port.
- Open the valve slightly and start the pump. Record the pressure at no-flow (deadhead) condition.
- Open the valve incrementally and record pressure readings at each flow point. Use a flow meter or a calibrated container and stopwatch.
- Plot the readings against the manufacturer pump curve.
- If the measured pressure is more than 15 percent below the curve at any flow rate, schedule a pump overhaul.
I keep a binder with pump curves for every machine in the shop. Having the baseline data lets me make rebuild decisions based on numbers rather than feelings.
Maintenance Schedule
| Component | Frequency | Action |
|---|---|---|
| Inlet strainer | Weekly | Inspect and clean |
| Pump discharge pressure | Monthly | Record in log book |
| Coupling alignment | Quarterly | Check with straightedge |
| Mechanical seal | Every 6 months | Inspect for leaks |
| Pressure test | Every 6 months | Full curve verification |
| Bearing replacement | Annually or 5,000 hours | Replace per OEM spec |
| Impeller inspection | Annually | Check for erosion and balance |
| Complete overhaul | Every 2-3 years | Rebuild or replace |
Replacement Criteria
I replace rather than rebuild when the repair cost exceeds 60 percent of a new pump, or when the pump has been rebuilt twice already. A third rebuild rarely gives the same service life as a new unit.
Specific replacement triggers:
- Impeller diameter reduced by more than 20 percent from erosion
- Pump body corroded or pitted beyond the manufacturer repair limit
- Shaft runout exceeds 0.05 mm at the coupling
- Mechanical seal has failed twice in 12 months
Tracking Trends
I keep a log of pump discharge pressure taken on the first of every month. A gradual decline over months tells me the pump is wearing. If the pressure drops from 80 bar to 75 bar in one month, that’s normal. If it drops to 65 bar in the same period, the pump needs attention.
I schedule pump rebuilds based on this trend data. The rebuild cost of $500-$1,000 is much less than a sudden failure that stops production for a full shift.
For more on keeping your coolant system healthy, see my guides on coolant filtration system design and coolant biocide types and application schedule.
Key Takeaways
- Check the inlet strainer first — it causes 80% of pump problems.
- Install a dump valve with a needle valve bypass to prevent surging when drilling with small-diameter tools under 6 mm.
- Low pressure with low motor current means pump wear or impeller damage.
- Low pressure with high motor current means a downstream blockage.
- Fluctuating pressure means cavitation — check tank level and inlet line.
- Zero pressure with motor running means a broken coupling or shaft; tripped breaker may indicate motor short to ground.
- Run a full pressure test every six months to compare against the factory pump curve.
- Replace the pump when repair cost exceeds 60% of new, or if the impeller has eroded beyond 20% of original diameter.
- Track pressure monthly to catch wear before failure.
- For more information, see coolant filtration system design and coolant biocide types.