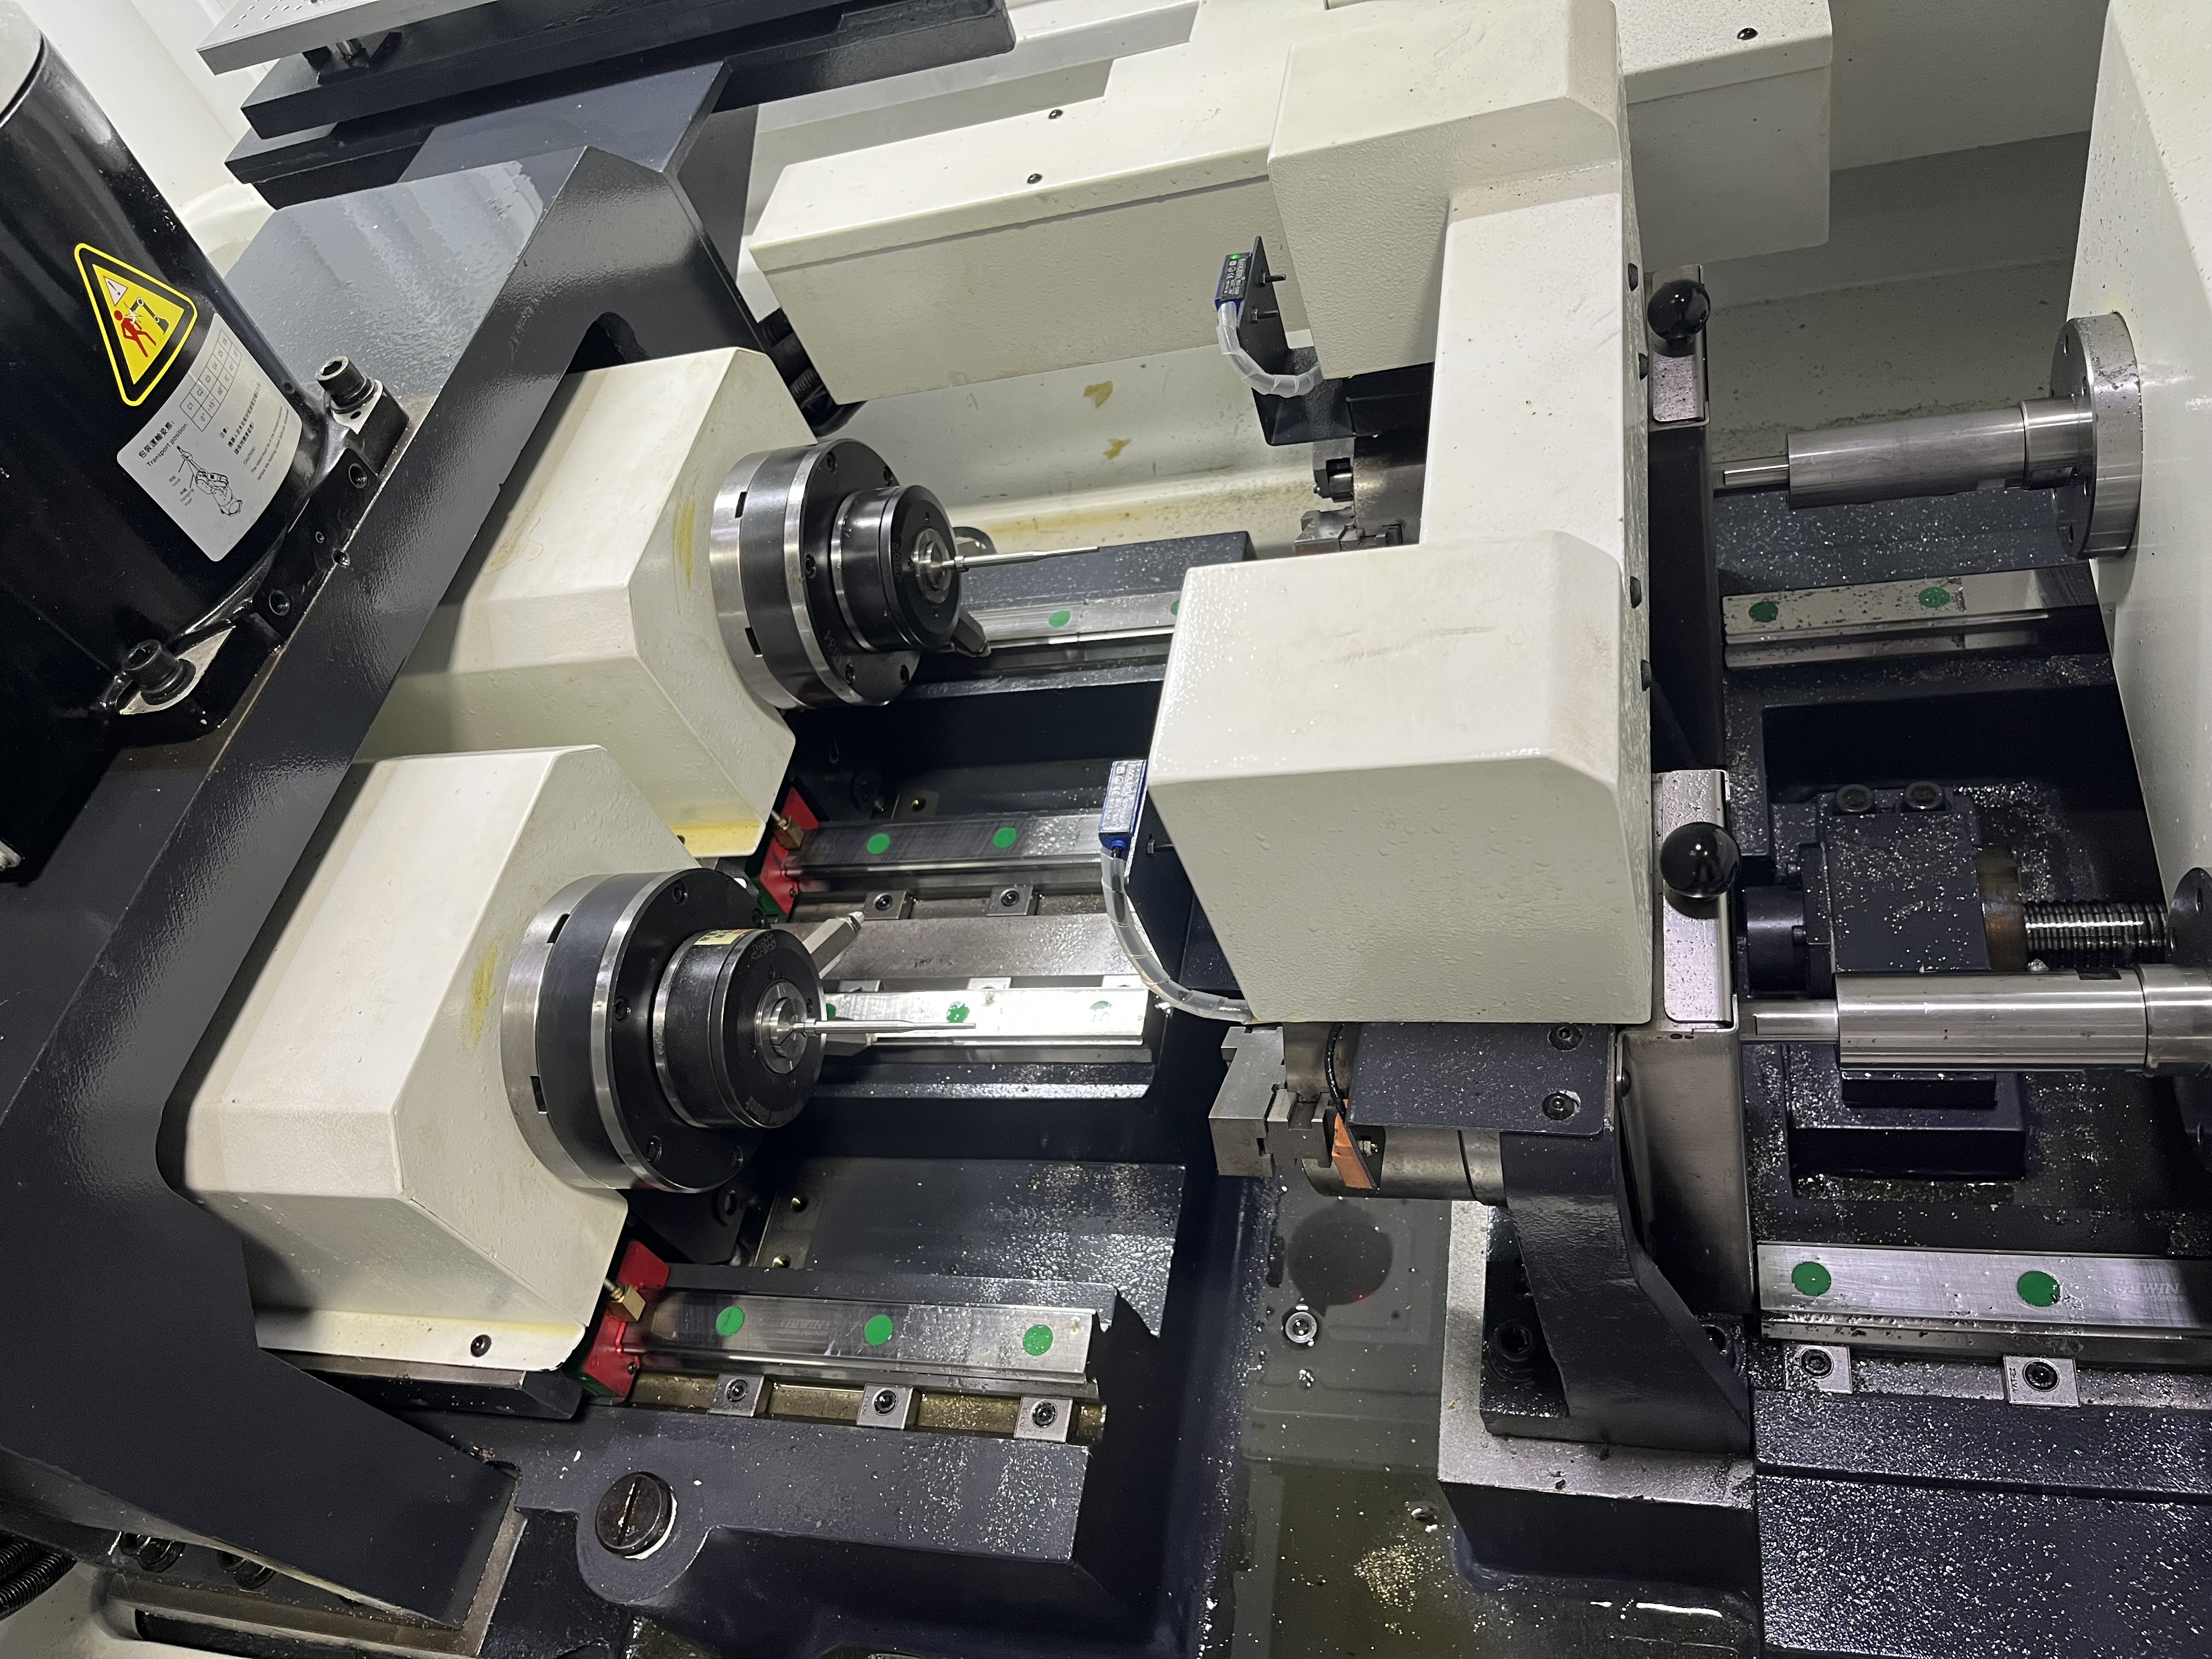
I have lost count of how many times I have seen a shop chase tool breakage or surface finish problems for weeks, only to discover the real culprit was a coolant pressure issue. The machine gauge reads fine, but the pressure at the tool tells a completely different story.
Coolant pressure problems are the most common root cause of deep hole drilling issues I encounter. Here is my systematic approach to diagnosing them.
Symptoms Indicating Coolant Pressure Problems
Before you start measuring anything, these symptoms tell you the coolant system needs attention:
- Chips not clearing from the hole — they come out as dust or pack in the flute
- Tool breakage at depth, especially after the drill passes 10x diameter
- Poor surface finish with tear marks or built-up edge
- Increased cycle time because the peck cycle needs more retracts
- Oversized or undersized holes due to inconsistent cutting forces
- High-pitched squealing from the drill at depth
If you see two or more of these at the same time, the coolant system is the first place I look.
Coolant Pressure Diagnosis Table — 10 Scenarios
I built this table from actual cases I have worked through on the shop floor. Each scenario shows what the pressure readings look like and where the problem is:
| Scenario | Pressure at Pump | Pressure at Rotary Union | Pressure at Tool | Most Likely Cause | Quick Fix |
|---|---|---|---|---|---|
| 1 | Normal (spec) | Normal | Normal | No coolant problem | Check chip shape and feed rate |
| 2 | Normal | Normal | Low | Partially blocked coolant hole in drill | Clean drill coolant hole with wire or ultrasonic |
| 3 | Normal | Low | Low | Worn or leaking rotary union seal | Replace rotary union seal kit |
| 4 | Normal | Normal (static), drops when spindle runs | Low | Rotary union bearing wear | Replace rotary union assembly |
| 5 | Normal | Drops 10-20% from pump | Low | Clogged coolant filter | Clean or replace filter element |
| 6 | Normal | Drops during cutting cycle only | Low | Chip blocking coolant return, backpressure | Increase coolant flow, check chip evacuation |
| 7 | Low (below spec) | Low | Low | Pump wear, cavitation, or incorrect pump setup | Check pump impeller, inlet strainer, and motor speed |
| 8 | Fluctuating | Fluctuating | Fluctuating | Air in coolant line or pump cavitation | Check inlet line for leaks, raise coolant level |
| 9 | Normal | Normal | Normal at start, drops at depth | Chip packing in the bore restricting flow | Improve peck cycle, increase coolant pressure setpoint |
| 10 | Normal | Normal | Normal at low RPM, drops at high RPM | Restricted supply line or undersized hose | Increase hose ID, reduce number of fittings |
The key insight here is that scenario 2 and scenario 3 both look similar on the machine gauge but have completely different fixes. You cannot tell them apart without measuring pressure at the rotary union.
Measurement Points — Where to Measure
The pressure reading on the machine control panel is almost never accurate for diagnosing tool-level problems. Here are the points where I actually measure:
| Measurement Point | What It Tells You | How to Measure |
|---|---|---|
| Pump discharge | Pump performance | Built-in gauge or test port at pump outlet |
| After filter | Filter condition | Pressure drop gauge across filter housing |
| Machine manifold | Supply line condition | Test port on machine manifold block |
| Rotary union inlet | Rotary union condition | Test port at rotary union body |
| At the tool holder | Total system loss to the tool | Specialized pressure test adapter |
| At the drill tip (estimated) | Actual cutting zone pressure | Calculated from tool holder reading minus estimated losses |
I built a simple pressure test kit with a digital gauge and quick-connect fittings that lets me check each point in about ten minutes. The kit includes adapters for the most common rotary union and tool holder interfaces I work with.
Step-by-Step Diagnostic Procedure
Here is the exact sequence I follow when a coolant pressure problem comes in:
Step 1 — Verify the machine gauge
Before you trust anything, check if the machine pressure gauge is reading correctly. I have found gauges that were 30 percent off because the sensing line was partially blocked with sludge. Compare the machine gauge reading to a calibrated handheld gauge at the same point.
Step 2 — Measure pressure at the rotary union
Install a pressure gauge at the rotary union inlet port. Run the coolant at the same RPM you use for drilling. Record the reading. If it matches the machine gauge, the supply side is fine. If it is lower, the problem is between the pump and the rotary union — most likely a filter or a restriction in the line.
Step 3 — Measure pressure at the tool holder
This requires a gauge adapter that fits between the rotary union and the tool holder. I made adapters for the three most common thread sizes I use. Run the coolant again and record the reading. The difference between the rotary union reading and the tool holder reading tells you the pressure drop across the union.
If the drop exceeds 15 percent, the rotary union needs service. I have covered rotary union maintenance in more detail in my article on coolant system preventive maintenance.
Step 4 — Measure with a dummy tool
Replace the actual drill with a solid dummy of the same shank diameter. This removes the drill coolant hole from the measurement. Run the coolant and check the pressure at the tool holder. If the pressure comes up with the dummy, the restriction is in the drill — either a blocked coolant hole or a drill that has too-small coolant passages for the required flow.
Step 5 — Measure with the actual drill
Put the actual drill back in. Run coolant and check the pressure. The final reading tells you what the drill tip sees. Compare this to the minimum pressure required for your hole geometry. For gun drills under 12.7 mm diameter, I target 35 to 70 bar (500 to 1000 PSI) at the tip. For larger diameters, 20 to 35 bar is usually enough.
Step 6 — Check during the cut
If everything looks good in static testing but the pressure drops during the actual cut, the problem is chip packing in the bore. The chips are blocking the return flow, creating backpressure that reduces the effective coolant delivery. I deal with this by adjusting the peck cycle or increasing the coolant pressure setpoint to compensate for the dynamic losses.
Tools Required for Diagnosis
To run this diagnostic procedure, you need:
- A digital pressure gauge with 0.5 percent accuracy or better — analog gauges are not precise enough for this work
- Adapter fittings for your rotary union and tool holder interfaces
- A solid dummy tool matching your drill shank diameter
- Calibrated flow meter (optional but helpful for pump performance checks)
- Thread seal tape suitable for hydraulic pressures above 100 bar
- A log sheet to record readings at each measurement point
I keep all of this in a small toolbox dedicated to coolant diagnostics. Having the kit ready means I can diagnose a problem in under 30 minutes instead of chasing symptoms for half a shift.
Why Pressure Alone Is Not Enough
I have learned the hard way that chasing pressure numbers without looking at flow rate can send you in the wrong direction. Low pressure at the tool could mean the pump is weak, or it could mean the coolant hole is too small for the required flow rate, creating a restriction that drops the pressure but keeps the flow high enough for drilling.
The HNCarbide tests on 12 mm drills in stainless steel showed that 50 bar produced optimal C-shaped chips and the best surface finish (Ra 1.6 micrometers), while 80 bar produced fragmented powder-like chips that packed between the tool flank and the bore wall and degraded the finish to Ra 3.2 micrometers. More pressure is not always better. There is a sweet spot for every diameter and material combination.
If you are chasing pressure problems and the readings all look fine, it is worth reading my article on gun drill tool breakage reasons — coolant pressure issues are the third most common cause of breakage I see, but they often get misdiagnosed as feed rate or tool geometry problems.
Key Takeaways
The most common coolant pressure problem is a partially clogged filter, but the second most common is a worn rotary union seal that the machine gauge does not show. I check the filter pressure drop daily and replace filters on a schedule. I also measure pressure at the rotary union weekly — not just the machine gauge. A systematic diagnostic sequence using measurement points at the pump, filter, rotary union, and tool holder will pinpoint the problem in under 30 minutes. Tracking both pressure and flow gives you a complete picture of coolant system health.