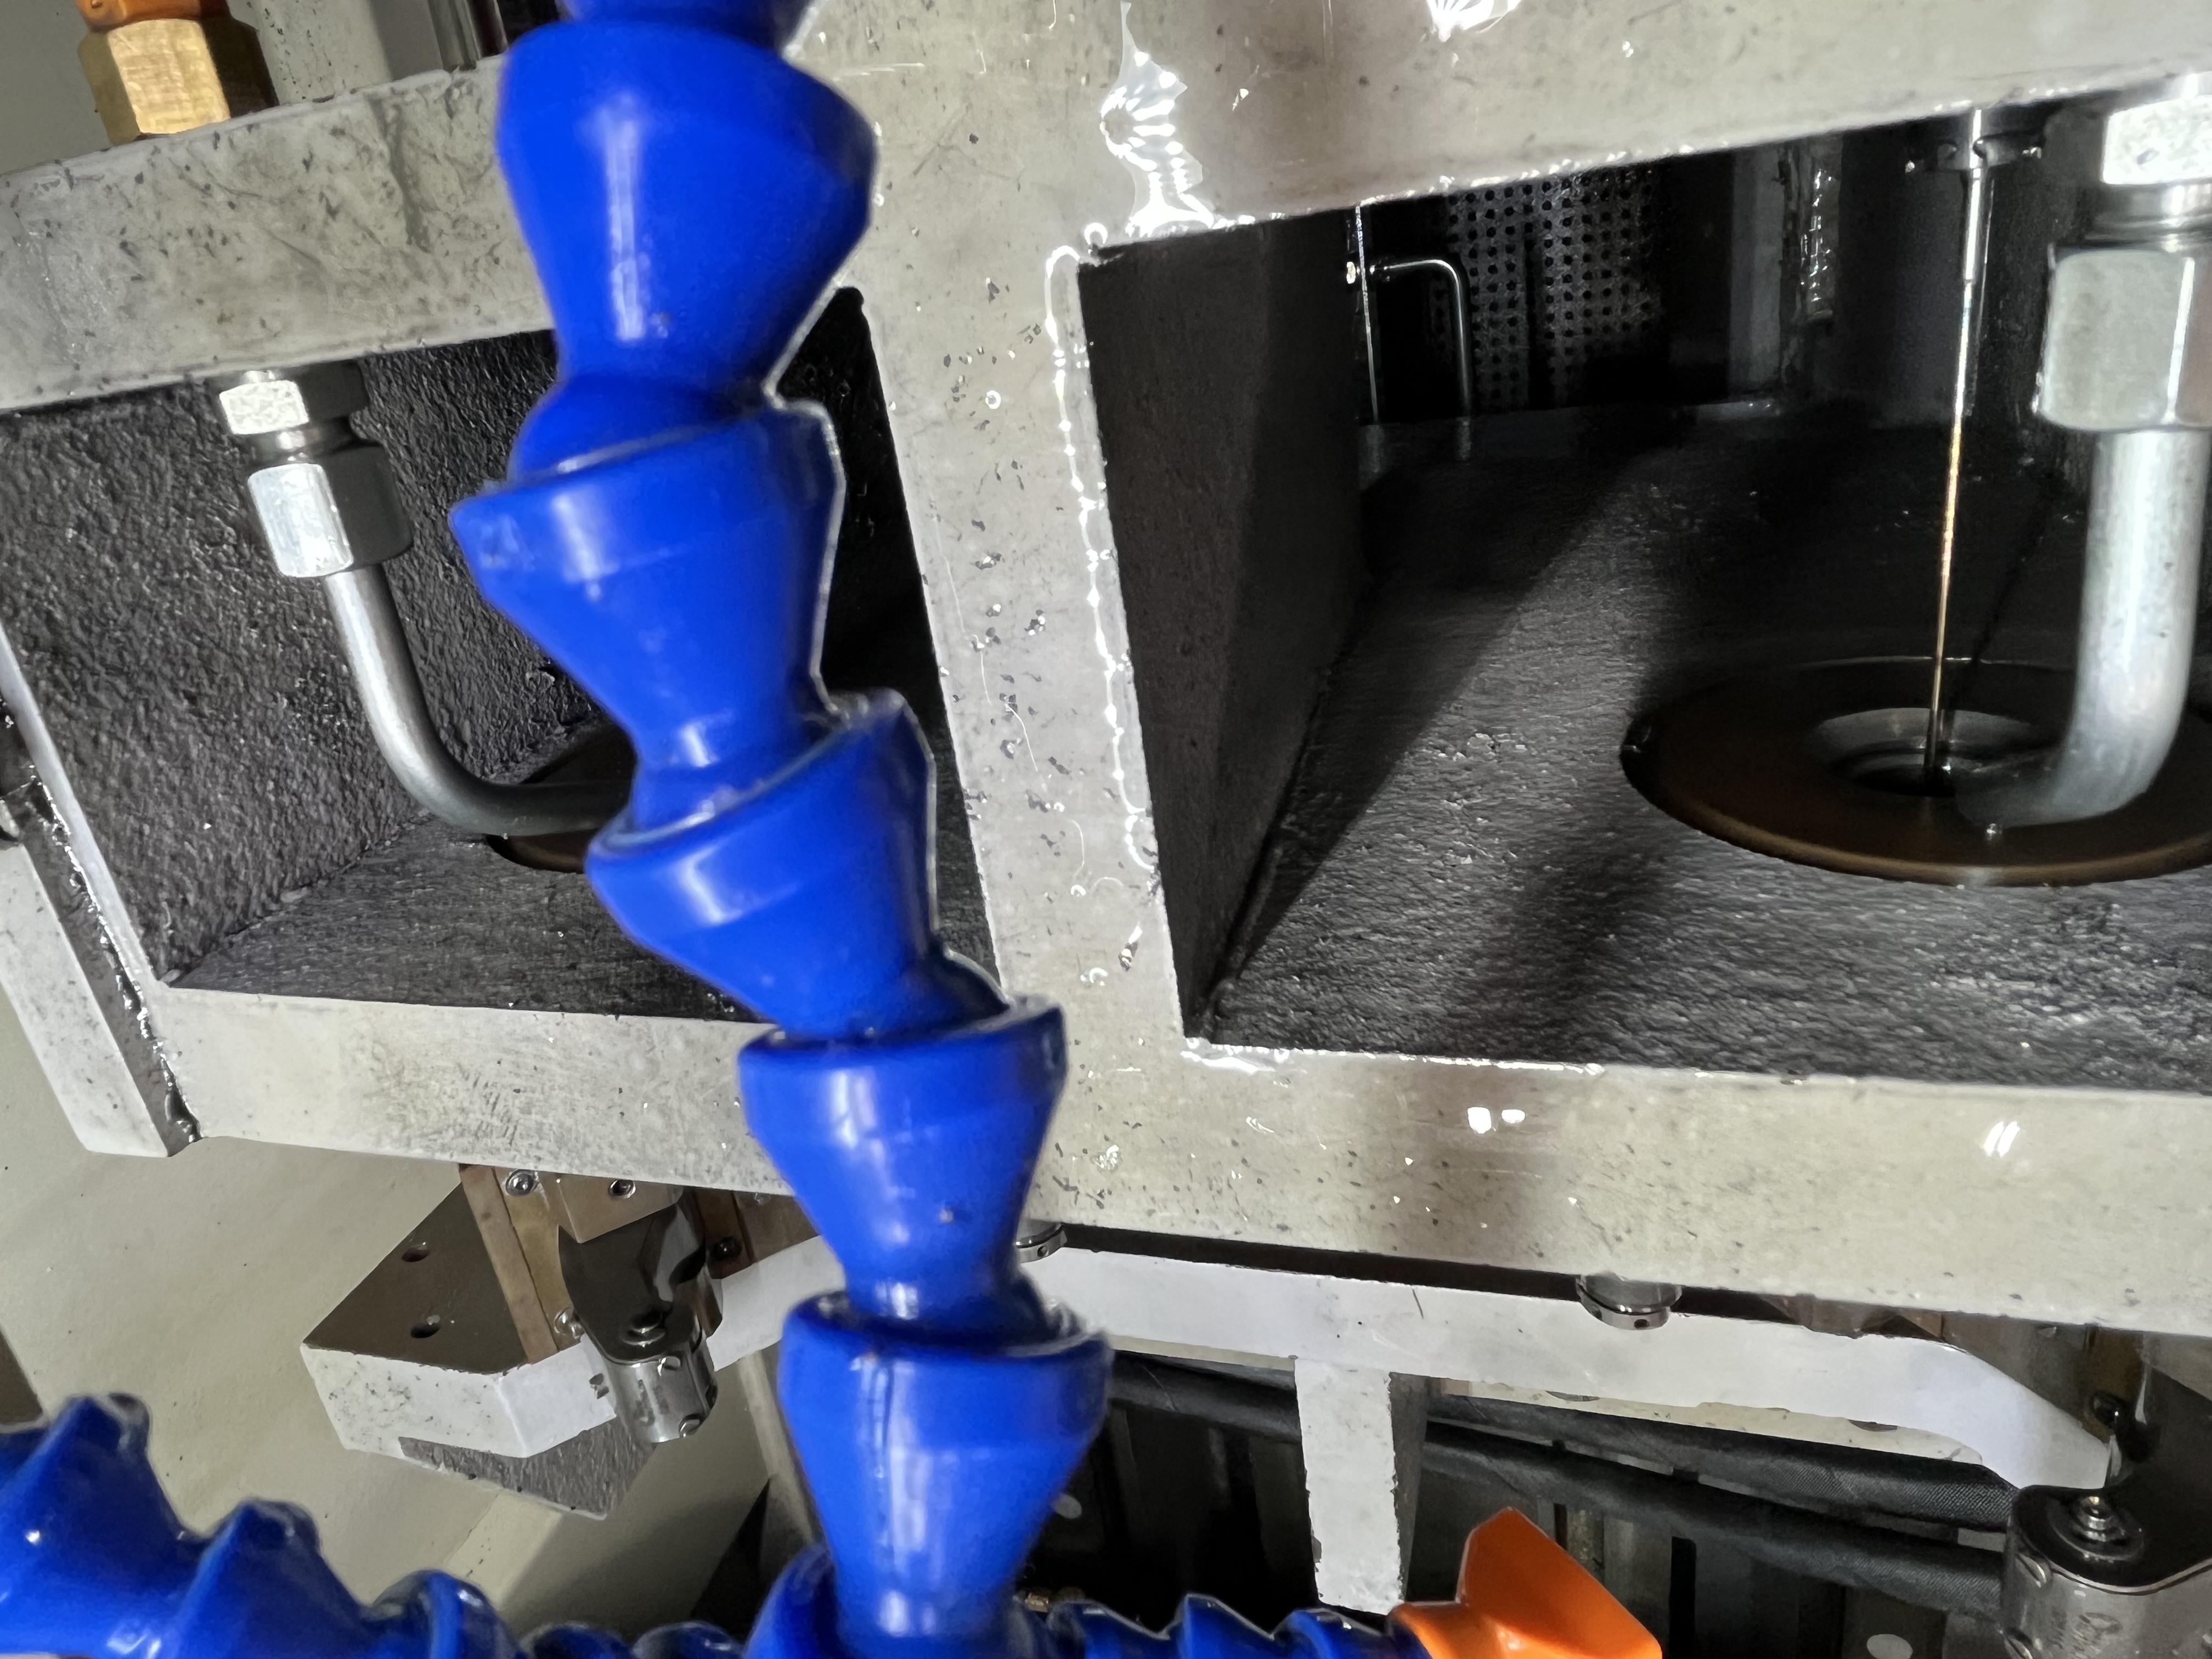
I have been diagnosing gun drill breakages for over a decade now, and I can tell you one thing for certain: a broken gun drill is almost never a single-cause failure. It is a chain of events that lines up in the wrong order. But certain root causes show up again and again.
Tool breakage is one of the most expensive problems in deep hole drilling. A single broken drill can mean a scrapped part, a stuck tool removal job, and days of downtime. Here are the ten most common causes I have seen, ranked by how often they show up in my shop.
Gun Drill Breakage Causes — Ranked by Frequency
Based on my own records from the last five years, here is how the numbers break down:
| Rank | Cause | Estimated Occurrence | Failure Mode | Primary Fix |
|---|---|---|---|---|
| 1 | Chip clogging | 30-35% | Torque spike, tip separates from shank | Increase coolant pressure, optimize peck cycle |
| 2 | Misalignment | 15-20% | Fatigue crack in shank, gradual breakage | Realign spindle to guide bushing within 2-6 microns |
| 3 | Coolant starvation | 12-15% | Overheating, edge breakdown, seizure | Measure pressure at tool, clean filters, fix leaks |
| 4 | Worn guide bushing | 8-10% | Vibration-induced fatigue, wandering hole | Replace bushing when clearance exceeds 0.005 mm |
| 5 | Incorrect feed rate | 8-10% | Rubbing (low feed) or overload (high feed) | Set feed for C-shaped chips, 0.08-0.15 mm/rev range |
| 6 | Material inconsistency | 5-8% | Shock loading from hard spots or voids | Verify material hardness, reduce feed, use tougher grade |
| 7 | Poor regrind quality | 5-7% | Premature edge failure, chipping | Inspect every regrind at 50x before use |
| 8 | Improper entry (walking) | 4-6% | Drill bends at entry, breaks at shallow depth | Use pilot hole, spot face entry surface, use cutting feed |
| 9 | Spindle runout | 3-5% | Asymmetric loading, carbide chipping | Check TIR, use hydraulic or shrinkfit holders |
| 10 | Whipping (L/D too high) | 2-4% | Torsional failure at depth beyond critical angle | Add whip guide supports, deepen pilot hole |
1. Chip Clogging
This is the one I see most often. Chips pack up in the V-flute, forming a plug that blocks evacuation. The torque spikes, and within half a second the drill tip separates from the shank. I have seen a 6 mm gun drill snap from chip clogging in less than 0.5 seconds — there is no warning, no squeal, no gradual increase in load. It just goes.
The root cause is almost always one of three things: insufficient coolant flow rate, improper chip breaker geometry, or a feed rate that produces long stringy chips instead of short broken chips. Materials like austenitic stainless steel and titanium are the worst offenders because they produce long, continuous chips that wrap around the flute.
I have written a full breakdown of this in my article on chip clogging in gun drilling, which covers the three specific chip geometries to watch for and how to adjust parameters before the drill snaps.
2. Misalignment
Misalignment between the spindle axis and the guide bushing is more common than most operators want to admit. For short gun drills with an L/D ratio under 10, the alignment tolerance is 2 microns or less. For normal length drills up to L/D 50, you need 4 to 6 microns. Most production machines I have checked are running outside these numbers.
The failure mechanism is fatigue. The misalignment puts a cyclic bending load on the shank with every rotation. After enough cycles, a fatigue crack initiates at the surface and propagates until the shank snaps. You can see the classic fatigue beach marks on the fracture face if you look under a microscope.
I check alignment with a dial indicator on the shank at the bushing face, then at the spindle nose. If the reading changes more than 0.005 mm between the two points, I shim the machine base or adjust the headstock position.
3. Coolant Starvation
Low coolant pressure at the cutting zone is one of the most under-diagnosed problems in deep hole drilling. The machine gauge might read 800 PSI, but if the rotating union is leaking or the coolant holes in the drill are partially blocked, the pressure at the tip could be half that.
When the coolant flow drops, the cutting edge overheats. The carbide breaks down at the microscopic level, the edge craters, and the drill either snaps or produces oversized holes. I have seen shops spend months optimizing speeds and feeds when the real problem was a worn rotary union seal.
If you are troubleshooting coolant issues, my guide on diagnosing coolant pressure problems covers the step-by-step procedure I use, including how to measure pressure at the tool rather than trusting the machine gauge.
4. Worn Guide Bushing
A worn guide bushing allows lateral movement of the drill at the entry point. This creates a bending moment that fatigues the shank over time. I replace bushings when the ID measures more than 0.005 mm over nominal. Some shops push them to 0.01 mm, but I have found that the breakage rate doubles once you cross 0.008 mm.
5. Incorrect Feed Rate
Feed rate is a balancing act. Too low, and you get thin stringy chips that clog the flute and cause rubbing. Too high, and the mechanical load exceeds what the drill can take. The sweet spot for most materials is 0.08 to 0.15 mm/rev, which produces the C-shaped chips that evacuate cleanly.
I adjust feed based on chip formation, not just the calculator. If the chips look like fine dust, I increase feed. If they are long spirals wrapping around the drill, I increase feed and check coolant pressure.
6. Material Inconsistency
Hard spots, porosity, and inclusions in the workpiece cause shock loading that can chip or snap a drill instantly. I once had a batch of 4140 with a hard spot at 45 HRC that broke three drills in a row before we figured it out. The material cert said 28-32 HRC. Somebody had mixed in a few bars from a different heat.
Now I check every incoming bar with a portable hardness tester. It takes two minutes and has caught half a dozen mixed-material batches since I started doing it. For more on this, see my article on material hard spots in deep hole drilling.
7. Poor Regrind Quality
A bad regrind looks fine to the naked eye but fails within twenty holes. The most common issues I see are inconsistent edge hone, missing corner radius, and burrs folded over the cutting edge. I inspect every reground drill at 50x before it goes into the machine. My guide on choosing a gun drill regrind service covers what to look for and how to set up incoming inspection.
8. Improper Entry
If the drill enters the workpiece at an angle or on an uneven surface, it walks before it starts cutting. This puts the drill in a bent position from the first revolution. Spot facing the entry surface and using a pilot hole at 3x diameter eliminates most entry-related breakages.
9. Spindle Runout
Excessive spindle runout amplifies the inertial forces on the drill, especially as the L/D ratio increases. I keep TIR under 0.002 mm for gun drilling. ER collets rarely hold that tolerance — I use hydraulic or shrinkfit holders for any gun drilling job.
10. Whipping
Beyond a certain L/D ratio, the drill starts to whip as it rotates. The whipping motion adds a torsional load that can exceed the shank strength. The fix is to use whip guide supports at regular intervals or deepen the pilot hole to provide more support at entry.
Diagnostic Sequence
When a drill breaks, here is the sequence I follow to find the root cause:
- Examine the fracture surface — Look for fatigue beach marks (misalignment), a dull gray surface with a torn edge (overload from chip clogging), or a bright crystalline surface (brittle fracture from hard spot impact).
- Check the chip condition — Were chips evacuating as short C-shapes or long strings? If strings, the problem is feed rate or coolant flow.
- Measure alignment — Check spindle to bushing alignment with a dial indicator.
- Verify coolant pressure at the tool — Use a pressure test kit at the rotating union, not the machine gauge.
- Inspect the guide bushing ID — If worn past 0.005 mm over nominal, replace it.
- Check the regrind batch — If this drill was recently reground, inspect a sample from the same batch under magnification.
Inspection Points for Preventive Maintenance
I run these checks on a regular schedule to prevent breakage before it happens:
| Inspection Point | Frequency | Acceptable Range |
|---|---|---|
| Spindle to bushing alignment | Weekly | Within 0.005 mm |
| Guide bushing ID | Monthly | Max 0.005 mm over nominal |
| Coolant filter pressure drop | Daily | Max 15 PSI drop across filter |
| Coolant pressure at rotating union | Weekly | Within 10% of machine gauge |
| Reground drill edge condition | Every regrind batch | No burrs, consistent hone at 50x |
| Material hardness (incoming) | Every new batch | Within spec per material cert |
| Spindle runout | Monthly | Max 0.002 mm TIR |
Key Takeaways
Most gun drill breakage is preventable. Chip clogging and misalignment account for roughly half of all failures I have seen. Regular alignment checks, proper coolant pressure verification, and incoming inspection of both material and reground tools will eliminate the vast majority of breakage incidents. When a drill does break, the fracture surface tells you what happened if you know what to look for. Do not just replace the tool and keep running — find the root cause first.