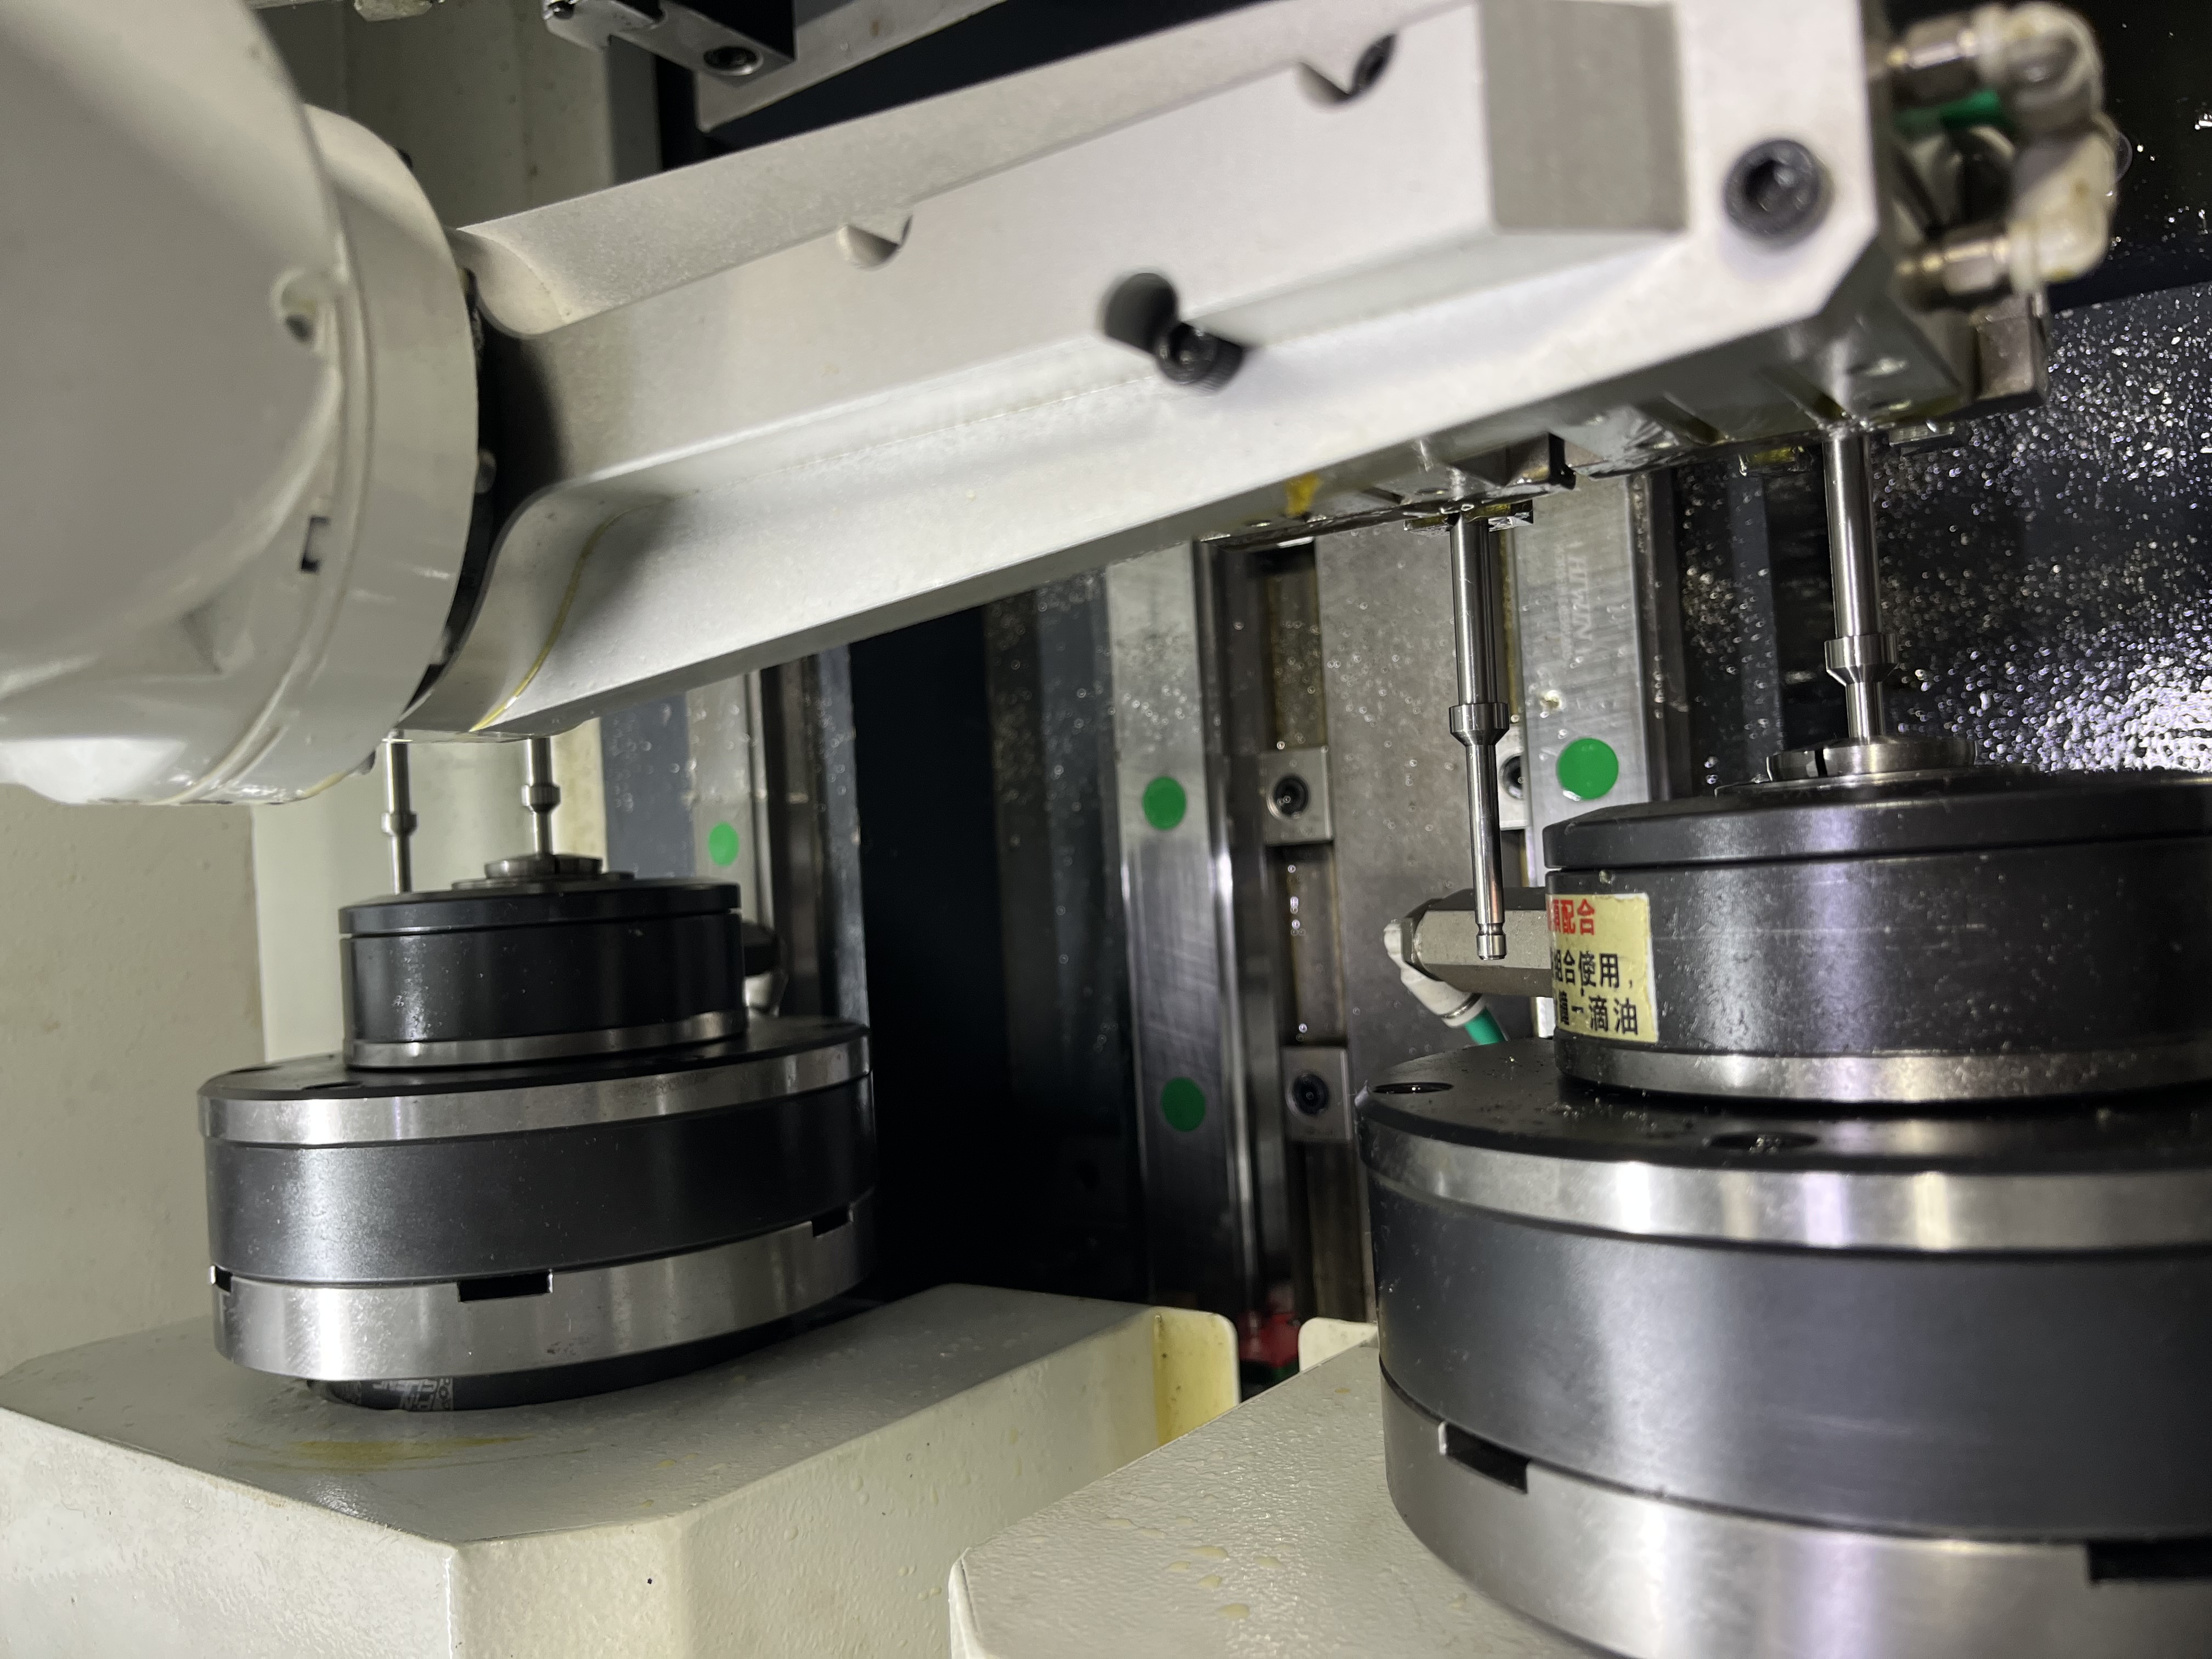
The Hard Spot Problem
Hard spots are localized areas in the material where the hardness spikes well above the nominal range. A piece of 4140 that is 30 HRC overall can have a hard spot at 45 HRC. The drill hits that spot and the cutting edge chips.
I have seen this most often in castings and forgings. A casting that cools unevenly develops hard zones where the cooling rate was different. A forging that was not properly stress-relieved after forming has unpredictable hardness distribution.
The problem is that you cannot see hard spots. The material looks the same on the surface. The hard spot is internal and does not reveal itself until the drill hits it. That is why detection during cutting is so important.
Hard spots do not just damage the tool. They can also cause hole deviation if the spot is on one side of the hole. The drill steers away from the hard area and the hole drifts off center.
Detecting Hard Spots During Drilling
Spindle Load Monitoring
Spindle load is the best real-time indicator of hard spots. A normal cutting load for the material stays steady within 5-10% variation. A hard spot causes the load to spike by 20-50% in less than a second.
I watch the spindle load display on the machine control during every cut. The numbers change faster than any other indicator. I can react before the tool damages itself.
| Material | Normal Load Range | Hard Spot Spike |
|---|---|---|
| 4140 (30 HRC) | 30-40% | 50-70% |
| 4340 (35 HRC) | 40-50% | 65-85% |
| Stainless 316 | 45-55% | 70-90% |
A spike that reaches 80% or higher with a carbide drill means the edge is at risk. I react immediately.
Feed Force Monitoring
Some machines have feed force monitoring in addition to spindle load. The feed force increases more dramatically than spindle load when hitting a hard spot because the material resists penetration.
I have used tool condition monitoring (TCM) systems that track both spindle load and feed force simultaneously. The feed force signal gives a few milliseconds of earlier warning than spindle load.
Acoustic Monitoring
Hard spots produce a distinct sound change. The smooth cutting sound shifts to a higher pitch or a grinding sound. An experienced operator recognizes the change before the gauges move.
I train operators to listen for this sound change. It takes about a week of practice to identify hard spots by ear reliably. After that, it becomes as natural as hearing a tire going flat.
What to Do When You Hit a Hard Spot
Immediate Response
When I see a spindle load spike, I drop the feed rate by 30-40% immediately. I do not stop the machine unless the load exceeds 90% or I hear grinding. Stopping inside a hard spot can anneal the tool tip in the hot spot.
| Load Spike | Action |
|---|---|
| 20-30% above normal | Reduce feed by 20%, monitor |
| 30-50% above normal | Reduce feed by 30-40% |
| 50%+ above normal | Reduce feed by 50%, prepare to stop |
| Over 90% or grinding | Stop immediately, retract |
I keep the reduced feed until the spindle load returns to normal. Depending on the size of the hard spot, that can be 2-10 seconds. Once the load is back to normal, I return to the original feed rate.
Tool Inspection
After the machine clears the hard spot, I inspect the cutting edge at the next tool change opportunity. A hard spot that did not chip the edge may still have caused microchipping that reduces tool life.
I check the cutting edge under 10x magnification. Microchipping shows up as small nicks along the cutting edge. If I see microchipping, I change the tool early to prevent a breakage later.
Preventing Hard Spot Problems
Pre-Drilling Hardness Testing
I use a portable hardness tester on incoming material to identify batches with hard spots. The tester takes readings at multiple locations on the part surface. A variation of more than 5 HRC across the surface is a red flag.
| Hardness Variation | Recommended Action |
|---|---|
| Under 3 HRC | No special action needed |
| 3-5 HRC | Reduce starting feed by 10% |
| 5-10 HRC | Reduce starting feed by 20%, monitor load closely |
| Over 10 HRC | Reject batch or test drill first |
The portable tester uses the Leeb rebound method (HL scale converted to HRC). It takes about 30 seconds per reading and the results correlate well with laboratory hardness testing.
Supplier Selection
If hard spots are a recurring problem with a particular supplier, I change suppliers. Consistent material quality is worth paying more for. The cost of broken tools and scrapped parts always exceeds the premium for better material.
I have a list of approved suppliers ranked by material consistency. The top-rated supplier has delivered hard-spot-free material for five years. The bottom-rated supplier had hard spots in three out of ten batches.
Parameter Adjustment for Known Problem Materials
Some materials are known to have hard spots regardless of the supplier. Cast iron and certain stainless grades fall into this category. For these materials, I adjust the baseline parameters to be more conservative.
I typically run 15-20% lower feed rate for materials with known hard spot problems. The slower feed reduces the impact force when the drill hits a hard spot. The cycle time increase is worth the tool life improvement.
Key Takeaways
- Watch spindle load for sudden spikes of 20-50% above normal.
- Drop feed rate by 30-40% immediately when a hard spot is detected.
- Inspect cutting edges after clearing a hard spot for microchipping.
- Test incoming material with a portable hardness tester.
- Adjust baseline parameters for materials with known hard spot issues.