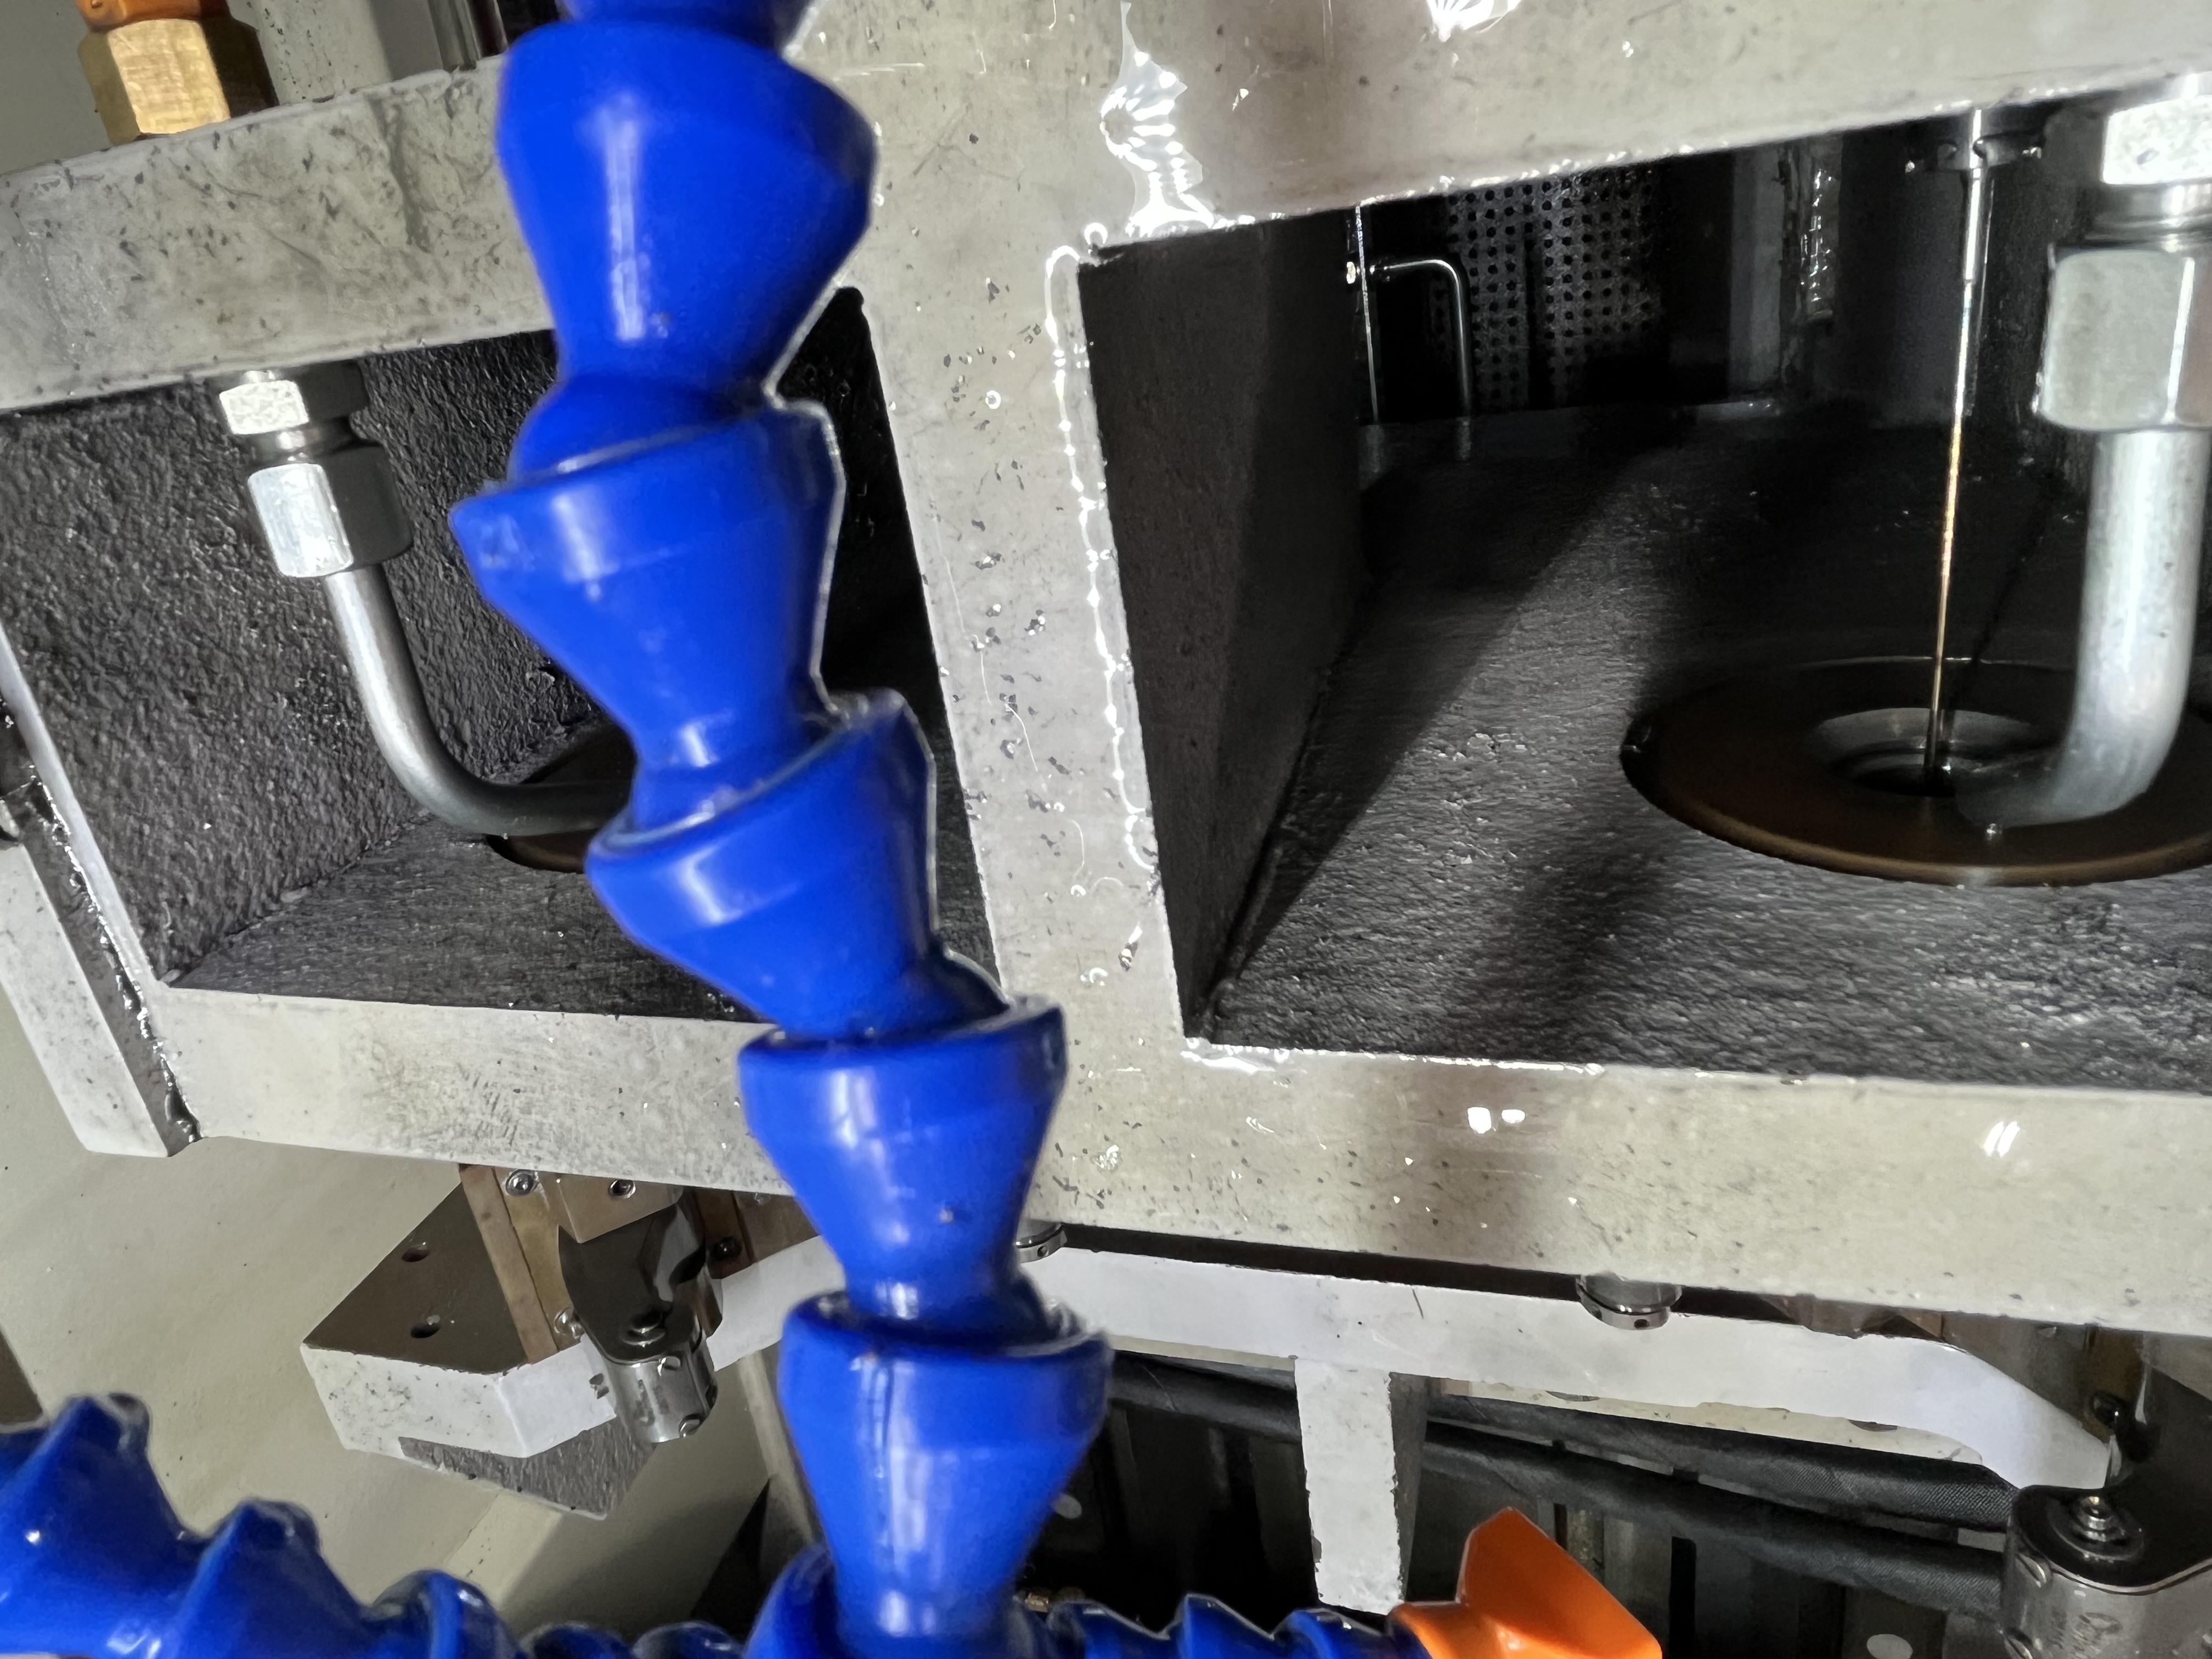
When Repair Makes Sense
Not every bad hole is scrap. I try to repair a bad hole before scrapping a high-value part, especially when the part is large, complex, or made from expensive material. Repairing a deep hole is almost always cheaper than scrapping a part that may have hundreds of dollars of material and hours of machining already invested.
The decision to repair depends on three factors: how much material can be removed, how deep the defect extends, and what tools are available to reach the defect. I have successfully repaired holes up to 2 meters deep, but only when the right tooling was available.
Repair Methods
Reaming
If the hole is undersized or has a poor finish, reaming can bring it to spec. I use a gun reamer or a machine reamer with through-coolant capability. The reamer removes 0.1-0.3 mm of material and produces a surface finish of Ra 0.8-1.6 um.
For deep holes, the reamer must have coolant holes to flush chips. A standard reamer without coolant holes will clog in a deep hole within a few millimeters of cut. I use a reamer with the same coolant pressure as the drilling operation.
The reamer diameter should be sized to clean up the defect while leaving enough wall thickness. I allow a minimum wall thickness of 10% of the bore diameter after reaming.
Honing
Honing is the best method for surface defects in a hole that is the correct size. I use a honing tool with diamond or CBN abrasives mounted on a mandrel. The honing process removes 0.01-0.05 mm of material and produces a cross-hatch surface finish of Ra 0.2-0.4 um.
Honing corrects surface defects including chatter marks, scoring, and light wear. It does not correct hole position or straightness. The honing tool follows the existing hole axis.
| Defect Type | Max Depth Removed | Surface Finish Achieved |
|---|---|---|
| Chatter marks | 0.03 mm | Ra 0.2-0.4 um |
| Light scoring | 0.05 mm | Ra 0.2-0.4 um |
| Heavy scoring | Not suitable for honing | – |
| Wear (oversize) | Not suitable for honing | – |
Boring
If the hole is off-position or not straight, boring can correct it. I use a single-point boring bar with a through-coolant system. The boring bar must be rigid enough to cut accurately at depth.
The minimum bore diameter for boring is about 10 mm due to boring bar stiffness limitations. Below 10 mm, the boring bar deflects and cannot produce a straight hole.
Boring increases the hole diameter, so I need enough wall thickness. I calculate the minimum wall thickness as 15% of the bored diameter for pressure-containing parts, or 5% for non-structural parts.
Welding and Re-Drilling
If the hole is too large, in the wrong position, or has a defect that cannot be removed by the methods above, I weld it shut and re-drill. This is the most invasive repair method and requires careful execution.
I use a TIG or MIG welding process with a filler material that matches the base metal composition. The weld must be complete with no porosity or inclusions. After welding, I rough machine the surface flat, then re-drill the hole using the standard gun drilling or BTA process.
Welding and re-drilling is only possible if:
- The part design allows welding near the hole location
- The base material is weldable (not cast iron, not hardened steel above 35 HRC)
- The weld zone will not affect the part function
- The customer approves the repair
What Cannot Be Repaired
Some conditions make a hole unrepairable regardless of the method:
- Cracks: A hole with a crack extending from the bore into the parent material cannot be repaired. The crack propagates under load even if the bore surface is machined clean.
- Insufficient wall thickness: If removing the defect would leave less than the minimum wall thickness, the hole cannot be repaired. The part would fail under operating pressure or load.
- Depth beyond tool reach: Standard reaming and honing tools reach about 10x diameter depth. Beyond that, custom tooling is needed. I have gone to 20x diameter with special tooling, but the cost approaches the value of the part.
- Structural damage: Any hole where the defect compromises the structural integrity of the part, such as a hole that breaks through to another hole or the part surface.
Repair Decision Guide
| Condition | Best Repair Method | Success Rate |
|---|---|---|
| Undersized hole (< 0.1 mm) | Reaming | 95% |
| Poor surface finish (Ra > 3.2 um) | Honing | 90% |
| Light chatter marks | Honing | 85% |
| Hole off-position (< 0.5 mm) | Boring | 75% |
| Hole off-position (> 0.5 mm) | Weld and re-drill | 60% |
| Oversized hole | Weld and re-drill | 50% |
| Cracked hole | Scrap | 0% |
Inspection After Repair
Every repaired hole must be inspected to verify the repair. I use the same inspection methods as for the original hole: bore gauge for diameter, profilometer for surface finish, and CMM or test bar for position.
The inspection report goes to the customer with a note that the hole was repaired. Some customers accept repairs with a deviation notice. Others require the part to be scrapped regardless of the repair quality. I always check the repair policy before starting any repair work.
Key Takeaways
- Reaming corrects undersized holes; honing corrects surface defects.
- Boring can fix hole position if there is enough wall thickness.
- Welding and re-drilling works but requires customer approval.
- Cracked holes cannot be repaired and must be scrapped.
- Inspect every repaired hole and document the repair for the customer.