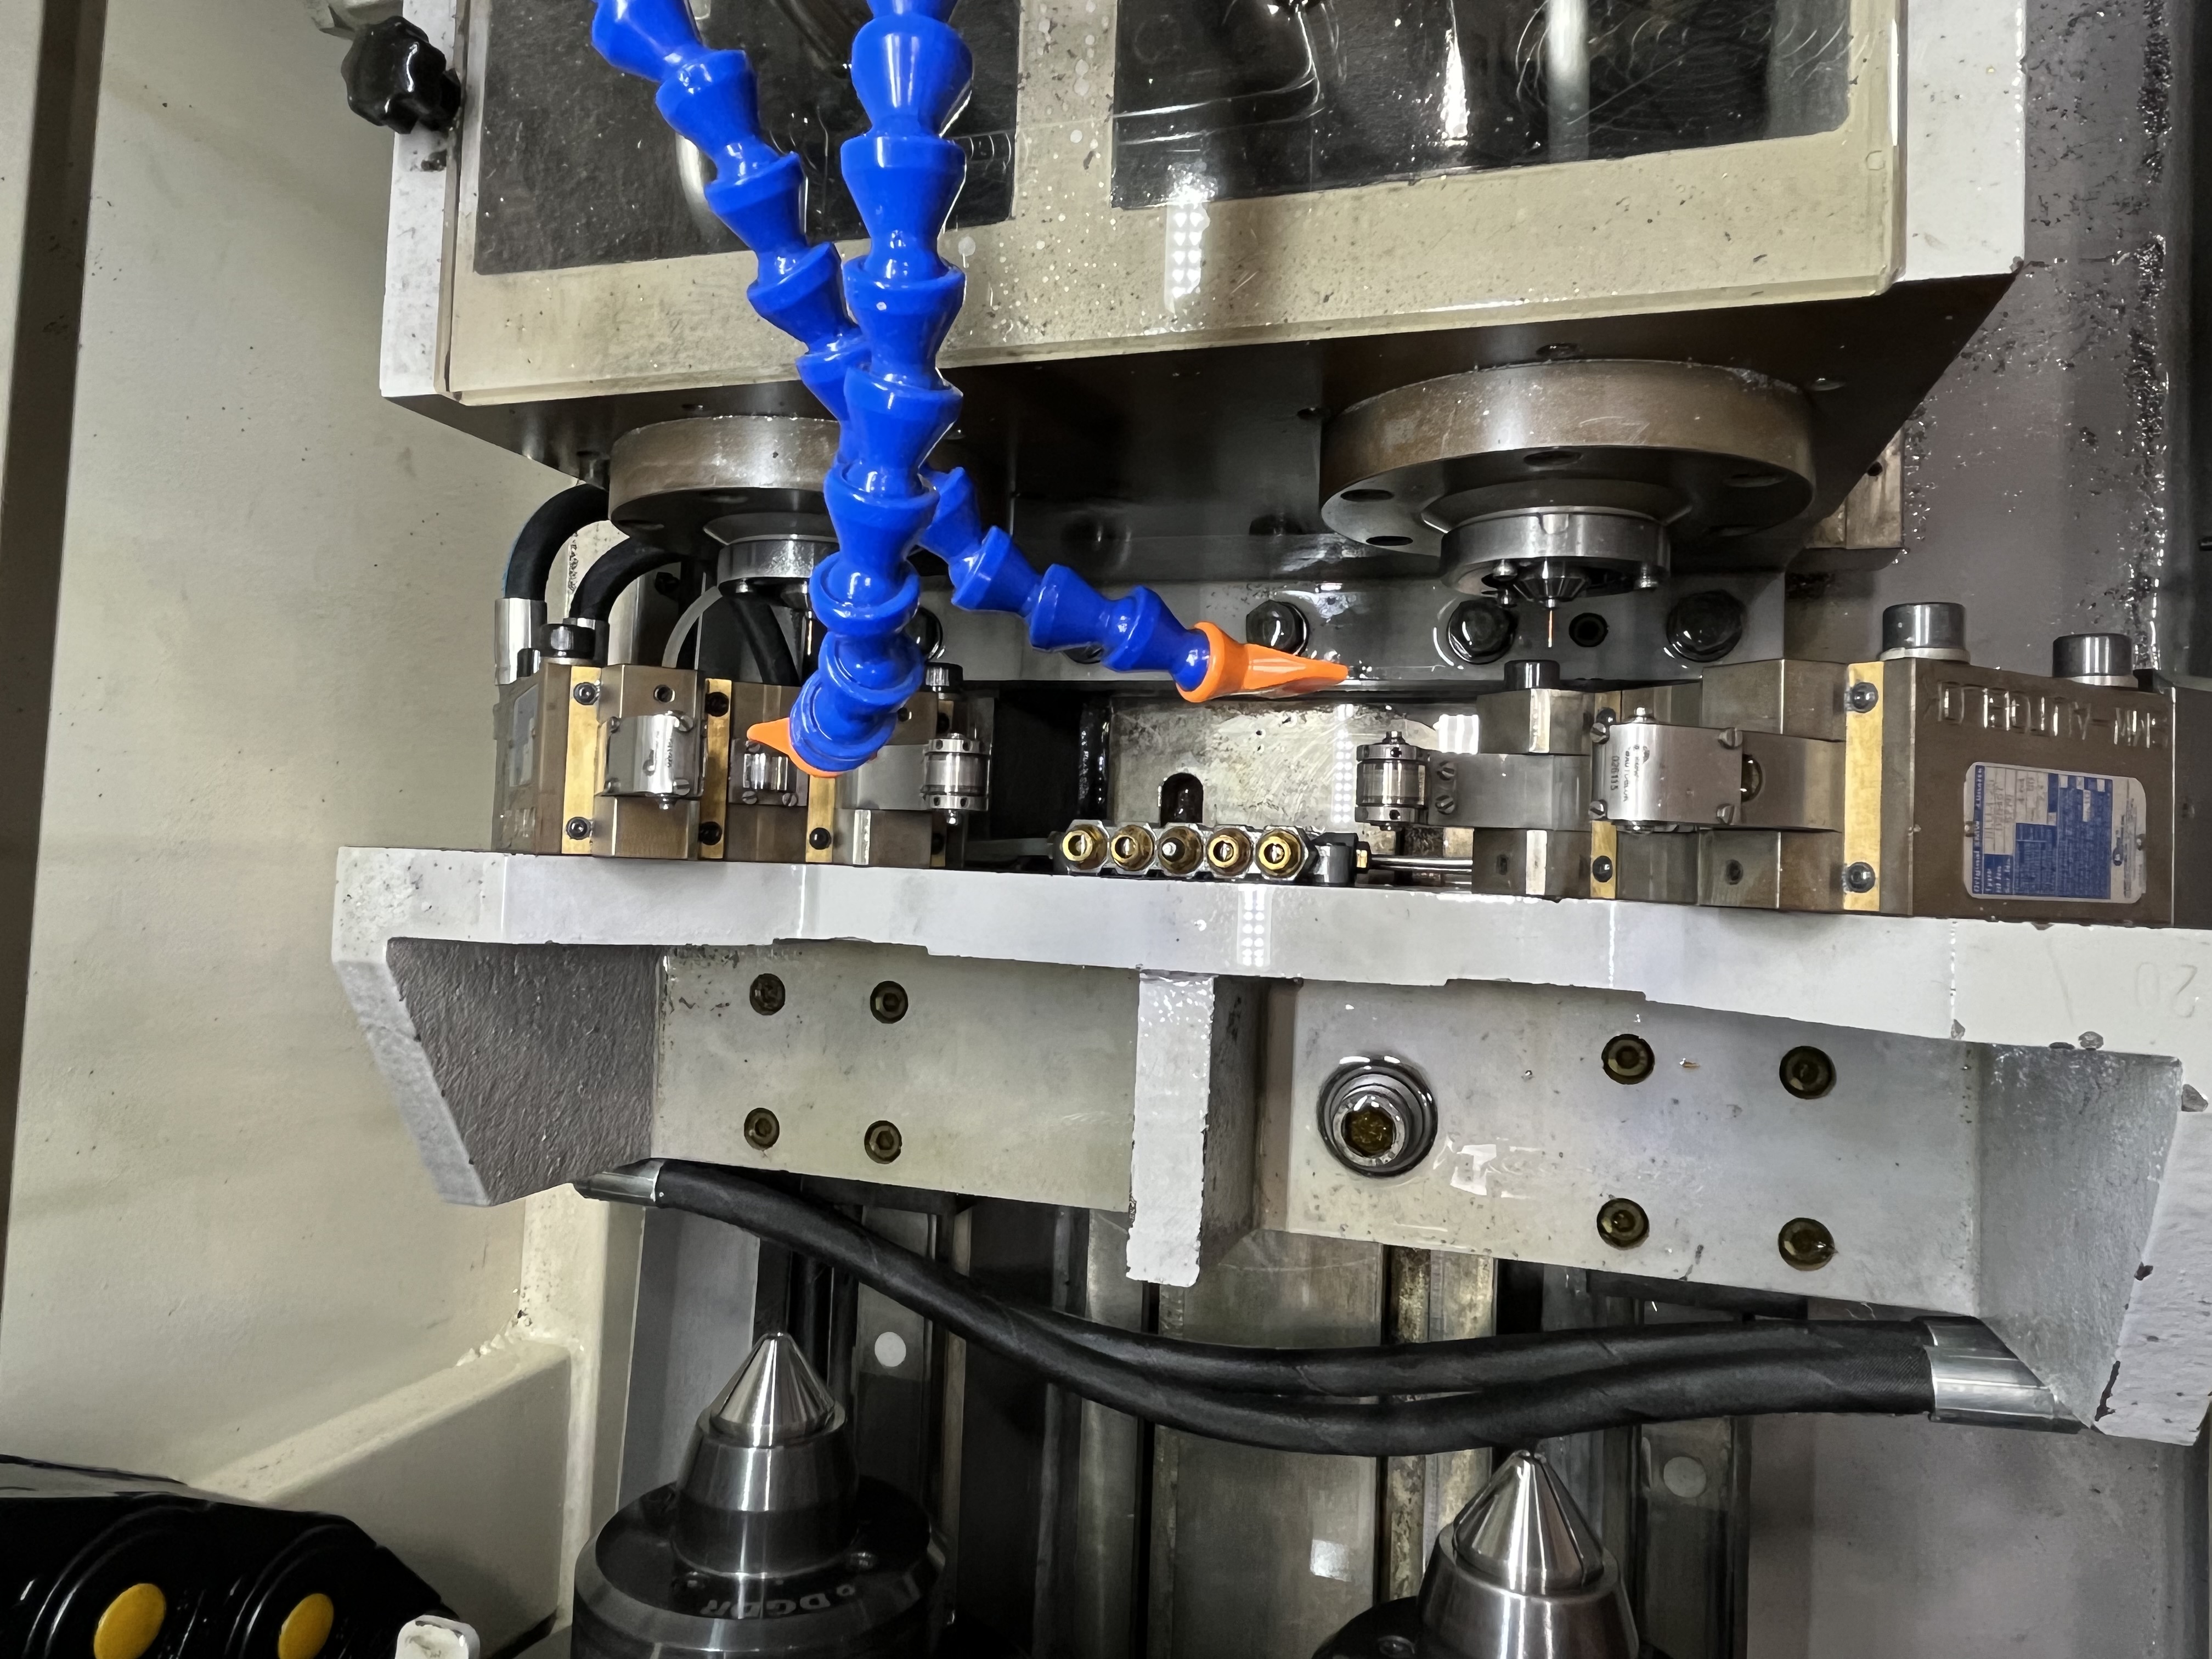
Every shop drills a crooked hole eventually. The question is not whether it will happen, but what you do when it does.
I have a simple framework for deciding whether to salvage an off-center hole. It comes down to three things: how far off the hole is, how much material is left around it, and what the part is worth.
Step 1: Measure How Bad It Is
Before I decide what to do, I need accurate numbers. I measure the hole position at both ends and, if possible, at the midpoint.
For position error, I establish the actual centerline of the hole relative to the print datum:
| Deviation from Print | Category |
|---|---|
| Under 0.1mm | Likely acceptable — check print tolerance |
| 0.1mm to 0.5mm | May be salvageable by reaming or boring |
| 0.5mm to 2.0mm | Salvageable only if wall thickness allows |
| Over 2.0mm | Usually scrap |
For straightness error — the hole starts on center but drifts:
| Straightness Deviation | Category |
|---|---|
| Under 0.2mm/m | Likely within spec |
| 0.2mm to 0.5mm/m | May clean up with honing |
| 0.5mm to 1.0mm/m | Salvageable only for non-critical applications |
| Over 1.0mm/m | Usually scrap unless customer accepts |
I use a bore gauge and a straightness reference bar for these measurements. If I cannot measure the deviation accurately, I cannot decide whether to scrap or salvage.
Step 2: Check the Remaining Wall Thickness
This is the safety-critical check. If the off-center hole has reduced the wall thickness below the minimum required for the part’s operating pressure or stress, the part is scrap regardless of how well I fix the hole.
| Application | Minimum Wall After Salvage |
|---|---|
| Hydraulic cylinder (high pressure) | 85% of print minimum |
| Hydraulic cylinder (low pressure) | 75% of print minimum |
| Structural/aerospace | 90% of print minimum |
| General mechanical | 70% of print minimum |
These are my own guidelines. Always check the customer specification first.
If the remaining wall is below these thresholds, stop. The part is scrap. Do not attempt salvage.
Salvage Method 1: Reaming to a Larger Size
If the deviation is under 0.2mm and the next larger standard size is acceptable, reaming is the simplest fix. I ream 0.2-0.5mm oversize depending on the deviation direction.
| Original Hole Size | Ream To | Max Correctable Deviation |
|---|---|---|
| 10mm | 10.2mm | 0.10mm |
| 20mm | 20.5mm | 0.15mm |
| 30mm | 30.5mm | 0.15mm |
Reaming only corrects position error if the reamer follows the pilot. If the hole is also crooked (angled), reaming will follow the same angle. Reaming fixes size and finish, not direction.
I have a guide on when reaming is appropriate in Gun Drilling vs Reaming.
Salvage Method 2: Boring From the Opposite End
If the hole is crooked but the entry and exit are on center, I sometimes bore from the opposite end to meet in the middle. This works best when:
- The hole is through-hole (both ends accessible)
- The deviation is smooth (gradual curve, not a sharp bend)
- The meeting point is within tolerance
I bore from each end to approximately 60% of the depth, leaving a 20% overlap zone. I measure the position at the meeting point with a bore gauge before committing to the final pass.
Salvage Method 3: Plug and Redrill
For valuable parts where a hole is significantly off-center, plugging and redrilling is an option. This is not a cheap fix — it involves machining the existing hole oversize, pressing in a plug, and redrilling.
| Plug Method | Best For | Cost Factor vs New Part |
|---|---|---|
| Interference fit plug | Steel parts, moderate pressure | 30-50% |
| Threaded plug | High-pressure applications | 40-60% |
| Welded plug + redrill | Large parts, non-critical areas | 50-70% |
I only recommend plugging when the part value justifies it. For a $50 part, scrap it. For a $5,000 aerospace component, plugging may be the right call.
When to Scrap and Move On
Scrapping a part is not a failure — it is a decision. I have seen shops spend eight hours trying to salvage a part that should have been scrapped in thirty minutes. The labor cost of salvaging often exceeds the material cost of a new blank.
I scrap when:
- Wall thickness after deviation is below minimum
- The hole is over 2mm off position
- The hole has a sharp bend (sudden deviation, not gradual)
- Salvage cost exceeds 60% of new part cost
- The customer will not accept a salvage method in writing
Preventing the Next One
Every time I scrap a part for deviation, I go back through the troubleshooting sequence to find the root cause. I cover this in Drill Walking Systematic Diagnosis.
The most expensive mistake is fixing the part without fixing the process. A salvage is only worth doing if the next part will be correct.
Key Takeaways
- Measure deviation accurately before deciding. Guessing leads to wasted time.
- Check remaining wall thickness first. If it is below minimum, scrap is the only option.
- Reaming fixes size and finish, not direction. It only works for small position errors.
- Plugging can save expensive parts but costs 30-70% of a new part.
- Scrap fast when the numbers do not work. Time spent on hopeless salvage costs more than a new blank.
- Fix the root cause before running the next part.