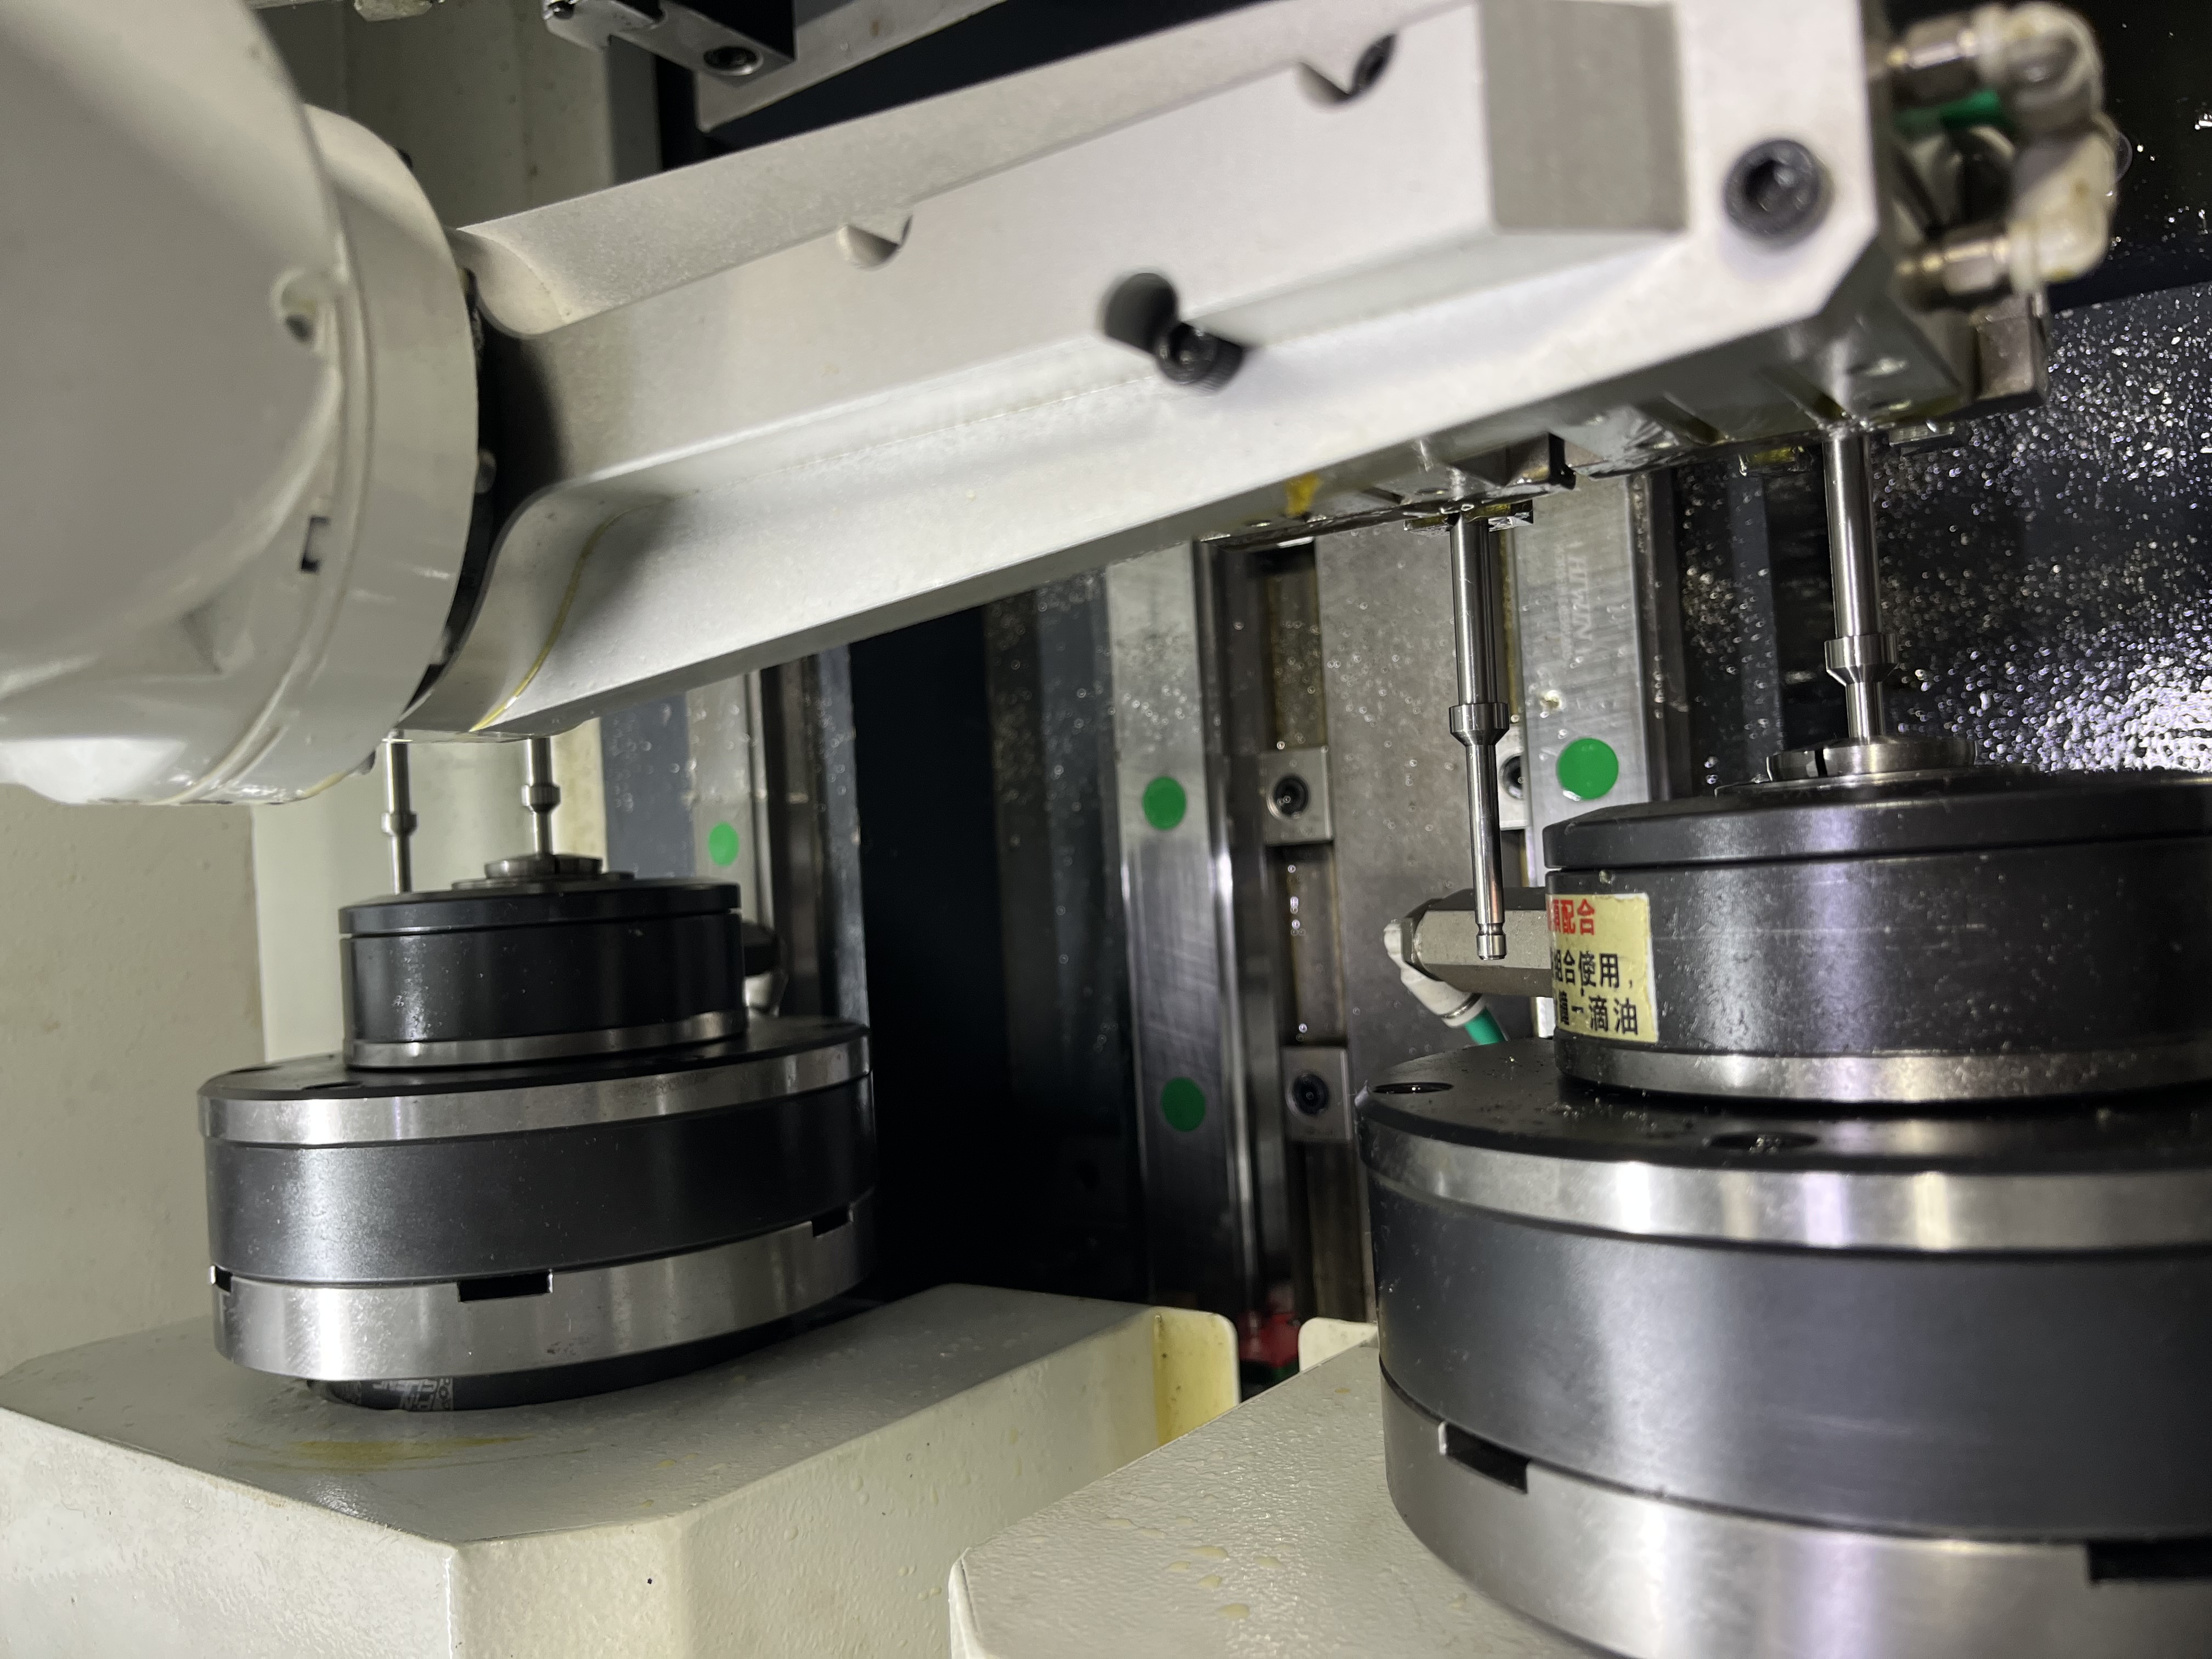
Why Thin Wall Cylinders Vibrate
Thin wall cylinders vibrate during deep hole drilling because the wall flexes under cutting forces. The ratio of bore diameter to wall thickness determines how susceptible a cylinder is to vibration. In my experience, cylinders with a diameter-to-wall-thickness ratio above 10:1 will vibrate under normal cutting conditions.
When the cylinder wall flexes, the cutting tool encounters an inconsistent depth of cut. The drill digs in deeper when the wall deflects away, then cuts less when the wall springs back. This alternating force creates chatter marks on the bore surface and can chip the cutting edges of the drill in extreme cases.
I have seen thin wall cylinders ranging from 50 mm diameter with 3 mm wall thickness up to 300 mm diameter with 5 mm wall thickness. The largest diameter-to-thickness ratios are the hardest to control.
Problem Identification
The first sign of vibration is a distinct chatter sound. The sound is a low-frequency growl or rumble, different from the normal high-pitched cutting sound. On the bore surface, vibration shows up as regularly spaced bands or spiral marks. I measure the spacing between chatter marks to identify the vibration frequency.
Chatter marks spaced 0.5 mm apart at a feed rate of 0.05 mm/rev indicate a vibration frequency of about 100 Hz. This usually matches the natural frequency of the cylinder wall and confirms that wall flex is the root cause.
Vibration also shows up in the chip formation. Chips from a vibrating cut are inconsistent in thickness. Some chips are paper-thin while others are thick and heavy. This alternating chip load accelerates tool wear and can break the carbide drill tip.
Damping Methods
Fill the Cylinder
The most effective method I have used is filling the cylinder with a damping material. Sand works well for most applications. I fill the cylinder completely and pack it tight. The sand absorbs vibration energy and prevents the wall from flexing.
For higher damping requirements, I use low-melt alloy (Cerrobend or equivalent, melting point around 70 degrees C). The molten alloy is poured into the cylinder and solidifies, creating a rigid support. After drilling, the alloy is melted out at 80 degrees C and reused. This method is expensive but extremely effective.
Steady Rests
I use a steady rest with rubber rollers positioned at the vibration node. The rubber rollers dampen vibration better than steel rollers because the rubber absorbs energy through hysteresis. The steady rest should be positioned at the point of maximum vibration amplitude.
For long cylinders over 1 meter, I use multiple steady rests spaced at intervals equal to the cylinder diameter. Each steady rest must be adjusted individually to support the cylinder without distorting it.
Tuned Mass Dampers
For production applications where filling the cylinder is not practical, I use a tuned mass damper. This is a spring-mass system attached to the cylinder that vibrates out of phase with the cylinder and cancels the vibration. I tune the damper to the cylinder’s natural frequency by adjusting the mass.
Tuned mass dampers work well when the vibration frequency is stable. If the spindle speed changes, the damper must be retuned. I use these on production runs of 100+ identical parts where the setup time is justified.
Process Parameter Adjustments
Spindle Speed
Every cylinder has a natural frequency where vibration is worst. I find this frequency by running a speed sweep from 50% to 150% of the target speed. The speed where vibration is loudest is the resonant frequency.
I change the spindle speed by 10-15% away from the resonant frequency. If the resonant speed is 3000 RPM, I run at 2600 RPM or 3400 RPM. This moves the cutting frequency away from resonance and reduces vibration amplitude significantly.
Feed Rate
Reducing feed rate reduces the cutting forces and the vibration amplitude. I start by reducing feed by 25% and check the result. If vibration continues, I reduce further until the vibration stops or the feed becomes uneconomical.
I have found that feed rates below 0.02 mm/rev in gun drilling create thin chips that do not carry heat away effectively. If I must run below 0.02 mm/rev, I increase coolant pressure to compensate.
Cut Depth Strategy
For BTA drilling of thin wall cylinders, I use a multiple-pass strategy. The first pass at 80% of the finished bore diameter removes the bulk of the material. The second pass at full size removes a thin wall of material with lower cutting forces.
| Strategy | Advantage | Disadvantage |
|---|---|---|
| Fill cylinder | Best vibration damping | Setup time, material cost |
| Steady rest | Quick setup | Less effective at high vibration |
| Tuned mass damper | Reusable | Requires frequency tuning |
| Speed change | No hardware needed | May not be sufficient alone |
| Multiple passes | Reliable | Longer cycle time |
Cylinder Inspection Before Drilling
If vibration persists after all adjustments, I check the cylinder wall thickness with an ultrasonic gauge. A cylinder with inconsistent wall thickness vibrates more because the stiffness varies around the circumference.
I measure wall thickness at 12 points around the circumference at both ends and mid-length. If the thickness varies by more than 10%, I reject the cylinder or skim the OD to match the ID before drilling.
Cylinders that have been welded or repaired are especially prone to vibration. The weld area has different stiffness and damping properties than the base material. I avoid drilling through welded areas whenever possible.
Key Takeaways
- Cylinders with a diameter-to-wall-thickness ratio above 10:1 require active vibration control.
- Fill the cylinder with sand or low-melt alloy for the best vibration damping.
- Change spindle speed by 10-15% to avoid resonant frequencies.
- Use ultrasonic wall thickness measurement before drilling suspect cylinders.
- Multiple steady rests improve support for cylinders over 1 meter long.