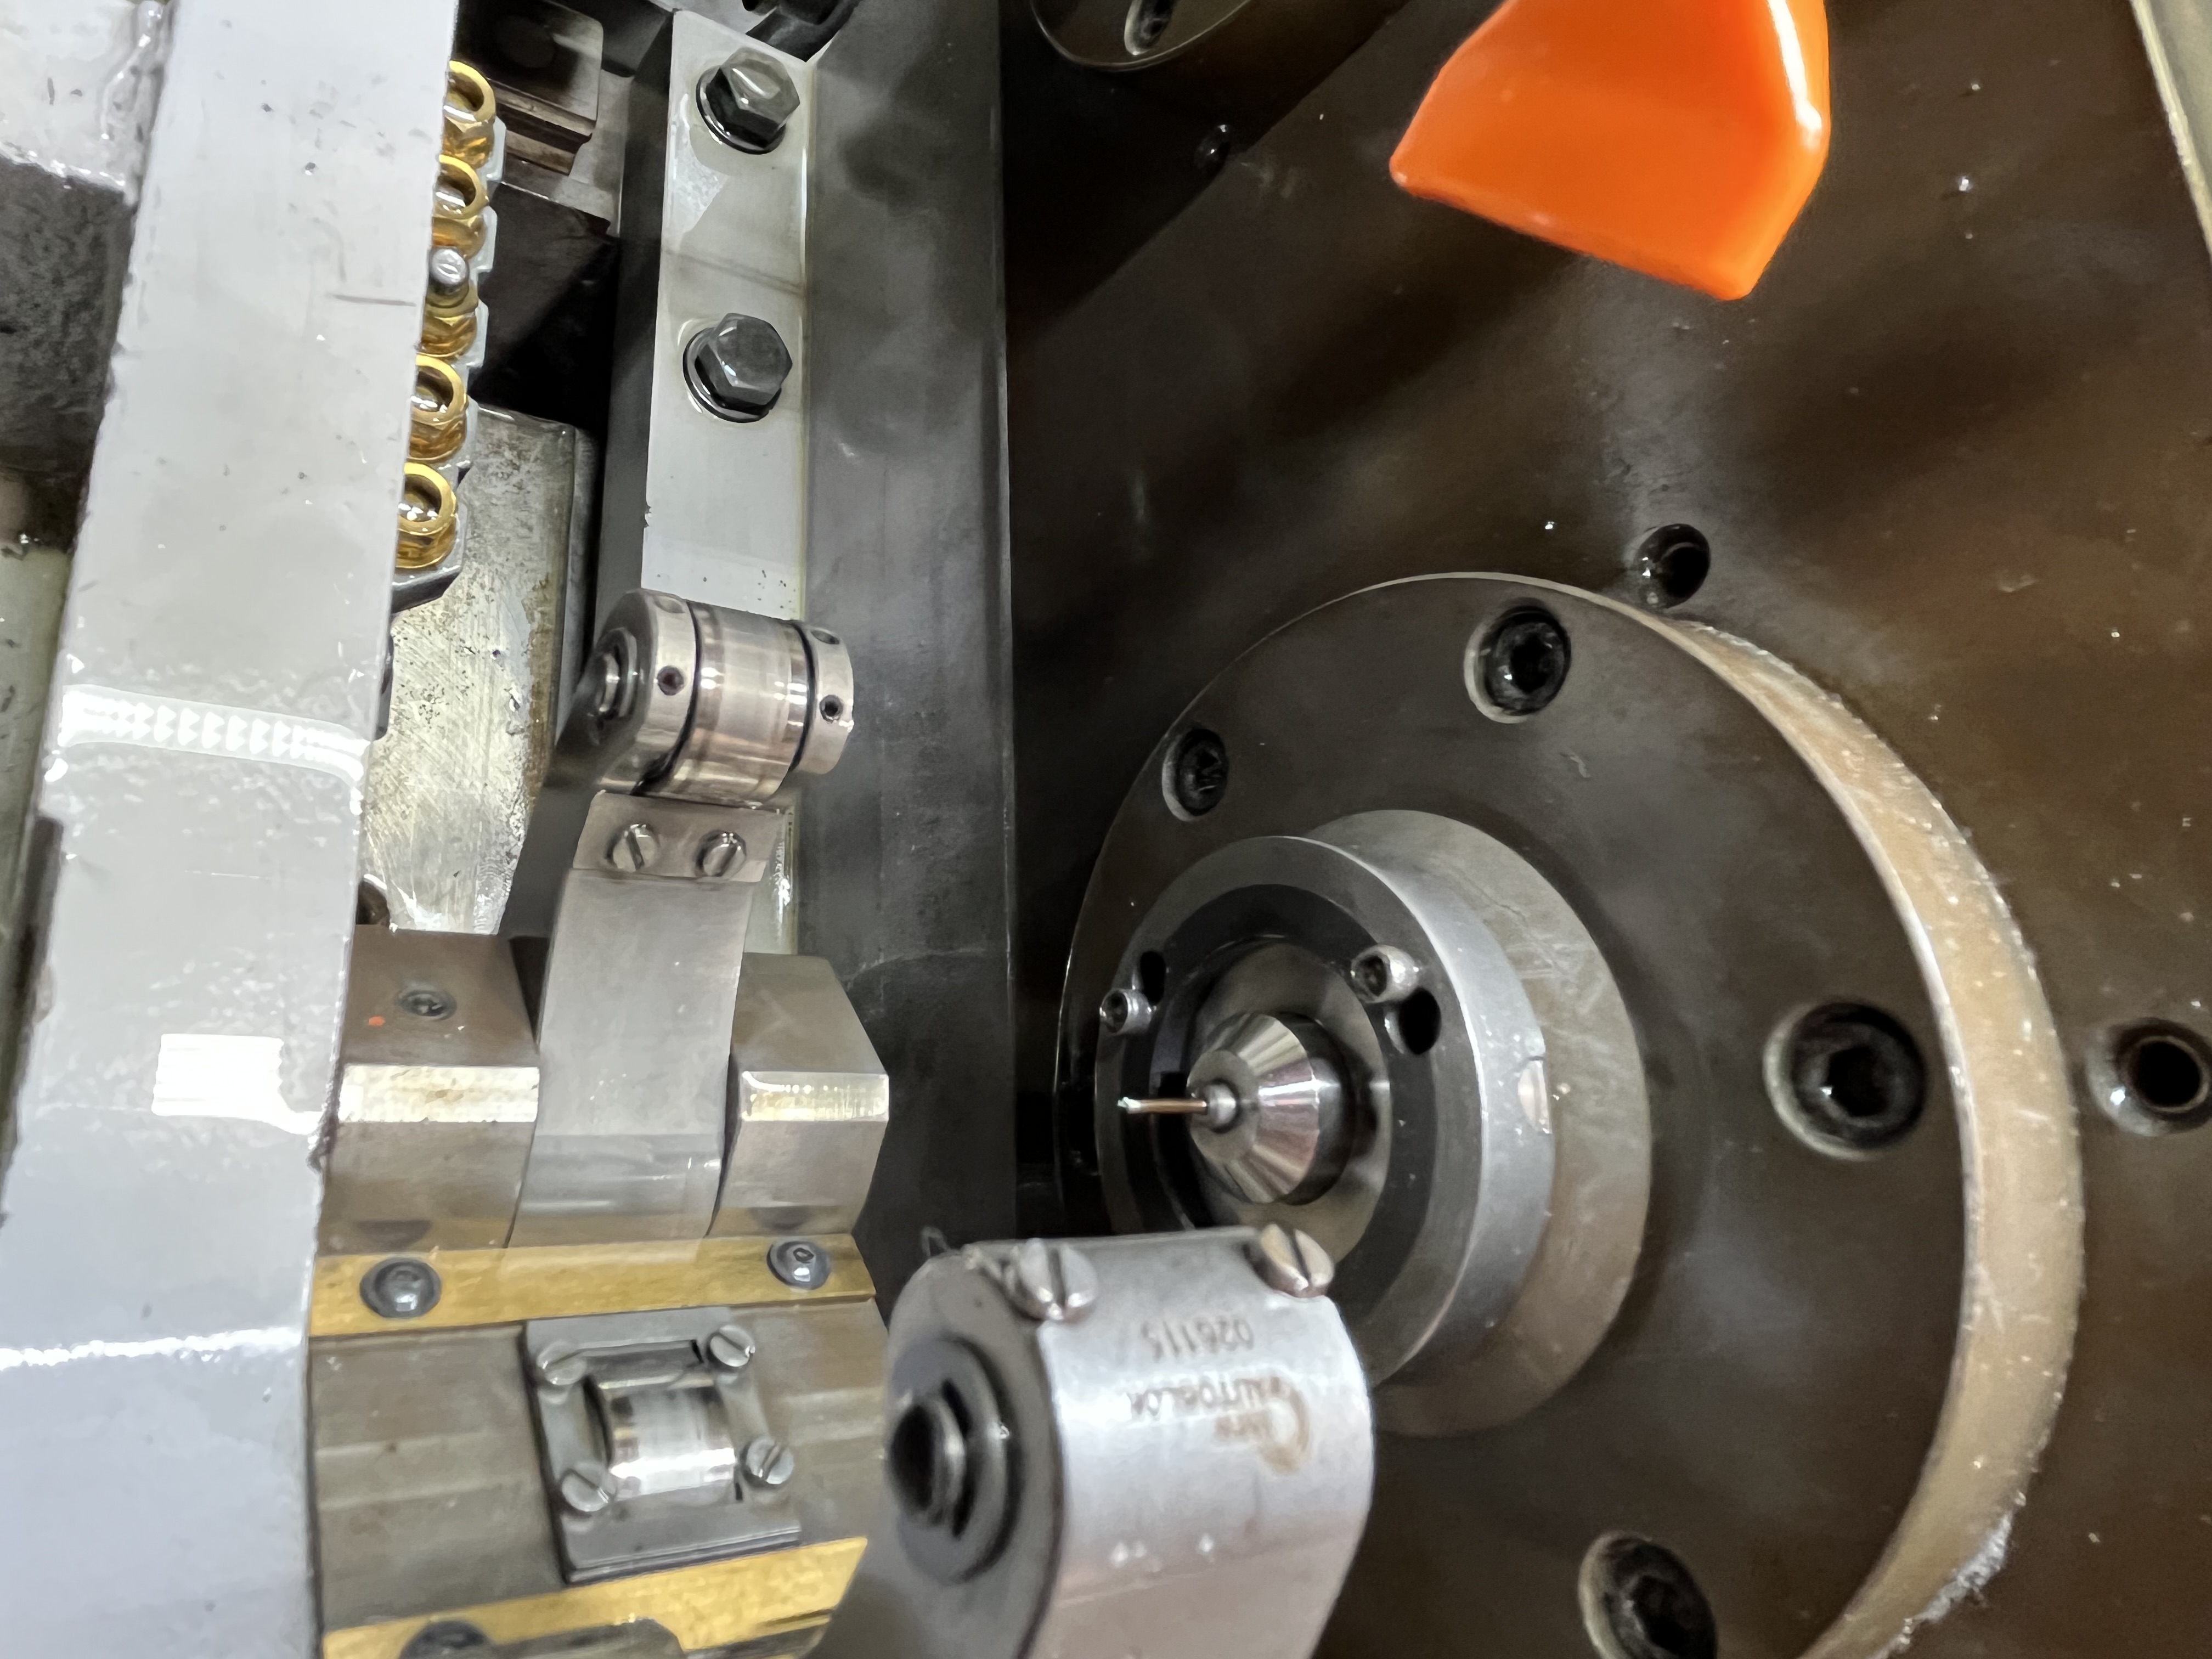
How Vibration Affects Deep Hole Drilling
Vibration is one of the most destructive forces in deep hole drilling. It leaves chatter marks on the bore surface, reduces tool life by 50% or more, and can break the drill in severe cases. The vibration energy that should go into cutting goes into the workpiece and the machine instead.
I have seen parts scrapped from vibration damage that looked like the bore had been machined with a thread cutting tool. The chatter marks were 0.05mm deep and the surface finish was completely unacceptable. The part had 4 hours of machining invested before the final bore operation.
Vibration is not random. It follows predictable patterns based on the workpiece geometry, the cutting parameters, and the machine condition. Understanding those patterns makes diagnosis straightforward.
The key to fixing vibration is identifying the source. Workpiece vibration sounds different from tool vibration. Tool vibration sounds different from machine vibration. Each source requires a different fix.
Root Causes of Vibration
Inadequate Workpiece Support
The most common cause of vibration in deep hole drilling is inadequate workpiece support. A long, unsupported workpiece acts like a tuning fork. The cutting forces excite the natural frequency of the part and it vibrates.
I add steady rest support at the vibration node to dampen the vibration. The steady rest contacts the workpiece at the point of maximum vibration amplitude and stops the movement. The chatter usually stops immediately.
| Workpiece Length/Diameter | Recommended Supports |
|---|---|
| Under 5:1 L/D | Chuck only |
| 5:1 to 10:1 L/D | Chuck + 1 steady rest |
| 10:1 to 20:1 L/D | Chuck + 2 steady rests |
| Over 20:1 L/D | Chuck + 3 or more steady rests |
A part that is 600mm long and 50mm diameter has a 12:1 L/D ratio. It needs at least one steady rest at the midpoint. I have run parts at 30:1 L/D with three steady rests and produced chatter-free holes.
Resonant Frequency Matching
Every workpiece has a natural frequency. If the cutting frequency matches that natural frequency, the workpiece vibrates at its resonant amplitude. The vibration is amplified rather than dampened.
The cutting frequency is determined by the spindle speed and the number of cutting edges. For a single-edge gun drill at 3000 RPM, the cutting frequency is 50 Hz (3000 / 60). If the workpiece natural frequency is near 50 Hz, resonance occurs.
| Spindle Speed (RPM) | Cutting Frequency (Hz) |
|---|---|
| 2000 | 33.3 |
| 3000 | 50.0 |
| 4000 | 66.7 |
| 5000 | 83.3 |
Changing the spindle speed by 10-15% moves the cutting frequency away from the resonant frequency. The vibration stops because the excitation is no longer at the resonant point.
Worn Guide Bushing
The guide bushing supports the drill at entry. If the bushing is worn by more than 0.02mm, the drill has lateral clearance at the support point. The clearance allows the drill to wobble, which creates vibration.
I check bushing clearance with a bore gauge. If the clearance exceeds 0.02mm for a 10mm drill, I replace the bushing. The new bushing restores support and eliminates the wobble.
Machine Foundation Issues
A machine that is not properly isolated from the shop floor can transmit vibration from other machines. A press brake operating 10 meters away can send vibration through the floor that affects a deep hole drilling machine.
Loose foundation bolts are the most common foundation issue. The bolts hold the machine to the floor and maintain alignment. A loose bolt allows the machine to shift and vibrate differently than when it was installed.
I check foundation bolt torque with a torque wrench once a month. The typical torque for M24 bolts is 200-300 Nm. Loose bolts are retightened and monitored for repeat loosening.
Diagnosing Vibration by Type
Workpiece Vibration
Workpiece vibration produces a regular chatter pattern on the bore surface. The pattern repeats at consistent intervals along the bore. The sound is a low-frequency hum or thrumming.
I confirm workpiece vibration by touching the workpiece during cutting (with a wooden stick, not my hand). If I feel vibration through the stick, the workpiece is the source. Adding a steady rest fixes it.
Tool Vibration
Tool vibration produces an irregular chatter pattern on the bore surface. The pattern varies along the bore rather than repeating consistently. The sound is a higher-pitched squeal or chatter.
Tool vibration is usually caused by a worn guide bushing, excessive tool overhang, or incorrect cutting parameters. I check the bushing first, then the tool setup.
Machine Vibration
Machine vibration produces a consistent buzz or hum that is present even when not cutting. I notice it when the spindle is running but the tool is not engaged. The vibration is coming from the machine, not the cutting process.
Machine vibration sources include worn spindle bearings, unbalanced rotating components, and loose machine components. I check each in order.
Solutions for Each Vibration Source
| Source | Symptom | Solution |
|---|---|---|
| Workpiece support | Regular chatter pattern | Add steady rest at vibration node |
| Resonant frequency | Vibration at specific speed only | Change speed by 10-15% |
| Worn guide bushing | Tool wobble, irregular chatter | Replace bushing |
| Machine foundation | Vibration from other machines | Tighten bolts, isolate machine |
| Worn spindle bearings | Consistent vibration while running | Replace bearings |
| Tool overhang | Chatter on long tools | Reduce overhang or use damper |
Steady Rest Placement
The steady rest must be placed at the vibration node to be effective. The node is the point on the workpiece where the vibration amplitude is highest. For a simple beam supported at both ends, the node is at the midpoint.
For more complex geometries, I find the vibration node by touching the workpiece at different points while it vibrates. The point with the strongest vibration is the node. I place the steady rest there.
Speed Adjustment
When changing the spindle speed to avoid resonance, I adjust by at least 10% in either direction. A 5% change often does not move the cutting frequency far enough from the resonant frequency.
I try both increasing and decreasing the speed. Sometimes one direction works better than the other. A 15% speed reduction that eliminates vibration is better than a 10% increase that still produces some chatter.
Damping Tools
For persistent vibration problems, I use damping tools. A vibration-damped boring bar or a tuned-mass damper on the workpiece absorbs vibration energy and prevents chatter.
Damping tools are expensive but effective. A damped boring bar costs 3-4 times more than a standard bar. But if the standard bar cannot produce a chatter-free hole, the damped bar pays for itself on the first job.
Key Takeaways
- Add steady rest support at the vibration node first — this fixes most vibration problems.
- Change spindle speed by 10-15% to avoid resonant frequency matching.
- Replace worn guide bushings with over 0.02mm clearance.
- Check machine foundation bolts monthly with a torque wrench.
- Identify vibration type (workpiece, tool, or machine) to apply the correct fix.
- Use damped tools for persistent vibration problems that other fixes do not solve.