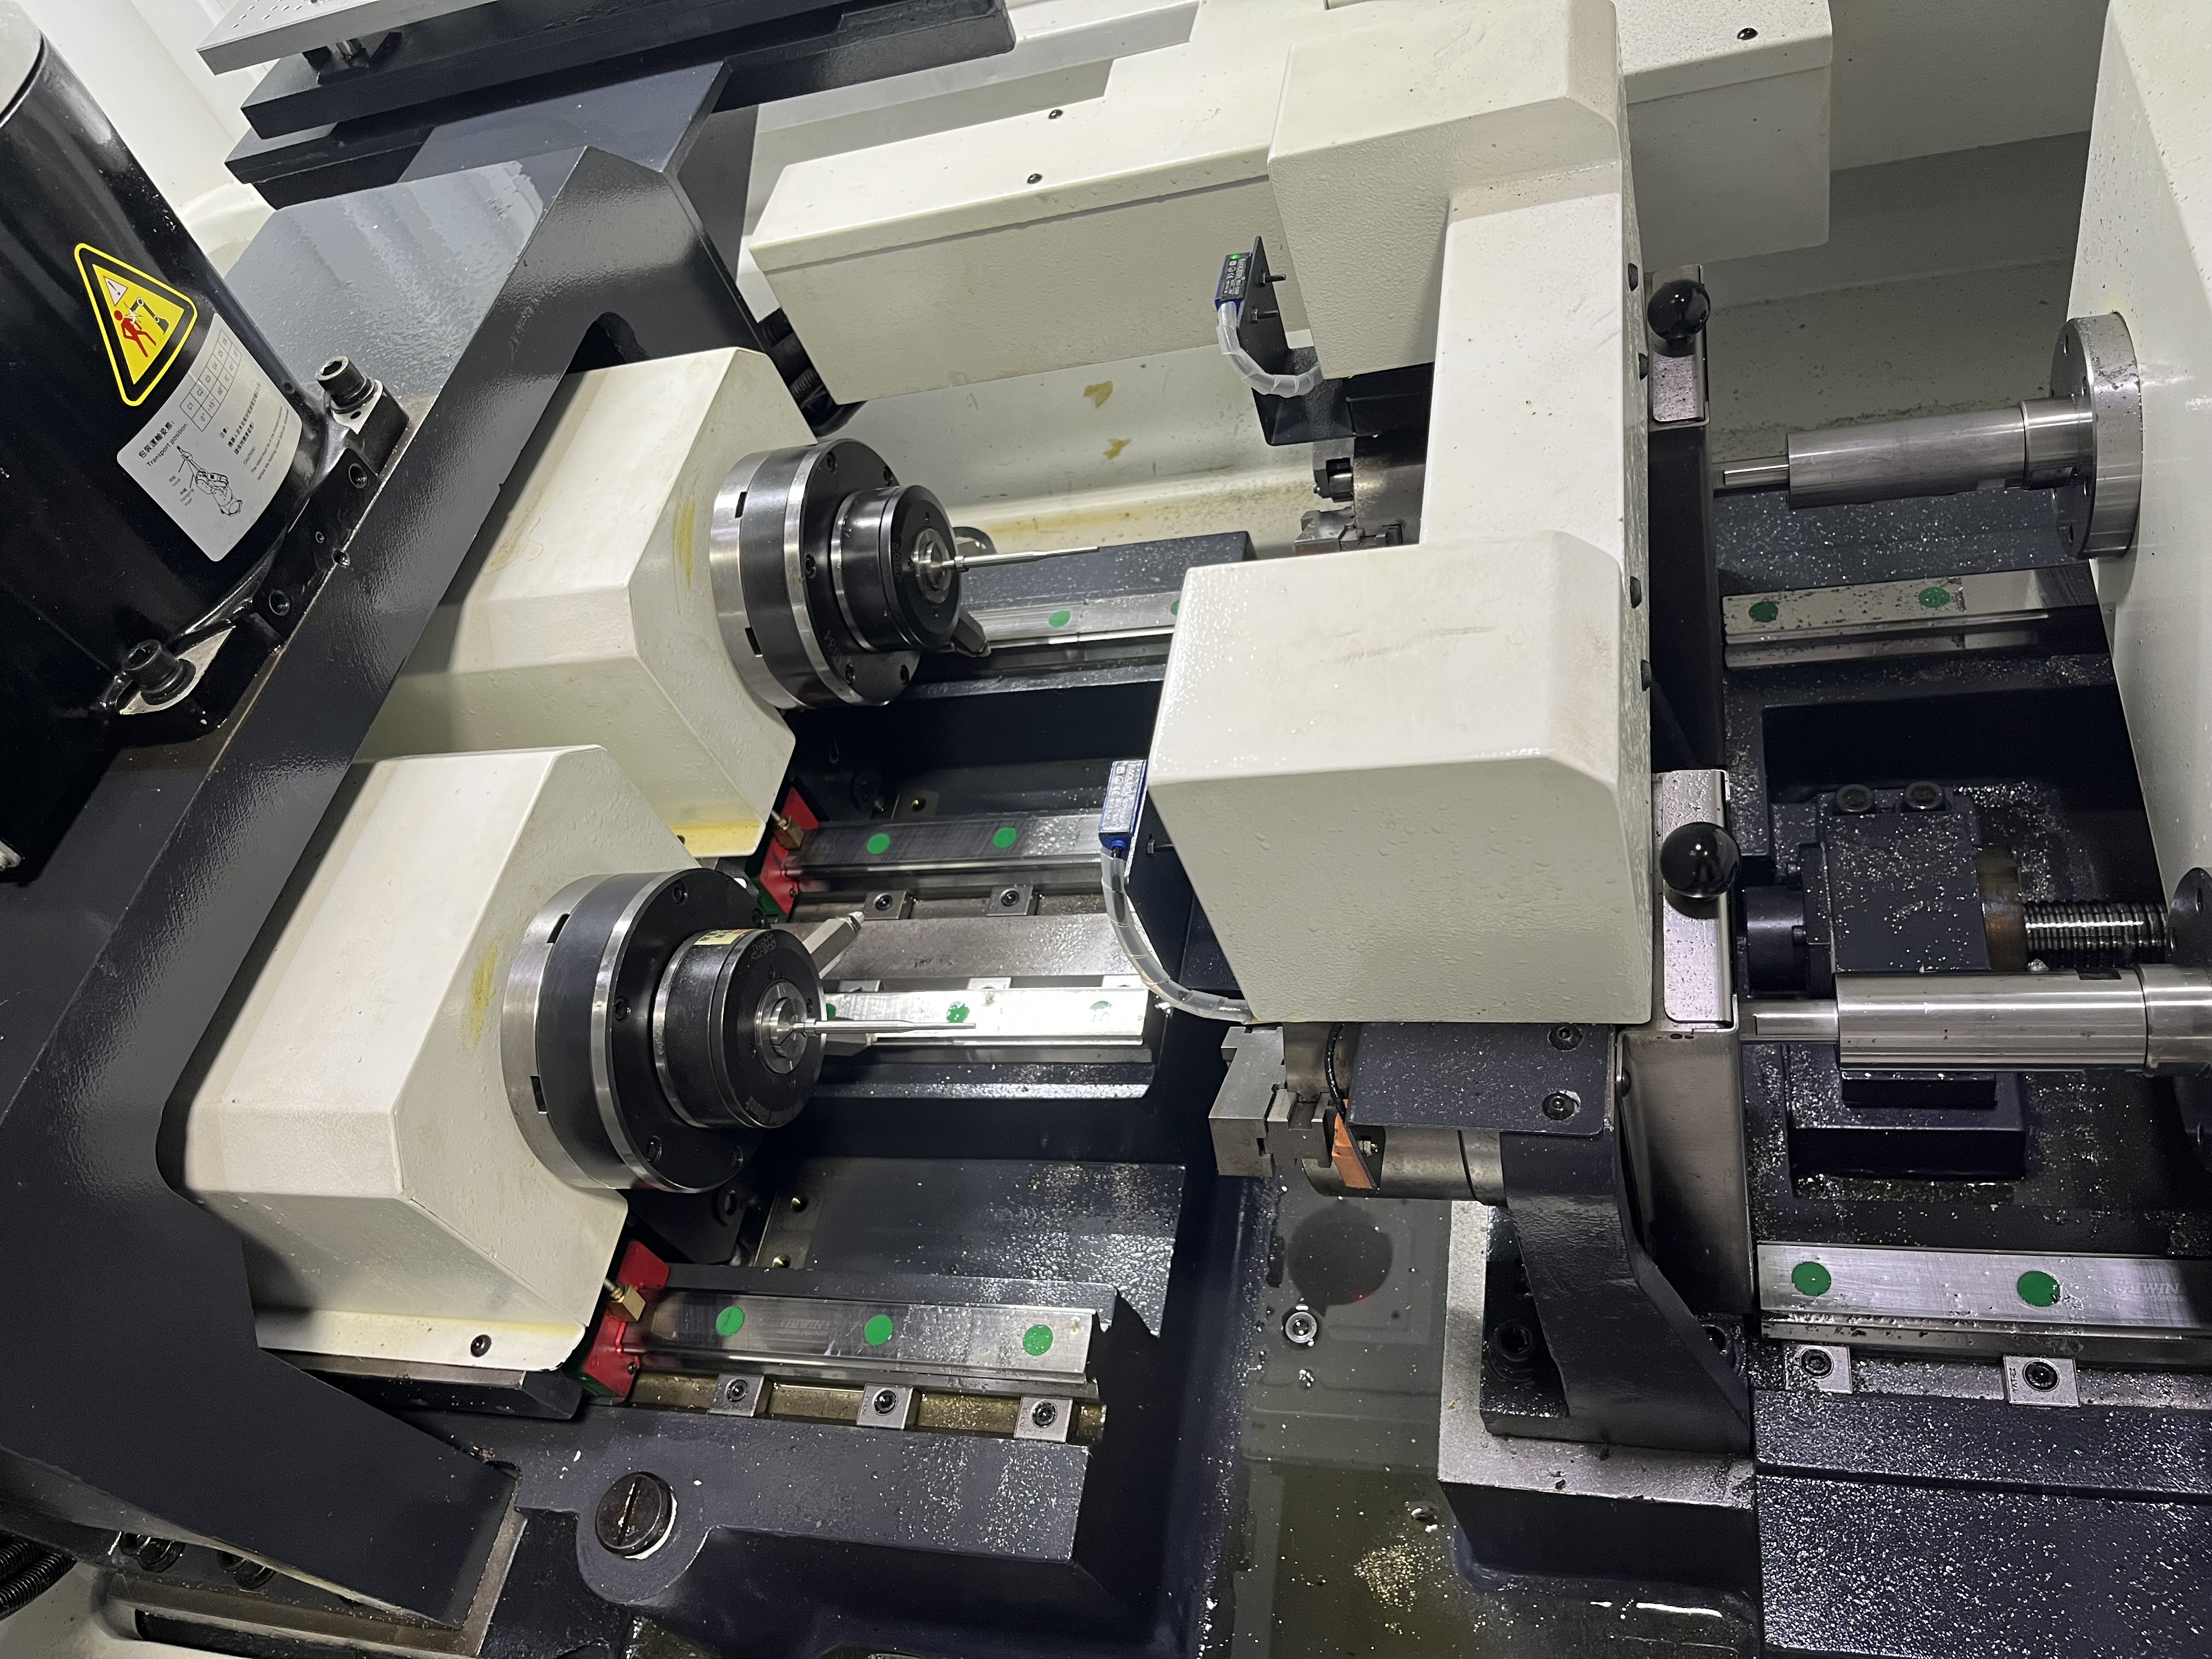
Why Use Vibration Sensors
Vibration sensors give you a window into the cutting process that your eyes and ears cannot match. The sensor detects changes in vibration that are too small or too subtle for a human operator to notice. Those small changes are the early warning signs of tool wear, chip packing, and process problems.
I started using vibration sensors on a long-running production job that ran 500 parts per month. The operator could not be at the machine every second, and the tool would wear gradually over the run. Without monitoring, the operator would not catch the wear until the surface finish degraded or the tool broke.
The sensor system cost about $2000 to install. It paid for itself on the first job where it caught tool wear before it caused a batch of bad parts. A single scrapped batch of 10 parts at $200 each covered the cost.
Vibration monitoring is not just for high-volume production. I have used it on prototype jobs where the run was only 20 parts but each part was worth $5000. The sensor protected the part investment.
How Vibration Monitoring Works
Sensor Types
Three types of sensors work for deep hole drilling monitoring. Each has strengths and weaknesses.
| Sensor Type | Measurement | Mounting | Cost Range |
|---|---|---|---|
| Accelerometer | Acceleration (g) | Spindle housing | $200-500 |
| Acoustic emission | High-frequency sound | Workpiece | $500-1500 |
| Load cell | Feed force (N) | Feed axis | $300-800 |
Accelerometers on the spindle housing are the most common choice. They are easy to install, relatively inexpensive, and provide good sensitivity to tool condition changes. I use accelerometers on most of my monitored machines.
Acoustic emission (AE) sensors are more sensitive to subtle process changes but harder to set up. The sensor must be in direct contact with the workpiece, and the signal requires more processing. I use AE sensors on critical jobs where early detection is essential.
Load cells measure feed force instead of vibration. They are less sensitive to tool wear than accelerometers but more sensitive to chip packing. I use load cells in combination with accelerometers for complete monitoring.
Baseline and Threshold Setup
Every monitoring installation starts with a baseline measurement. I run a test cycle with a new tool and record the vibration level at each depth increment. The baseline represents normal, healthy cutting.
I set the alarm threshold at 150% of the baseline level. When the vibration reaches that level, the control sends an alert or stops the machine. The 150% threshold gives enough margin for normal variation while catching problematic increases.
| Vibration Level vs. Baseline | Meaning |
|---|---|
| 100-120% | Normal tool wear progression |
| 120-140% | Accelerating wear, plan tool change |
| 140-150% | Tool change recommended soon |
| Over 150% | Change tool immediately |
| Over 200% | Stop machine — risk of breakage |
The threshold adapts to each job. A rough-cutting material like cast iron has higher baseline vibration than aluminum. The threshold percentage stays the same, but the absolute values are different.
Pattern Recognition
Vibration monitoring is not just about amplitude. The pattern of vibration tells you what is happening in the cut. A steady vibration level that gradually increases means tool wear. A sudden spike in vibration means chip packing or a hard spot.
An erratic vibration pattern — where the level jumps up and down rapidly — means unstable cutting. The tool is bouncing off the workpiece instead of cutting consistently. The cause is usually a worn guide bushing or inadequate workpiece support.
I program the monitoring system to retract the drill automatically when it detects a sudden spike or erratic pattern. Automatic retraction prevents tool breakage and bore damage. The system retracts in under 0.5 seconds, faster than any operator can react.
Installing Vibration Sensors
Accelerometer Mounting
The accelerometer mounting location affects the signal quality. The sensor must be mounted on a rigid surface that transmits vibration from the cutting zone. The spindle housing is the best location for most machines.
I mount the accelerometer with a threaded stud for maximum signal transmission. Magnetic mounts are easier to install but provide less consistent signal quality. For permanent installations, I use the threaded mount.
| Mounting Method | Signal Quality | Installation Effort |
|---|---|---|
| Threaded stud | Excellent | Moderate |
| Magnetic base | Good | Easy |
| Adhesive pad | Fair | Easy |
The sensor cable must be routed away from moving components and coolant spray. I use armored cable with a waterproof connector at the sensor. Coolant exposure will degrade the cable over time.
Connection to Machine Control
The sensor connects to the machine control through an analog input or a dedicated monitoring module. Most modern CNC controls have analog input capability. The signal is processed in the PLC and compared to the threshold.
For older machines without analog inputs, I use a standalone monitoring module. The module has its own display and alarm outputs. The alarm output connects to the machine control to trigger a stop or retract.
Integration with Production
I integrate vibration monitoring into the production workflow. The monitoring system logs vibration data for every part produced. The log shows the vibration trend over the life of each tool.
| Data Point | Value for Each Part |
|---|---|
| Baseline vibration | 0.8 g |
| Peak vibration | 1.2 g |
| Average vibration | 1.0 g |
| Tool age at time of cut | 150 parts |
The logged data helps me optimize tool change intervals. If the vibration stays at 120% of baseline for the first 200 parts and then rises to 150% by part 250, I know the tool is good for 200 parts and should be changed by 250.
Practical Applications
Tool Wear Detection
Tool wear is the most common application for vibration monitoring. As the cutting edge wears, the cutting forces increase and the vibration level rises. The sensor detects the increase long before the surface finish degrades.
I have caught worn tools with 0.1mm flank wear using vibration monitoring. The surface finish was still acceptable at that point, and the hole was still in tolerance. The sensor gave me enough warning to change the tool during a scheduled break rather than in an emergency.
Chip Packing Detection
Chip packing produces a distinctive vibration pattern. The vibration level spikes suddenly and then returns to normal as the chip clears. If the chip does not clear, the vibration stays high and the tool is at risk.
The monitoring system detects the spike and can retract the drill automatically. The retract clears the chip and the drill re-enters and continues cutting. Without monitoring, the chip packing would cause tool breakage or bore damage.
Process Optimization
The vibration data from monitoring helps optimize the drilling process. If the vibration level is consistently high on a particular job, the process needs improvement. I try different feeds, speeds, or tool geometries and measure the effect on vibration.
I have used vibration data to justify changing tool grades on a production job. The data showed that a different carbide grade reduced vibration by 30% and extended tool life by 50%. The monitoring paid for the tool grade change in one production run.
Key Takeaways
- Vibration sensors detect tool wear and chip packing before they cause scrap or breakage.
- Accelerometers on the spindle housing are the most practical sensor for most applications.
- Set the alarm threshold at 150% of baseline vibration from a new tool.
- Use automatic retract for sudden vibration spikes to prevent tool breakage.
- Log vibration data for every part to optimize tool change intervals.
- A $2000 sensor system pays for itself on the first job where it prevents a batch of bad parts.